Scanning procedure
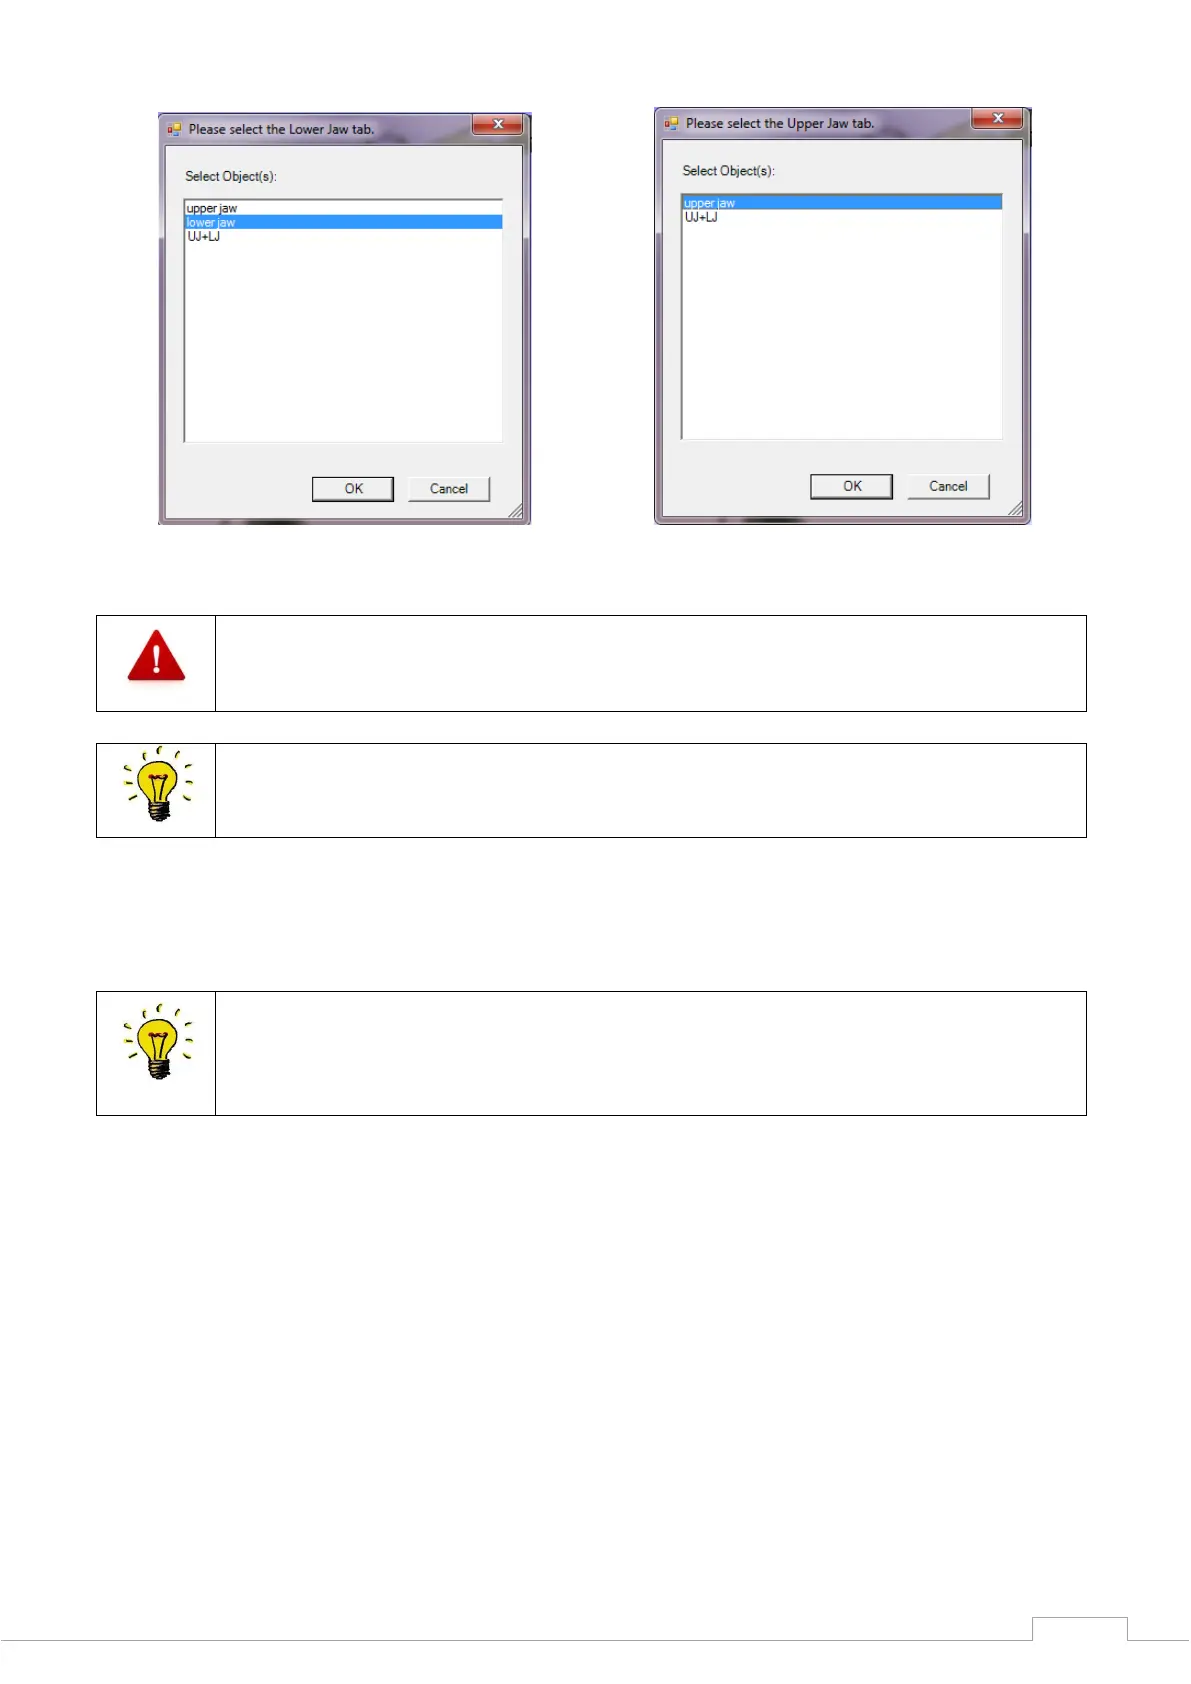
Figure 64: Select lower jaw Figure 65: Select upper jaw
The alignment for the "NOARTICULATOR" must always be performed with the 3-point
method.
To obtain a complete, mutually aligned STL data set from both jaw halves, the
individual scans must be added together. You have to indicate reference points on
the scans for this.
Select at least three reference points by clicking on them once with the left mouse button. Points
which you can find again on the vestibular image are ideally suitable for this.
If you have clicked on a point by mistake, you can undo this by with the "Delete" key
on the keyboard.
You can move the scan image with the right mouse button and rotate the view in the
3D viewer with the "Shift" key and the left mouse button.
Once you have highlighted at least three points, press the "space bar" on your keyboard to toggle
between the lower jaw scan and vestibular scan.
Search for and select the same points as previously for the vestibular scan.