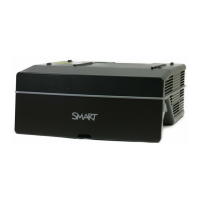
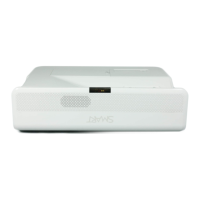
C H A P T E R 2
Installing your interactive projector
14 smarttech.com/kb/170295
2. Connect all the cables to the projector and let them hang loose.
N O T E
See Projector connections on the next page for more information.
3. After you’ve connected all the cables, connect the power cable to a power outlet.
4. Turn on your interactive projector so you can see where the projected image falls
5. Align the image and make other image adjustments necessary before you route the cables
around the projected image.
6. Route and secure the cables to the wall, ensuring they don’t protrude past the image surface
between the bottom of the projector mount and the projected image. Objects in this area should
be moved or removed before you use your interactive projector because they can cause parts of
the projected image to lose finger touch function.
I M P O R T A N T
Leave extra space between the cables and the projected image so you can make image
adjustments later.