Chapter 2: Getting Started 11
Getting Started
Installing and Removing the CompactFlash Card
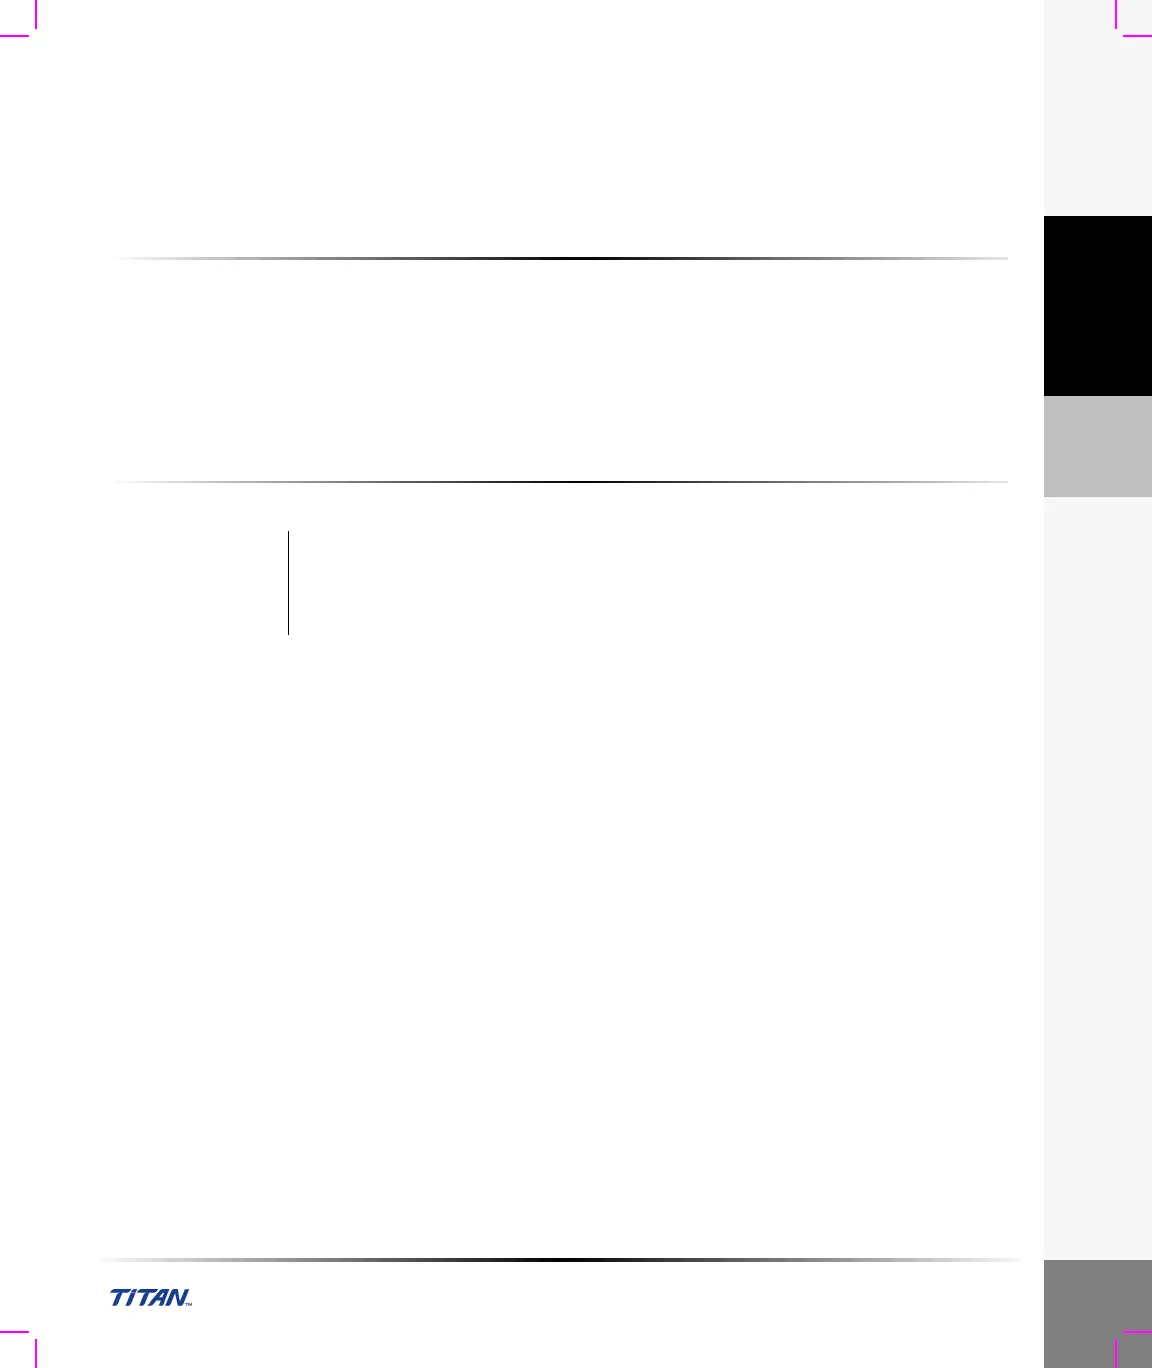
Images are saved to a CompactFlash card and are organized in a patient list. The images in the
patient list are organized alphabetically by the patient name and ID. Images are archived from the
system to a PC using a USB or Ethernet connection. Images on the CompactFlash card cannot be
read directly from a CompactFlash card reader.
To install the CompactFlash card:
1 Verify the ejector pin is fully pushed in.
2 Insert the CompactFlash card into the front slot on the ultrasound system. See Figure 1 on
page 3.
The front slot is used to store images. The back slot is used to update systems/transducers and
to import/export DICOM configuration information and OB Tables.
The CompactFlash card is ready to use when the save icon and the image memory counter, showing
the remaining available memory, are displayed on the screen.
To remove the CompactFlash card:
1 Turn off the ultrasound system before removing the card.
2 Press the ejector pin in the front card slot to position it to the outside of the system. See Figure 1
on page 3.
3 Press in the ejector pin to eject the CompactFlash card.
Note: If the CompactFlash card does not eject properly, try a new card.
4 Remove the card.
5 Push in the ejector pin to avoid damaging the ejector pin.
Warning: To prevent loss of data, loss of images, or damage to the CompactFlash card, turn
the ultrasound system off before removing the CompactFlash card. When the
CompactFlash card is removed before turning off the ultrasound system, the
system must be restarted.