INSTRUCTION, USE AND
MAINTENANCE MANUAL
GB
Page 51 of 58
Carefully enter distance, diameter and wheel width
measurements, pressing the “CENTRE key” to select
each measurement and confirm.
Select the “MINUS”
or “PLUS” key
to enter the desired values.
Press the “F4 key” to continue. The program will dis-
play the following image:
Fig. 96
1
KEY
1 – Return to previous screen page (RED) (F1)
2 – Performs wheel spin (GREEN) (F4)
2
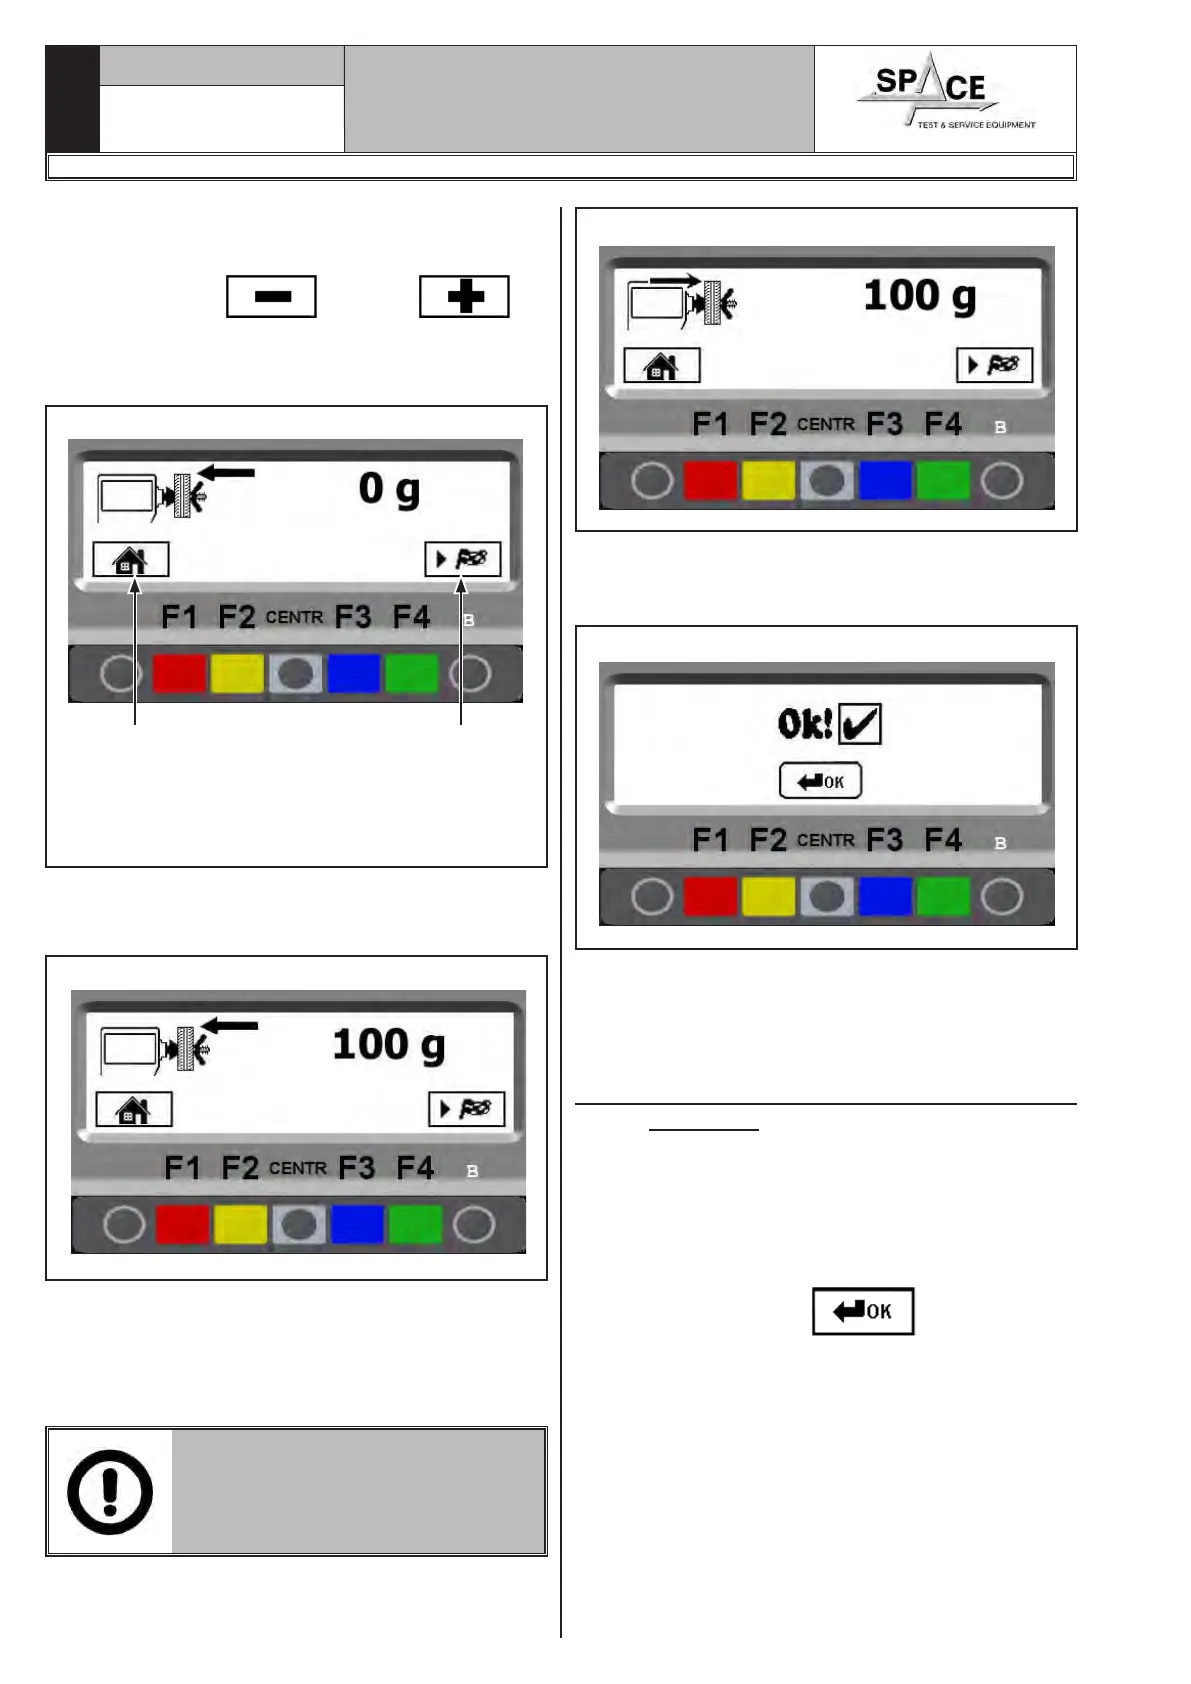
As shown in Fig. 96, press the “F4 key” to perform a
wheel spin without adding weights.
After making the spin, the program will show Fig. 97:
Fig. 97
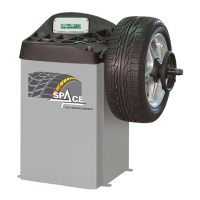
Fit 100 g on the outside of the wheel, positioning the
weight at 12 o’ clock.
Press the “F4” key to perform a spin".
After the spin, remove the 100 g weight from the out-
side and fit it inside the wheel, as shown in Fig. 98.
FIT 100 G ON THE INSIDE OF THE
WHEEL IN THE SAME POSITION
OF THE WEIGHT OUTSIDE, PO-
SITIONING IT HIGH UP ON THE
VERTICAL.
Fig. 98
After the spin, remove the 100 g weight from the inside
of the wheel and confirm by means of the “CENTRE
key”.
Fig. 99
The calibration operation is now over. The program
will show Fig. 93.
Press the “CENTRE key” to return to the first calibra-
tions page.
21.1 “Zero chucking-table” setting without
anything.
Always perform this operation, after the calibration
with the tool or with the wheel.
From the setting menu page (see Fig. 94) press the
"CENTRE” key relating to the "zero chucking-table"
setting. Press key “F4” to perform the mandrel reset
spin without having fitted anything. Once the spin is
over, the screen page with
will be displayed.
Mandrel resetting is complete. Press key “F1” to exit.
1296-M010-0_P
Space s.r.l.
ER232R - ER234R - ER236R - ER238R - ER238RFM - ER248R - ERP248R