3.4.2 Video
To watch a video to accompany the steps below, go to https://youtu.be/y55gQTWBXWs.
3.4.3 Steps
To connect the control box and mount the arm on the base:
1. First, ensure the leveling feet have been raised on the base.
2. Lift the control box (with feet attached)
3. Hook the control box onto the base bracket.
4. Carefully lift the RO1 onto the base.
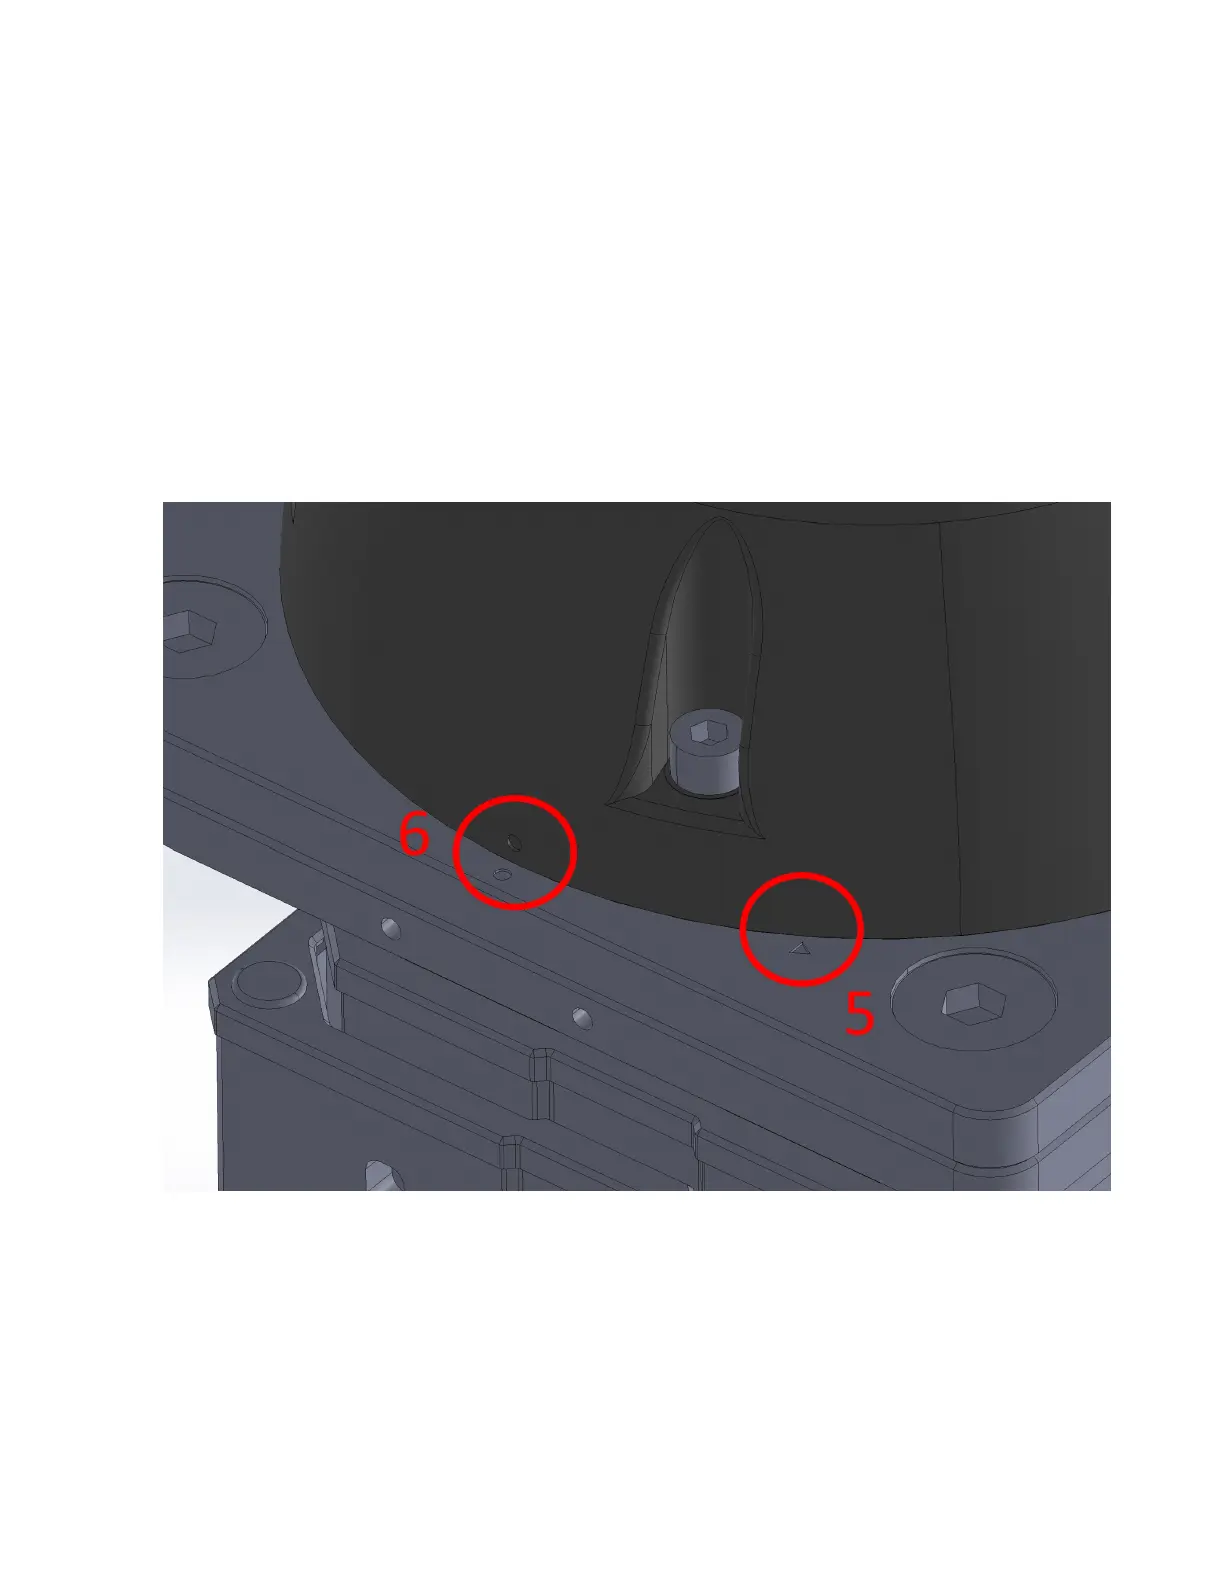
5. Place onto the pillar with the “O” on the robot base lined up with the triangle indicator shown
above.
6. Rotate it clockwise until the “O” on the robot base lines up with the matching “O” indicator shown
above.
7. Secure the RO1 base joint using ve M8 30mm screws.
8. Connect the RO1 USB-C cable to the base joint. Connect the RO1 power and data cables to the
base joint.
21