4-1
Post Installation Verification Operator Manual 10083002
Equipment Drawings showing all of the space and utility
requirements were sent to the purchaser after the order for this
surgical light was received. The clearance space shown on the
drawing is necessary for proper installation, operation and
maintenance of this fixture.
Installation and Uncrating Instructions were furnished with the
lighting fixture.
If any of these documents are missing or misplaced, contact STERIS,
giving the serial and model numbers of the equipment. Replacement
copies will be sent to you promptly.
4.1 Pre-operation
Checklist
Before operating the equipment, complete the pre-operation
checklist. It is essential to the safe operation and continuing
maintenance of this equipment to verify that the installation is
complete and correct. (Refer to Figure 4-1 through Figure 4-3 to
locate parts.)
WARNING – ELECTRIC
SHOCK HAZARD: Do not
remove covers or perform
service other than as
described in S
ECTION 8,
M
AINTENANCE of this operator
manual. Refer servicing to
qualified service personnel.
(M
AINTENANCE MANUAL,
P764330-226 H
ARMONY LA/LED
and P764335-782 HarmonyAIR
M Series.)
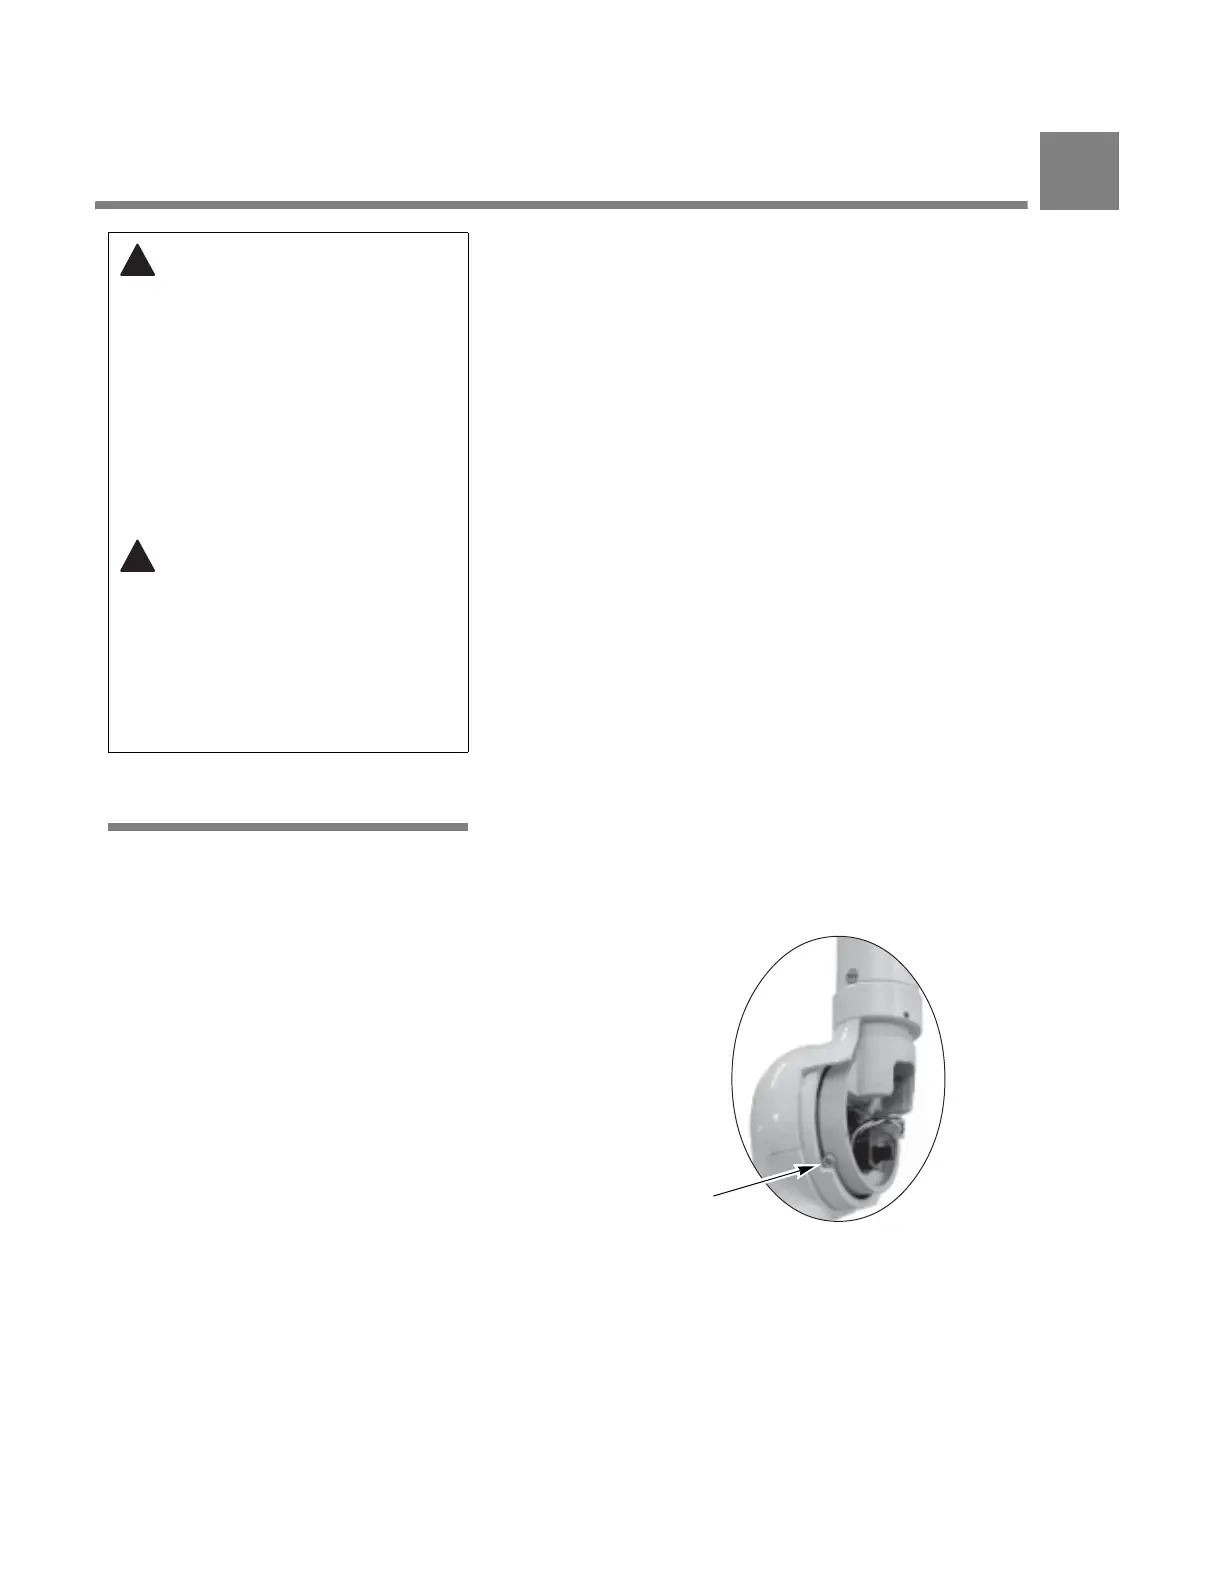
WARNING – IMPACT HAZARD:
Do not remove tension screw
from the spring arm joint until
the lighthead has been
securely installed onto the
spring arm. Note: This
warning applies at both
installation and removal
procedures.
Figure 4-1. Tension Screw Location for Harmony Spring
Arms
POST INSTALLATION VERIFICATION
4