Operation 5
Battery
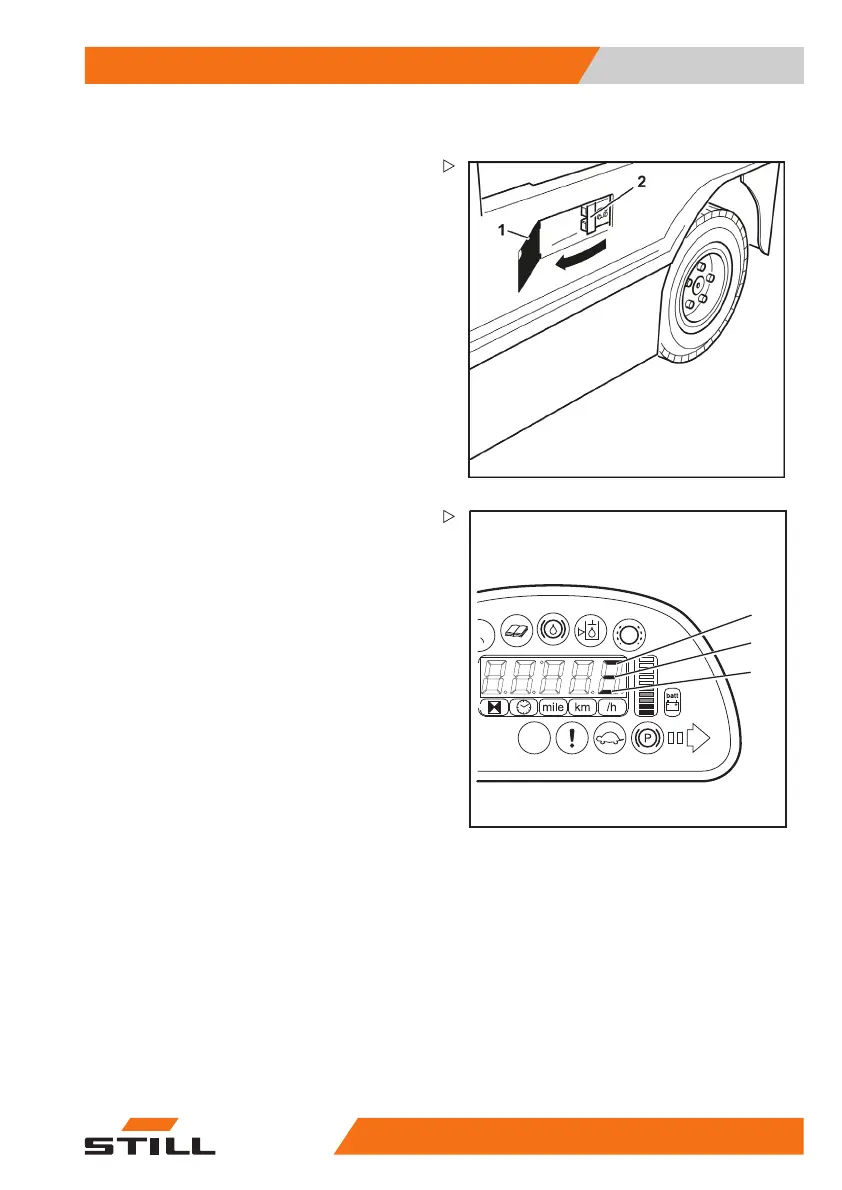
Preparation
Switch off the key switch.
– Open the lid (1) of the side battery connec-
tor.
– Insert the charger plug into the battery
connector (2).
2
3
4
127-115
Charging
The lower LED (4)
in the display of the display
unit lights up f
or up to 5 minutes before the
charging proce
ss begins.
Once charging has commenced, LEDs (2), (3)
and (4) will light up in sequence.
After the charging process
– The upper LED (2) flashes.
– Turn off the b
attery charger.
172
780 EN - 06/2017 97

 Loading...