27
02.11
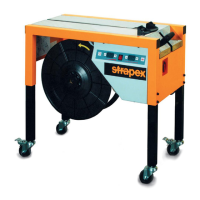
Strapex SMA 20
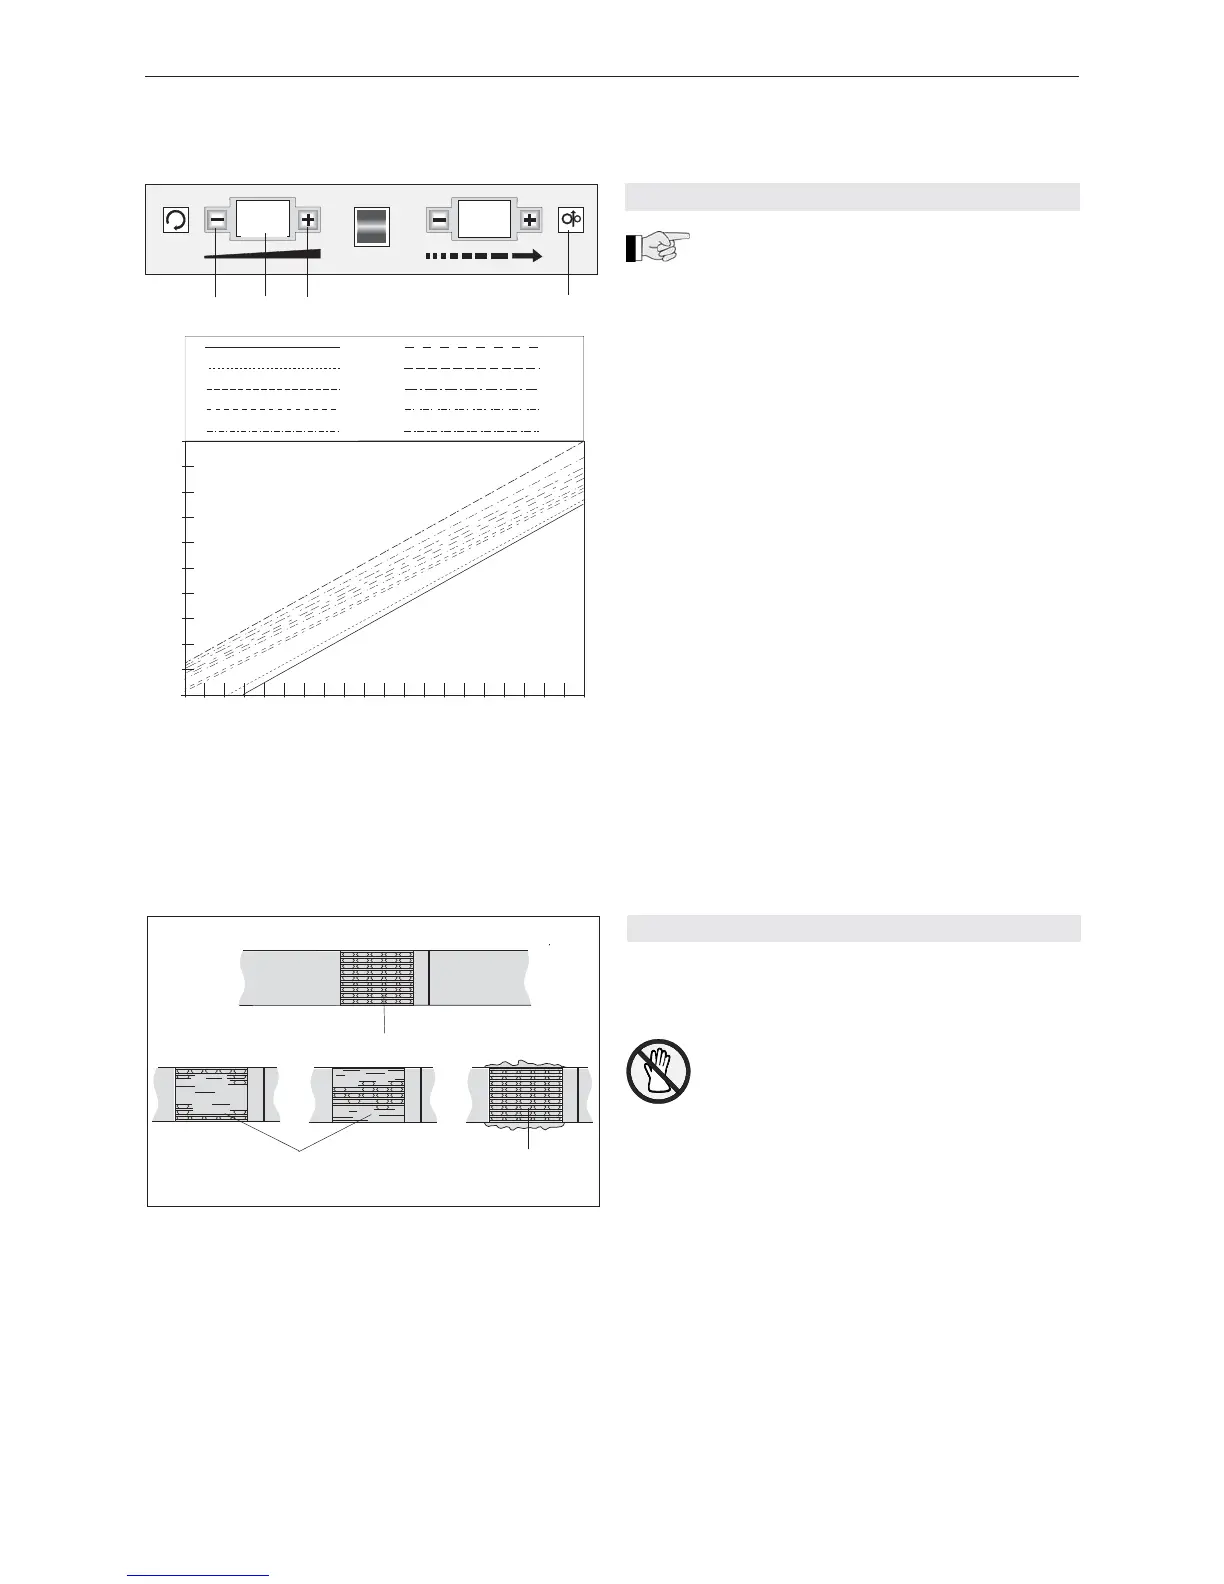
Fig. 8
1 Push-button „–“
2 Digital display „Strap tension“
3 Push-button „+“
4 Digital display „Manual strap feed“
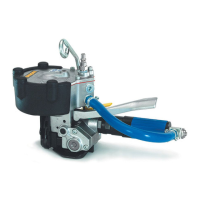
6.7 CHECK OF SEAL
– Regulary check the sealing (see Fig. 9) for its
appearance.
An incorrectly welded strapping cannot
secure the package and can thus lead to
injuries.
Never transport or move packaged
goods with incorrectly welded seals.
– If the seal is not performed satisfactorily, the
welding temperature (see Chapter 8.1) or the height
of the heating element must be adjusted (see Chap-
ter 8.2).
Fig. 9
1 Good seal (the complete surface is cleanly welded
without excess material being forced out sideways)
2 Poorly welded seal, welding temperature too low
(welding not made over entire welding surface)
3 Poorly welded seal, welding temperature too high
(excess material is forced out sideways)
2 3
1
0 6
1 9
18
05
1 2 3 4
6.6 BASIC SETTING OF THE STRAP TENSION
If the strap tension is too low at the bottom of
the range (00) or too high at the top of the
range (20), then the entire basic tension range can be
displaced upwards or downwards (offset).
– Turn Main switch on side panel to position „1“.
– Toggle switch (3/6) on.
– When the push-button (8/1) and the push-button
(8/4 are activated simultaneously, the tension range
as shown on digital display (8/2) can be displaced
downwards (range 00 to 09). The tension range
display should now be fl ashing.
– When the push-button (8/3) and the push-button
(8/4) are activated simultaneously, the tension
range as shown on digital display (8/2) can be dis-
placed upwards (range 00 to 09). The tension range
display should be fl ashing whilst adjusting.
– Press push-button (8/4) or execute a strapping
cycle so that the set value is stored.