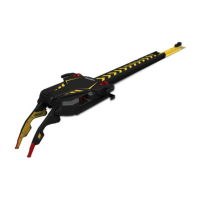
FFiigguurree 2288 –– IInndduuccttiivvee ccooiill aasssseemmbbllyy
5. Remove the return spring (D) (Figure 29). Save for reinstallation.
FFiigguurree 2299 –– RReettuurrnn sspprriinngg llooccaattiioonn
6. Using a T25 Torx driver, remove the screws (E) that secure the charge bracket (Figure 28).
7. Using a 5/32" hex wrench, remove the screw (F) that secures the charge bracket (Figure 28).
8. Using a T25 Torx driver, remove the two screws that secure the back left wing cover.
9. Unplug the cable (G) from the trolley control board and remove the inductive coil (H) (Figure 28). Discard the inductive
coil.
NNoottee
• Lift up on the trolley control board to pull the cable through.
• Pay attention to the cable routing for reinstallation.
• Do not dispose of as unsorted municipal waste. Refer to your local distributor for return or collection systems
available in your country.
6390-309-002 Rev AB.0 47 EN
 Loading...
