47
(3) Detailed Functional Setting and Use
Sequence
① Enable the Pattern Extension ■ Set A-76 at 1, and use hotkey functions to amend the set value from
Function 0 to 1.
② Check No. 1 pattern setting ■ Check if Pattern No. 1 LED is on.
- In the event that LED is on for other patterns, press No. 1 button
to select.
■
/
buttons: Move around patterns from 1 to 15 to select a desired
pattern.
■
/ buttons: Enter the stitch count into the pattern number currently
marked.(The set value is automatically saved)
■ “Yes” is displayed on the screen.
④ When one among set patterns is used ■ Use and buttons to move to a desired pattern and begin sewing.
■ Press button to turn on CHAIN LED, and then begin sewing.
- Start sewing from No.1.
■ Possible to use and buttons to change the start position.
■ During the chain sewing, if an encountered pattern’s stitch count is zero
(0), it is automatically converted to No. 1 pattern and sewing continues.
⑥ Notice ■ When using the pattern extension function, and buttons indicate
the pattern number currently under work.
■ To release the function, press button to turn off PATTERN LED
and set A-76 at zero(0).
No.10 : A
No.11 : B
No.12 : C
No.13 : D
No.14 : E
No.15 : F
Description
Remarks
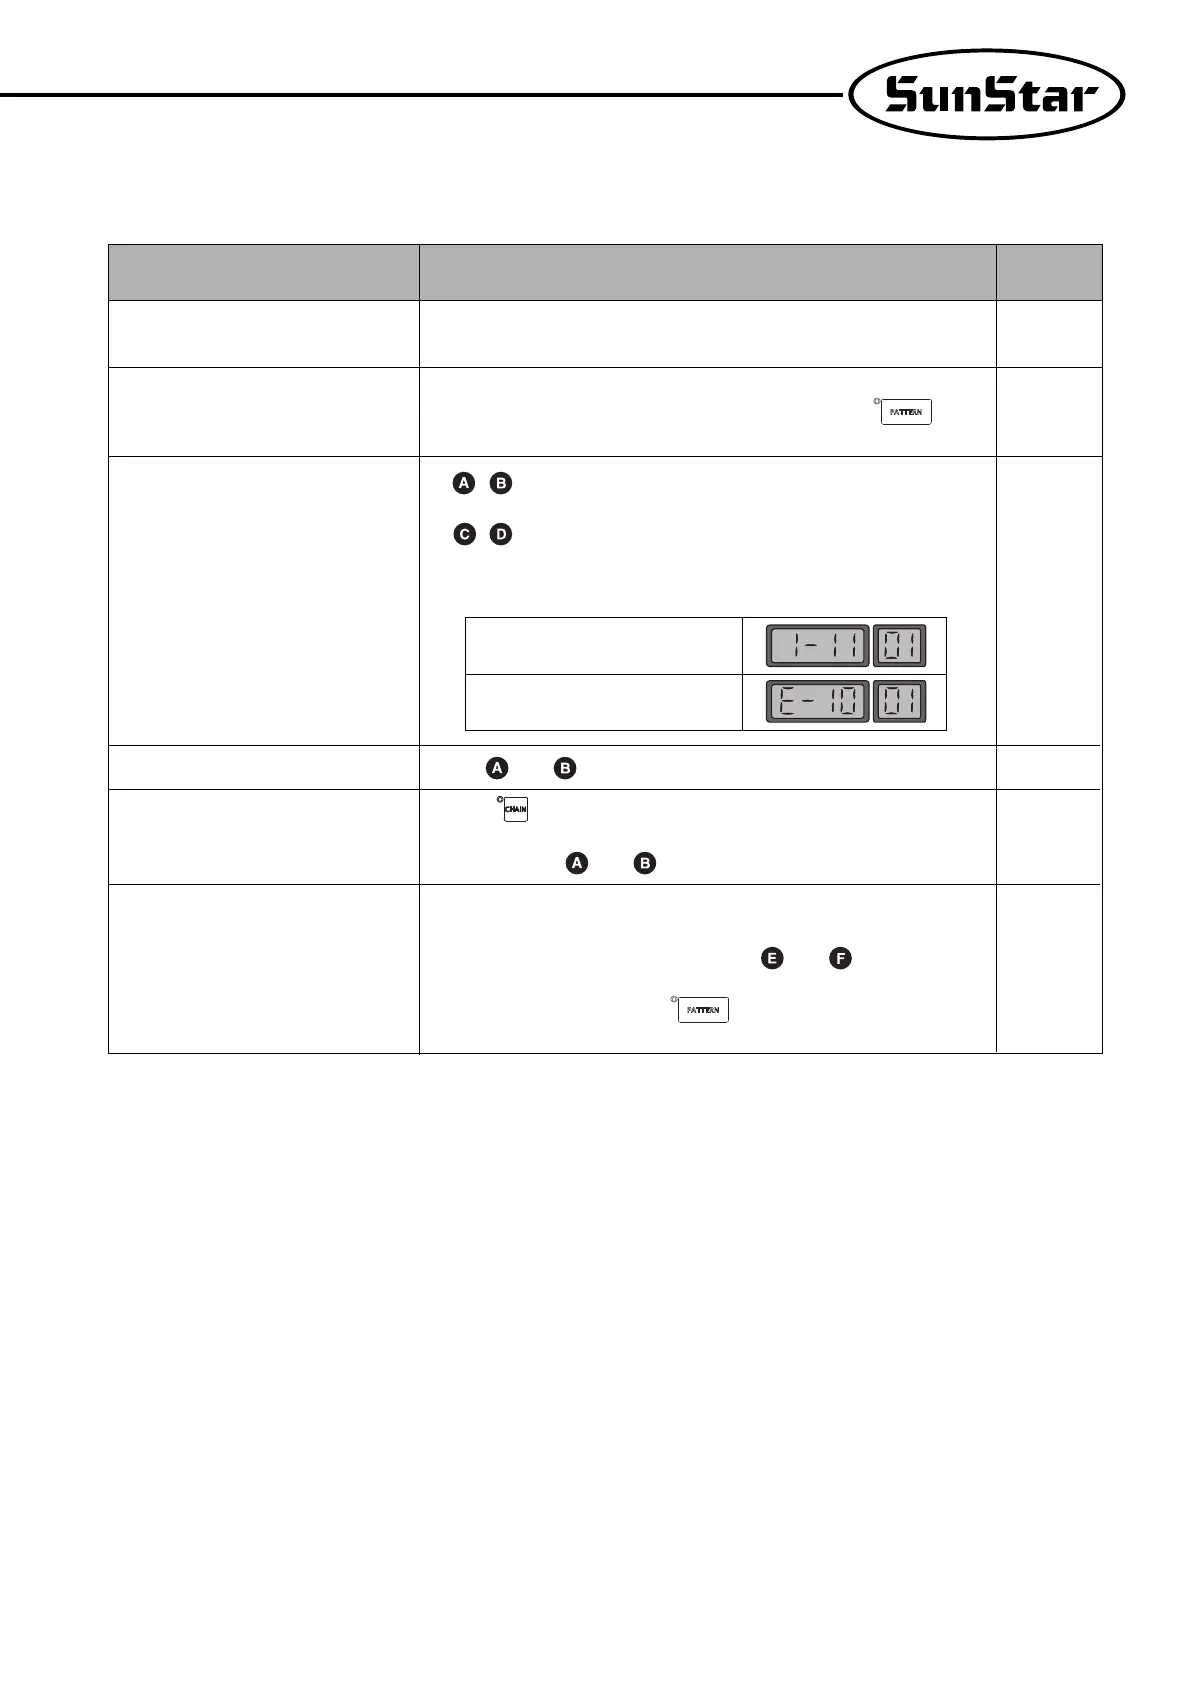
Set 11 stitches for No. 1 pattern.
Set 10 stitches for No. 14 pattern.
③ Enter the set values for pattern stitch
count as many as desired among 15
patterns.
⑤ In the event of conducting chain
sewing in the set pattern order