IntelliShot & FlexoShot: Operations Manual Page 7
2. Use a Phillips screwdriver to remove the screws on the right-hand side of the dispenser door
(i.e., latch side).
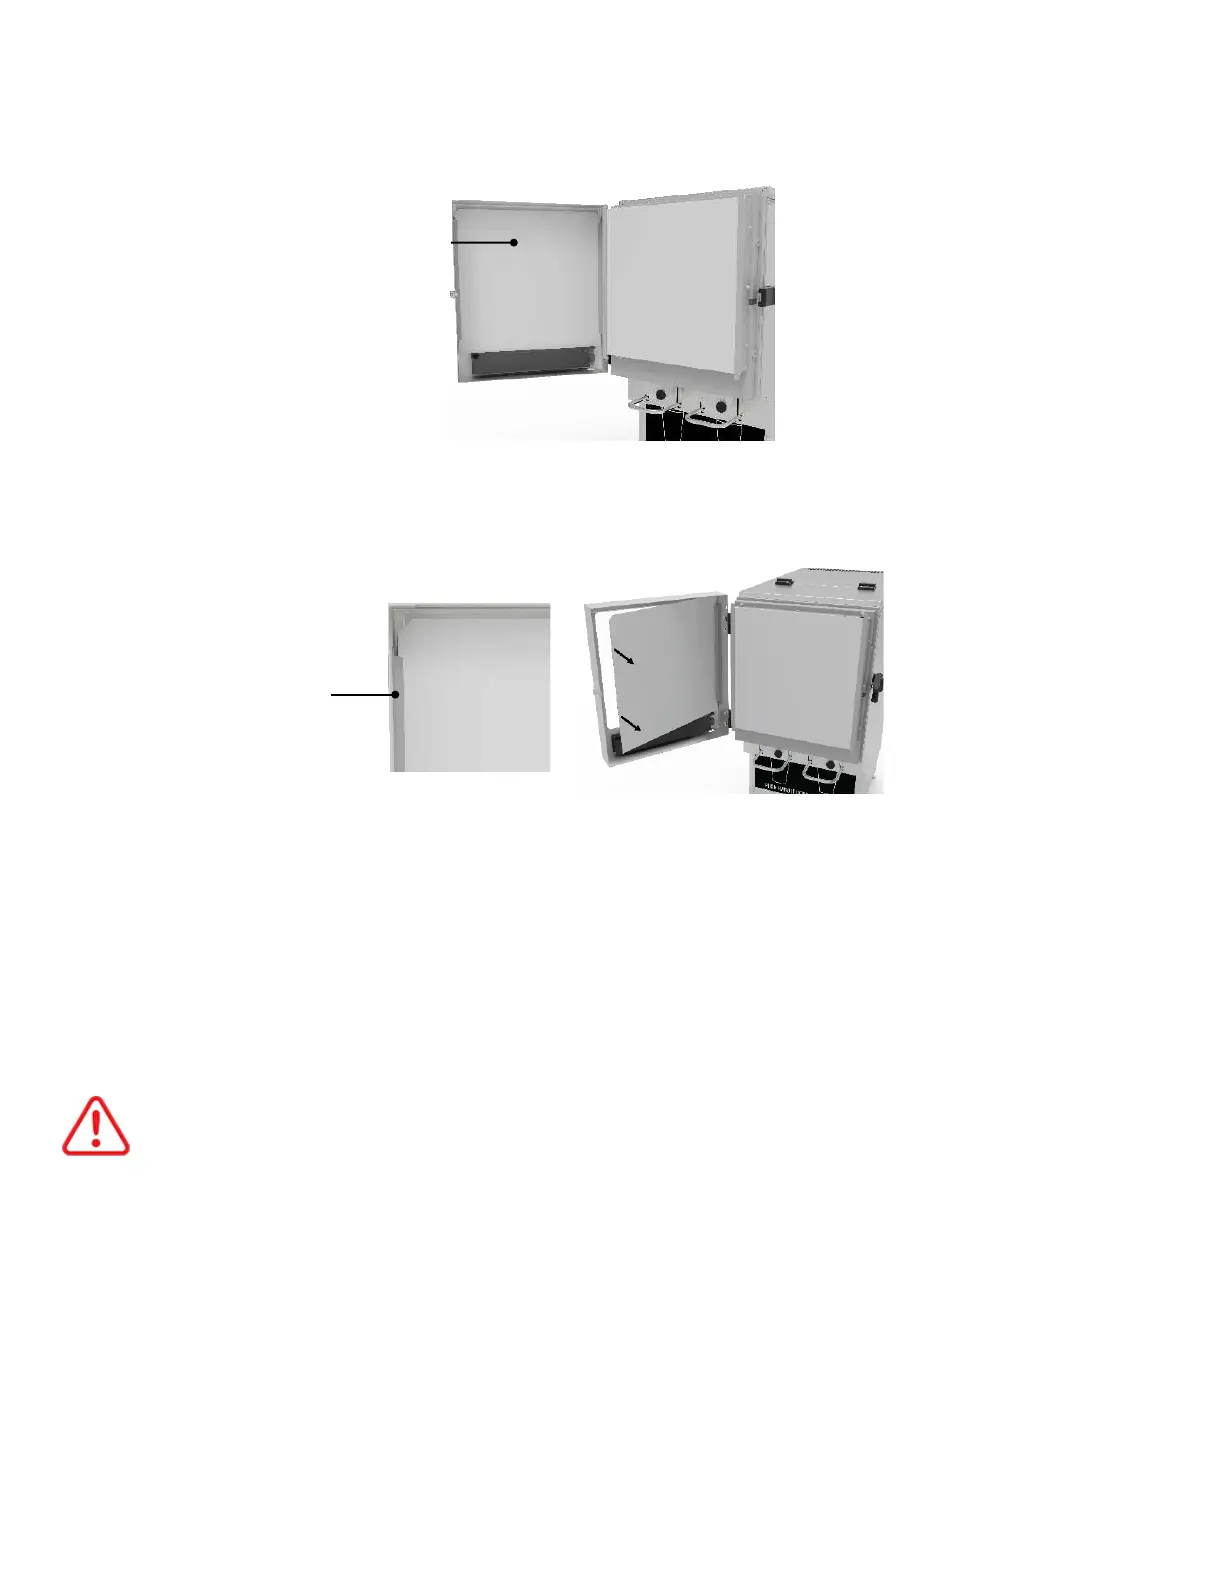
3. Open the door display panel to reveal the door graphic.
Figure 6: Open door display panel
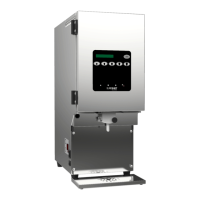
4. Remove the door graphic from the door display panel by sliding the left and right sides out from
behind the frame.
Figure 7: Remove graphic from door display panel
5. Install the new door graphic and secure it in place behind the frame on the left and right sides
of the door display panel.
6. Before closing the door panel, ensure the cable near the bottom hinge is not pinched. Reinstall
the screws on the right-hand side of the door.
7. Close the dispenser door and door latch.
TURNING ON THE DISPENSER
All liquid refrigerant and compressor oil must be settled at the bottom of the compressor before turning
on the dispenser. If the dispenser was not kept upright, allow it to sit upright and level for 24 hours
before turning it on.
Follow these steps to turn on the dispenser:
1. Plug the power cord into an approved electrical outlet.
2. Turn the power switch on. The power switch is located on the lower left side toward the front of
the dispenser.
3. The fan will turn on, lights on the button panel will illuminate and Select Size or Select
Product will be visible in the door display when the dispenser is ready.