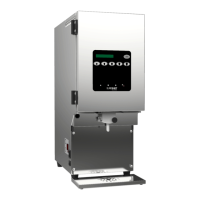
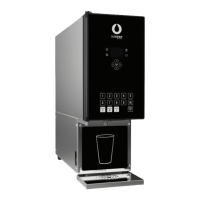
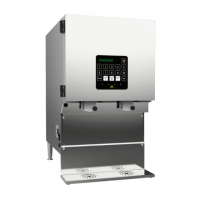
IntelliShot & FlexoShot: Operations Manual Page 19
5. The light on the first and second button from the left, top row will illuminate.
a. One product dispenser – The calibration percentages will be visible in the display
(e.g., Milk 5% 0%). Place an empty cup under the dispense point.
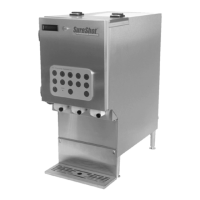
b. Multi-product dispenser – place an empty cup under the correct dispense point
(e.g., left valve for milk). Press the corresponding product button (e.g., milk).
The calibration percentages will be visible in the display (e.g., Milk 5% 0%).
6. Press and hold the first button from the left, top row until dispensing is complete. The
expected weight in grams will be visible in the display, Scale: 20.0 g.
7. Place the cup with product on the scale to check its weight.
8. Press the adjust up button (
) or adjust down button () as required until the number
displayed matches the weight on the scale.
9. Press and hold the third button from the left, top row to save the number entered. The
calibration percentages will be visible in the display (e.g., Milk 5% 0%).
10. Discard product from the cup and place it back on the scale. Press the ZERO/TARE button.
11. Repeat steps 5-10 to dispense a second time.
12. With the empty cup under the same dispense point, press and hold the second button from
the left, top row until dispensing is complete. The display will show the expected weight in
grams Scale: 60.0 g.
13. Place the cup with product on the scale to check its weight.
14. Press the adjust up button (
) or adjust down button () as required until the number
displayed matches the weight on the scale.
15. Press and hold the third button from the left, top row to save the number entered. The
calibration percentages (e.g., Milk 5% 3%) will be visible in the display.
16. Discard product from the cup and place it back on the scale. Press the ZERO/TARE button.
17. Repeat steps 12-15 to dispense a second time.
18. Calibration is complete. If using a multi-product dispenser, follow steps 1-17 to calibrate each
product individually.
19. Press and hold the program mode button () to return to normal operating mode.
Buttons
Individual buttons can be turned on or off as required.
1. Press and hold the program mode button (
) until Recipe or Target Adjust is visible in
the display.
2. Press the program mode button (
) repeatedly until Buttons is visible in the display.
3. Press and hold any illuminated button to turn it off. The light will no longer be illuminated if the
button is off. Press and hold the button to turn it back on.
4. Press and hold the program mode button (
) to save and return to normal operating mode.