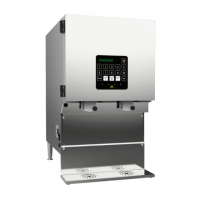
IntelliShot & FlexoShot: Operations Manual Page 34
DOOR GASKET
1. Open the dispenser door.
2. Examine the door gasket for damage. Ensure it seals properly and there are no holes or gaps.
3. Wipe the gasket using a soft cloth dampened with warm, clean, soapy water. Use a small brush to
reach all the corners and crevices.
4. Wipe using a soft cloth dampened with warm, clean water.
5. Dry thoroughly with a soft cloth.
6. Close the door of the dispenser.
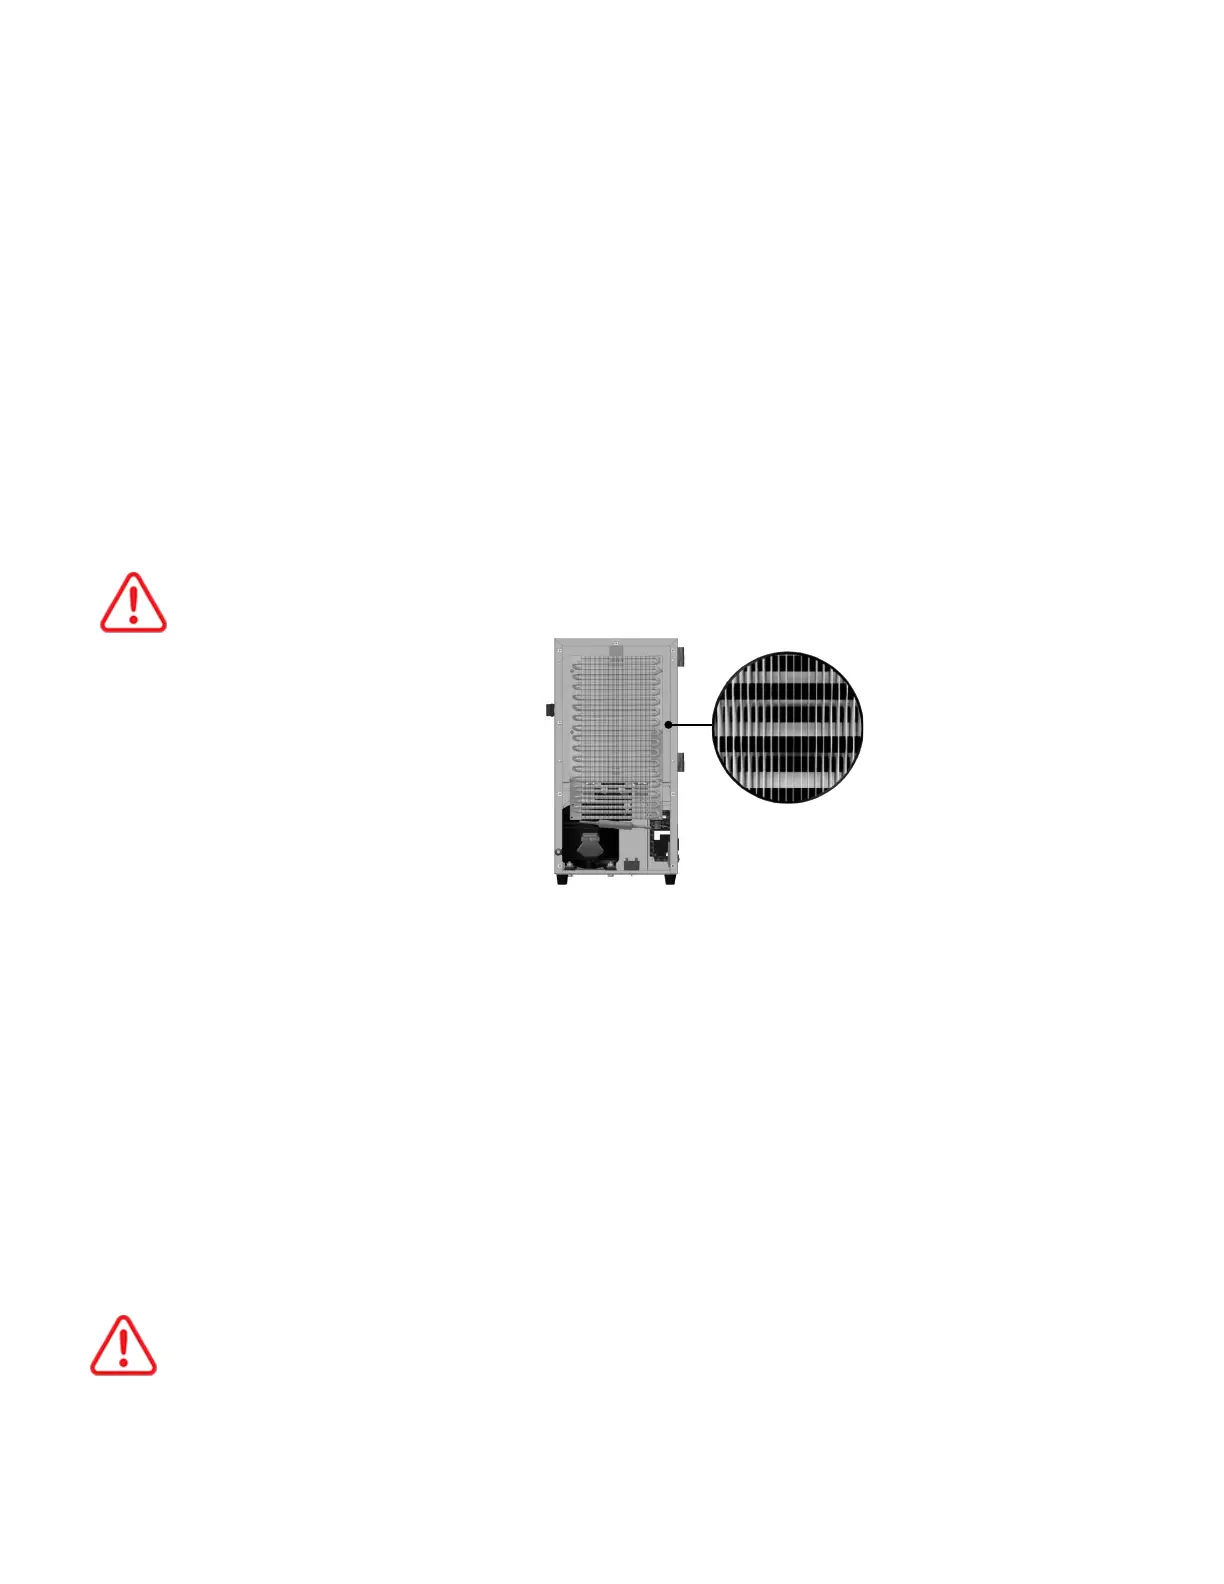
CONDENSER
1. Turn off the dispenser and unplug it.
2. Remove the screws securing the back panel in place.
3. Gently pull the back panel off the dispenser.
4. Gently clean the condenser using a vacuum with a soft brush attachment. Using a vacuum prevents
damage to the condenser coils.
The vertical strips of metal lying over the condenser coils (condenser fins) are very sharp. Do not
touch the condenser fins.
Figure 39: Condenser fins
5. Replace the back panel and reinstall the screws to secure it in place.
6. Plug in the dispenser and turn it on.
FAN AND INNER BODY
1. Turn off the dispenser and unplug it.
2. Remove the screws securing the front panel in place.
3. Remove the front panel.
4. Gently clean the fan and inner body using a vacuum with a soft brush attachment. Using a vacuum
prevents damage to the fan.
5. Remove any cleaning supplies and tools from the inside of the dispenser if present.
6. Plug in the dispenser and turn it on.
7. Visually verify the fan is unobstructed and spinning smoothly.
To avoid injury or equipment damage, keep hands and other objects clear of the fan when the
equipment is plugged in.
8. Replace the front panel and reinstall the screws to secure it in place.