IntelliShot & FlexoShot: Operations Manual Page 15
8. Place the tank in the product compartment above the correct valve with the tube facing out.
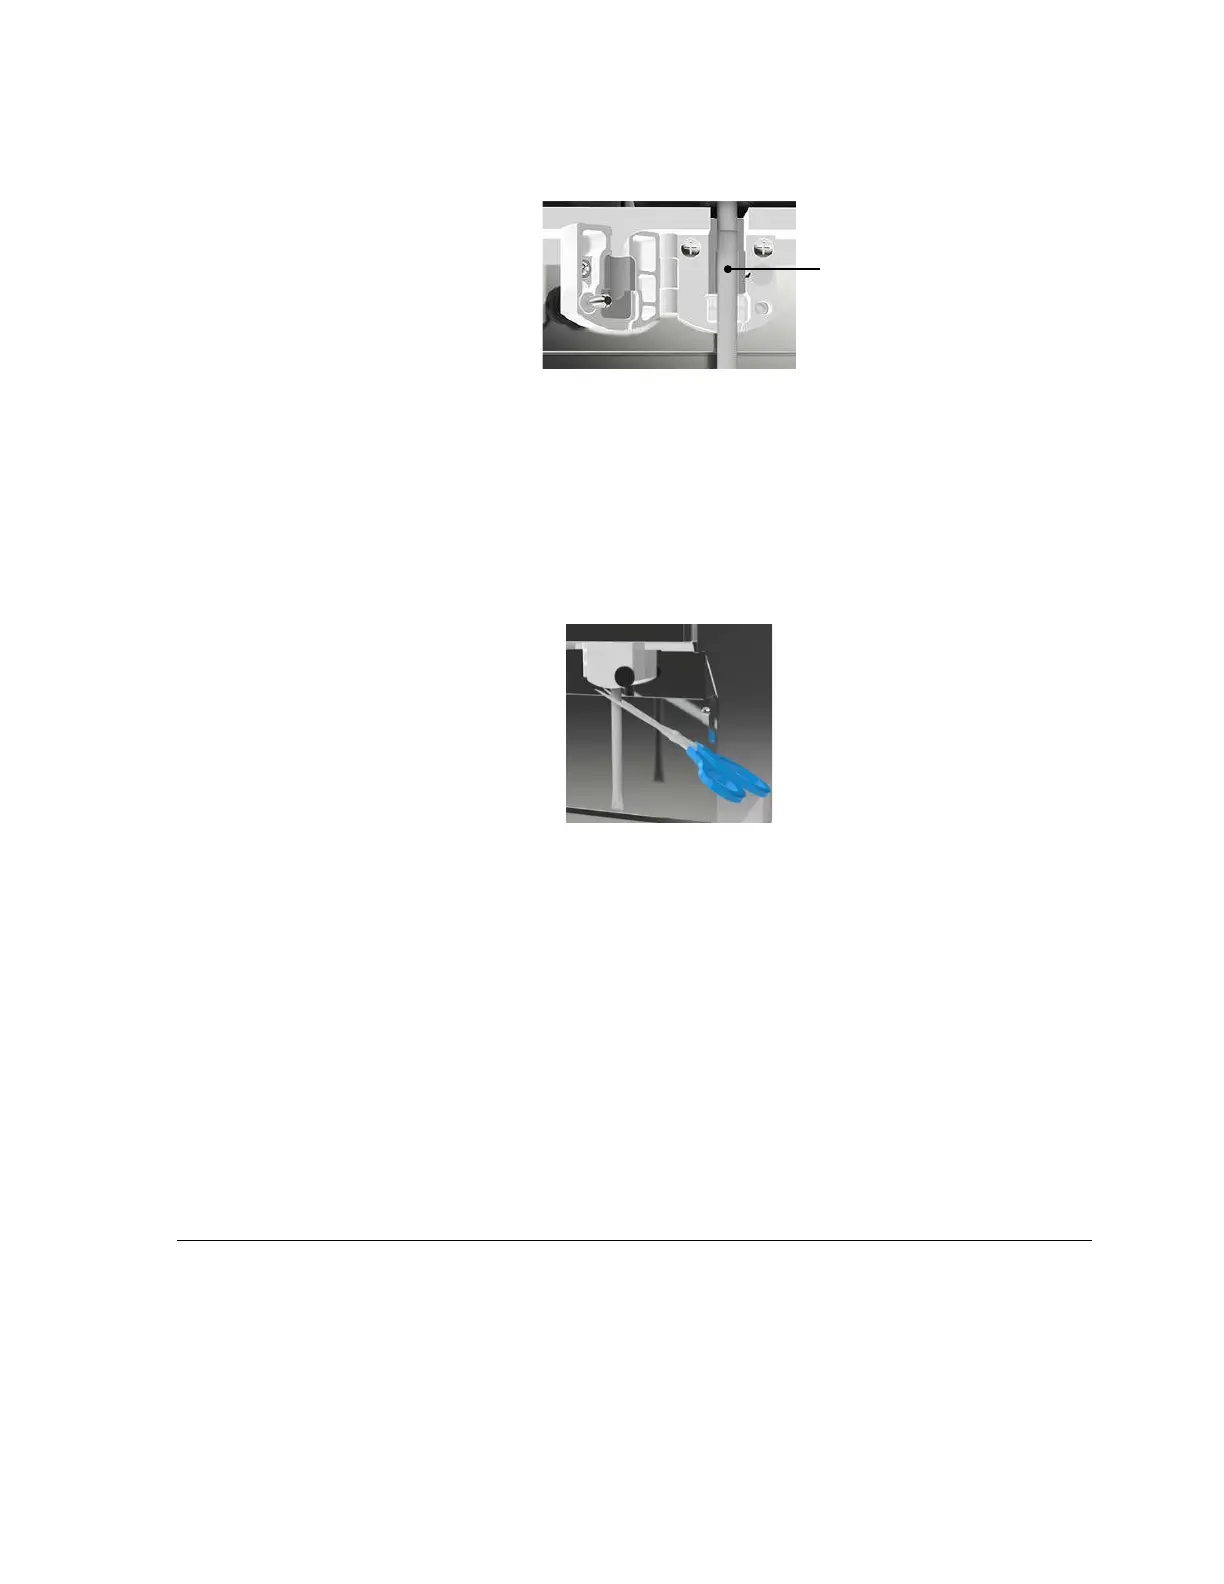
9. Centre the tube in the valve opening. Remove and discard the plastic covering if present.
The tube should not be twisted, kinked, or pinched.
Figure 26: Correct tube placement
10. Fold up the tube and pinch it just below the valve to clear the tube of product.
11. Close the valve door and turn the thumbscrew clockwise until the valve door is secure.
Do not over-tighten the thumbscrew. Release the tube.
12. Close the dispenser door.
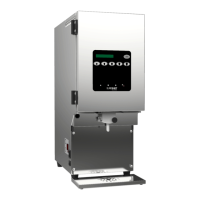
13. Use sanitized, sharp scissors to carefully cut the tube at a 45-degree angle to a maximum
length of 5/8-inch (1.5 cm) from the bottom of the valve door. Discard the cut portion of
the tube.
Figure 27: Properly cut tube
Removing a Product Tank
1. Open the dispenser door.
2. Place a clean container under the dispense tube to catch any residual product that may
drain when the valve door is opened.
3. Open the valve door by turning the thumbscrew counterclockwise.
4. Allow any residual product to drain. If desired, clamp the tube to reduce drips.
5. Remove the product tank.
6. Discard the tube and clean the tank and lid.
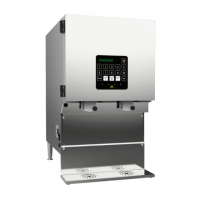
DISPENSING PRODUCT
Non-Portion-Control Dispensers
Dispensers with Self-Serve Dispense Handles or Push & Hold Buttons:
1. Place a cup under the dispense point.
2. Push down the dispense handle (or push and hold the product button, if applicable) until the
desired portion is dispensed.
3. Release the dispense handle or button.