AR 2000 Operator's Manual
44
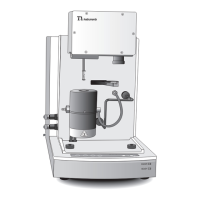
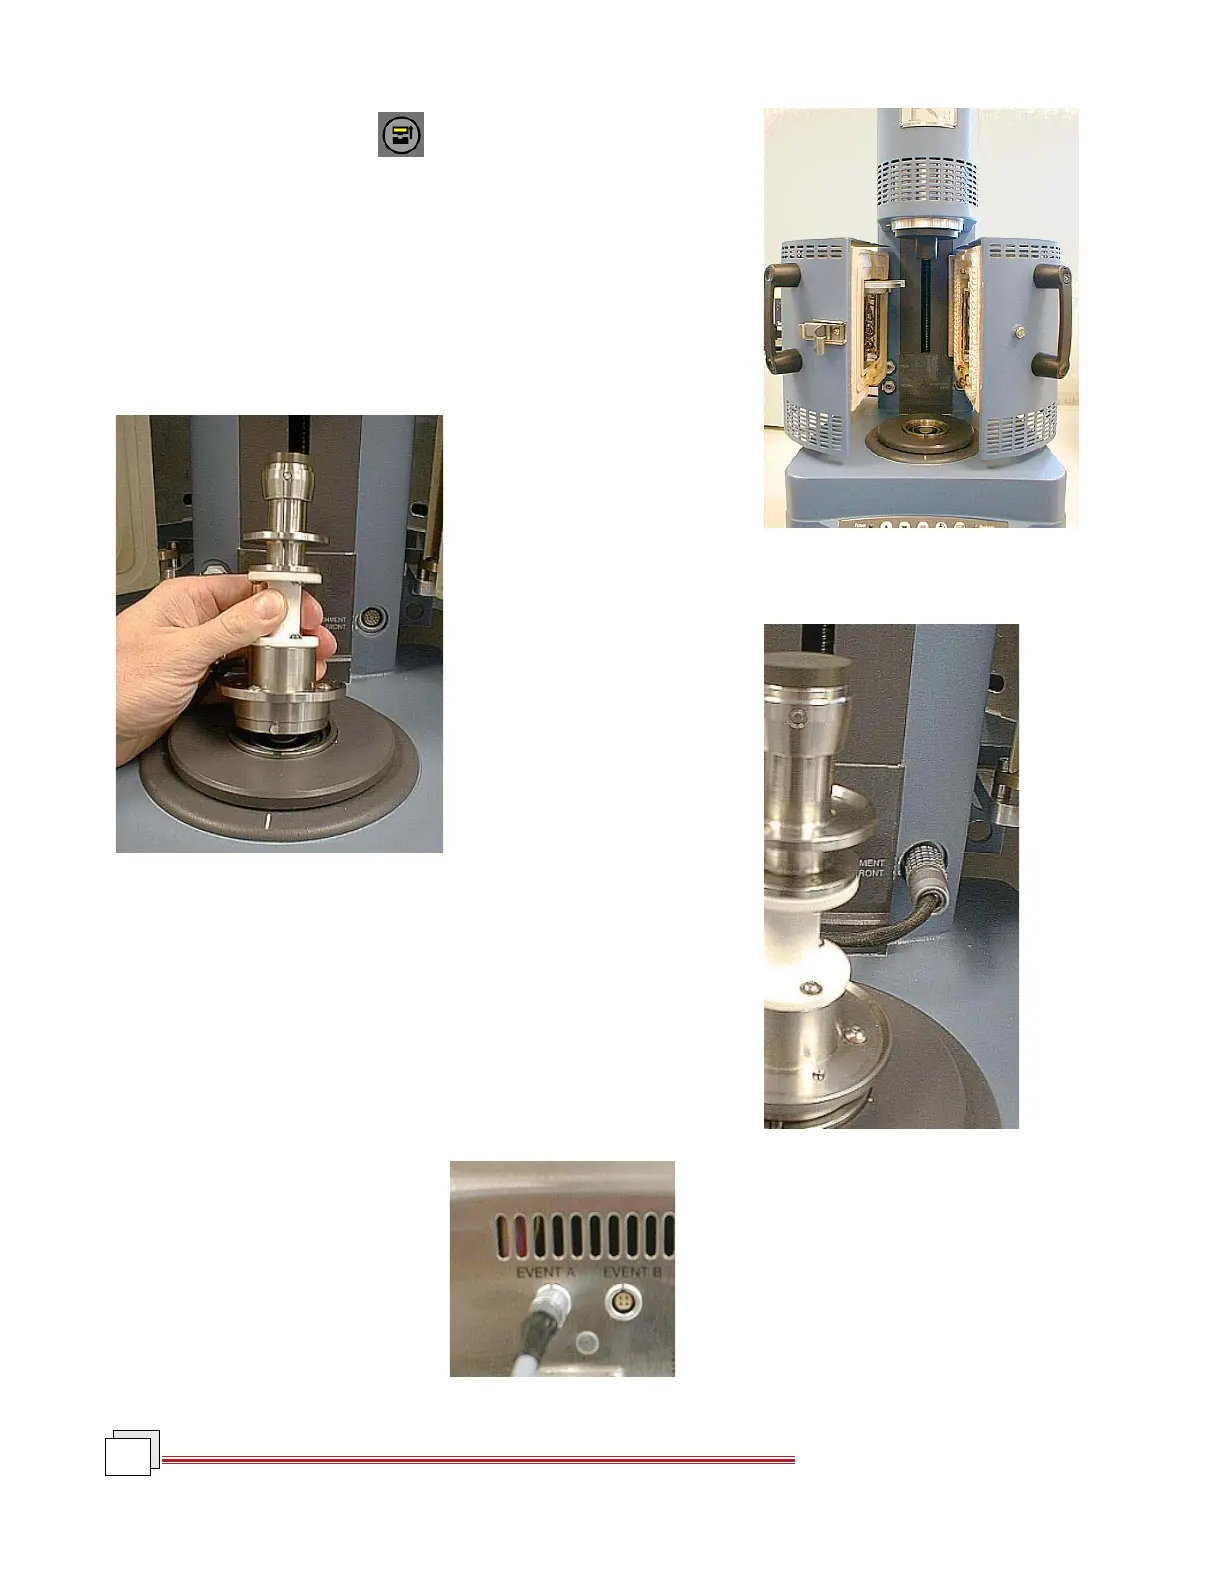
Figure 5.18
Fitting the Lower Attachment
Figure 5.19
Connecting the Cable from the Lower
Attachment to the Rheometer
11. Press the 'Release button,' , on the control panel. A continuous
green light indicates that the attachment can be fitted.
NOTE: The release state will only stay active for 10
seconds.
Le dévérouillage restera actif pendant 10 secondes.
12. Fit the lower attachment, ensuring it is aligned correctly. See Figure
5.18 below.
13. Connect the cable
from the lower attach-
ment to the rheometer as
seen in Figure 5.19.
14. Close the oven and
ensure that no part of the
doors touch any part of
the lower fixture. Adjust
the position of the ETC
again, if required.
15. Attach the upper geometry, again making sure that no parts
are touching the fixture, adjusting the ETC if necessary.
16. If you plan to use the liquid nitrogen option with the ETC, skip
the following steps and proceed to the next section for installa-
tion instructions.
17. Insert the shorting plug into the
Event A connection on the
rheometer as shown here.
Figure 5.17
ETC with Open Oven Doors