124 Disassembly and Reassembly TM9100 Service Manual
© Tait Electronics Limited August 2005
5.1 Removing and Mounting the Control Head
Important Before removing the control head, disconnect the radio
from any test equipment or power supply.
Removing the
Control Head
1. Note which way up the control head is attached to the radio body in
order to return the radio to the customer in its original configuration.
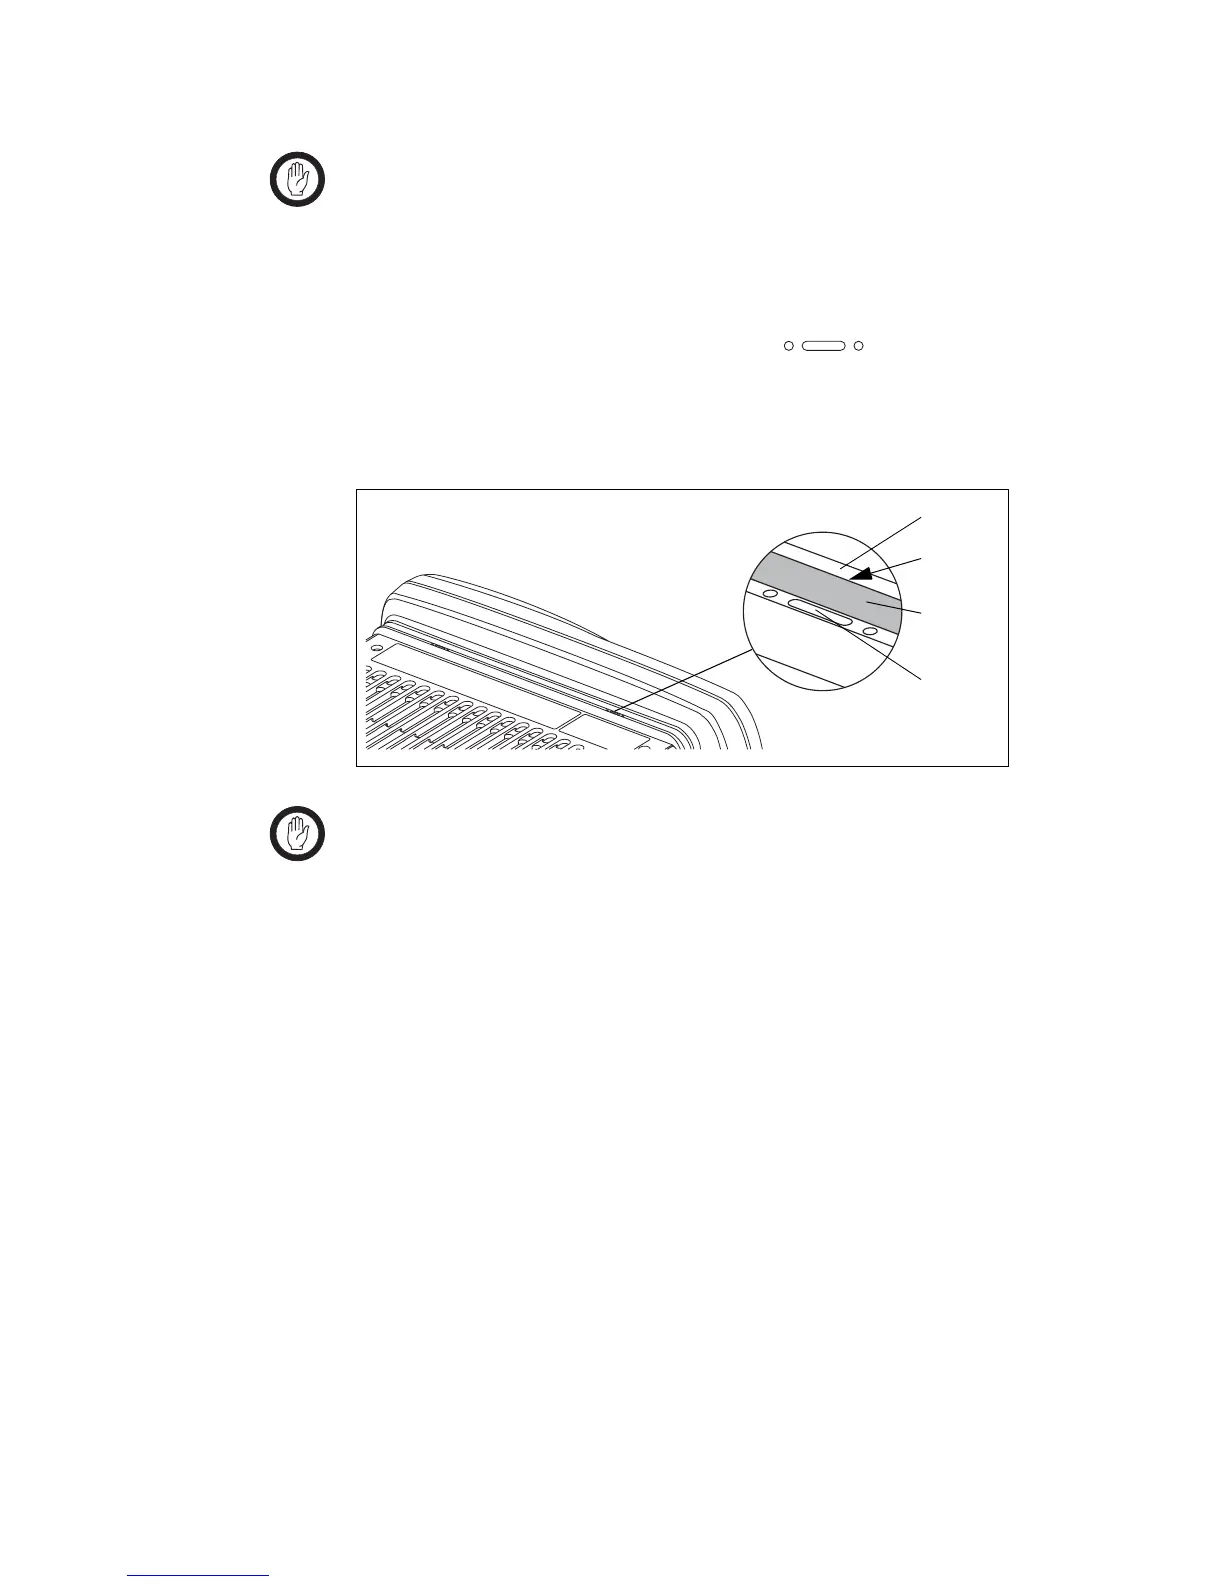
2. On the underside of the radio body, two lever points are indicated on
the radio body by a dot-dash-dot pattern ( ).
The lever point is between the control-head seal and the plastic of the
control head.
Important When inserting the flat-bladed screwdriver, take care not to
damage the control-head seal.
3. At either of the lever points, insert a 3/16 inch (5mm) flat-bladed
screwdriver between the control head and the control-head seal.
4. Use the screwdriver to lift the edge of the control head up and off the
clip, then repeat in the other position. The control head can now be
removed.
5. Disconnect the control-head loom.
6. Inspect the control-head seal for damage, and replace if necessary.
Mounting the
Control Head
1. Plug the control-head loom onto the control-head connector.
2. Insert the bottom edge of the control head onto the two clips in the
front of the radio body, then snap into place.
Figure 5.1 Disconnecting the control head from the radio body
lever point
indication of
lever point
control-head
seal
control head
 Loading...


