4-102
4
PILOT VALVE (AUXILIARY)
DISASSEMBLY AND ASSEMBLY
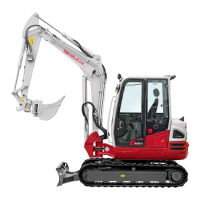
9. Place the cover sideways on a flat surface, and press
fit the bushing by using the special jig and tapping it
lightly with a hammer.
• Take care that the end of the bush does not pop out
of the cover.
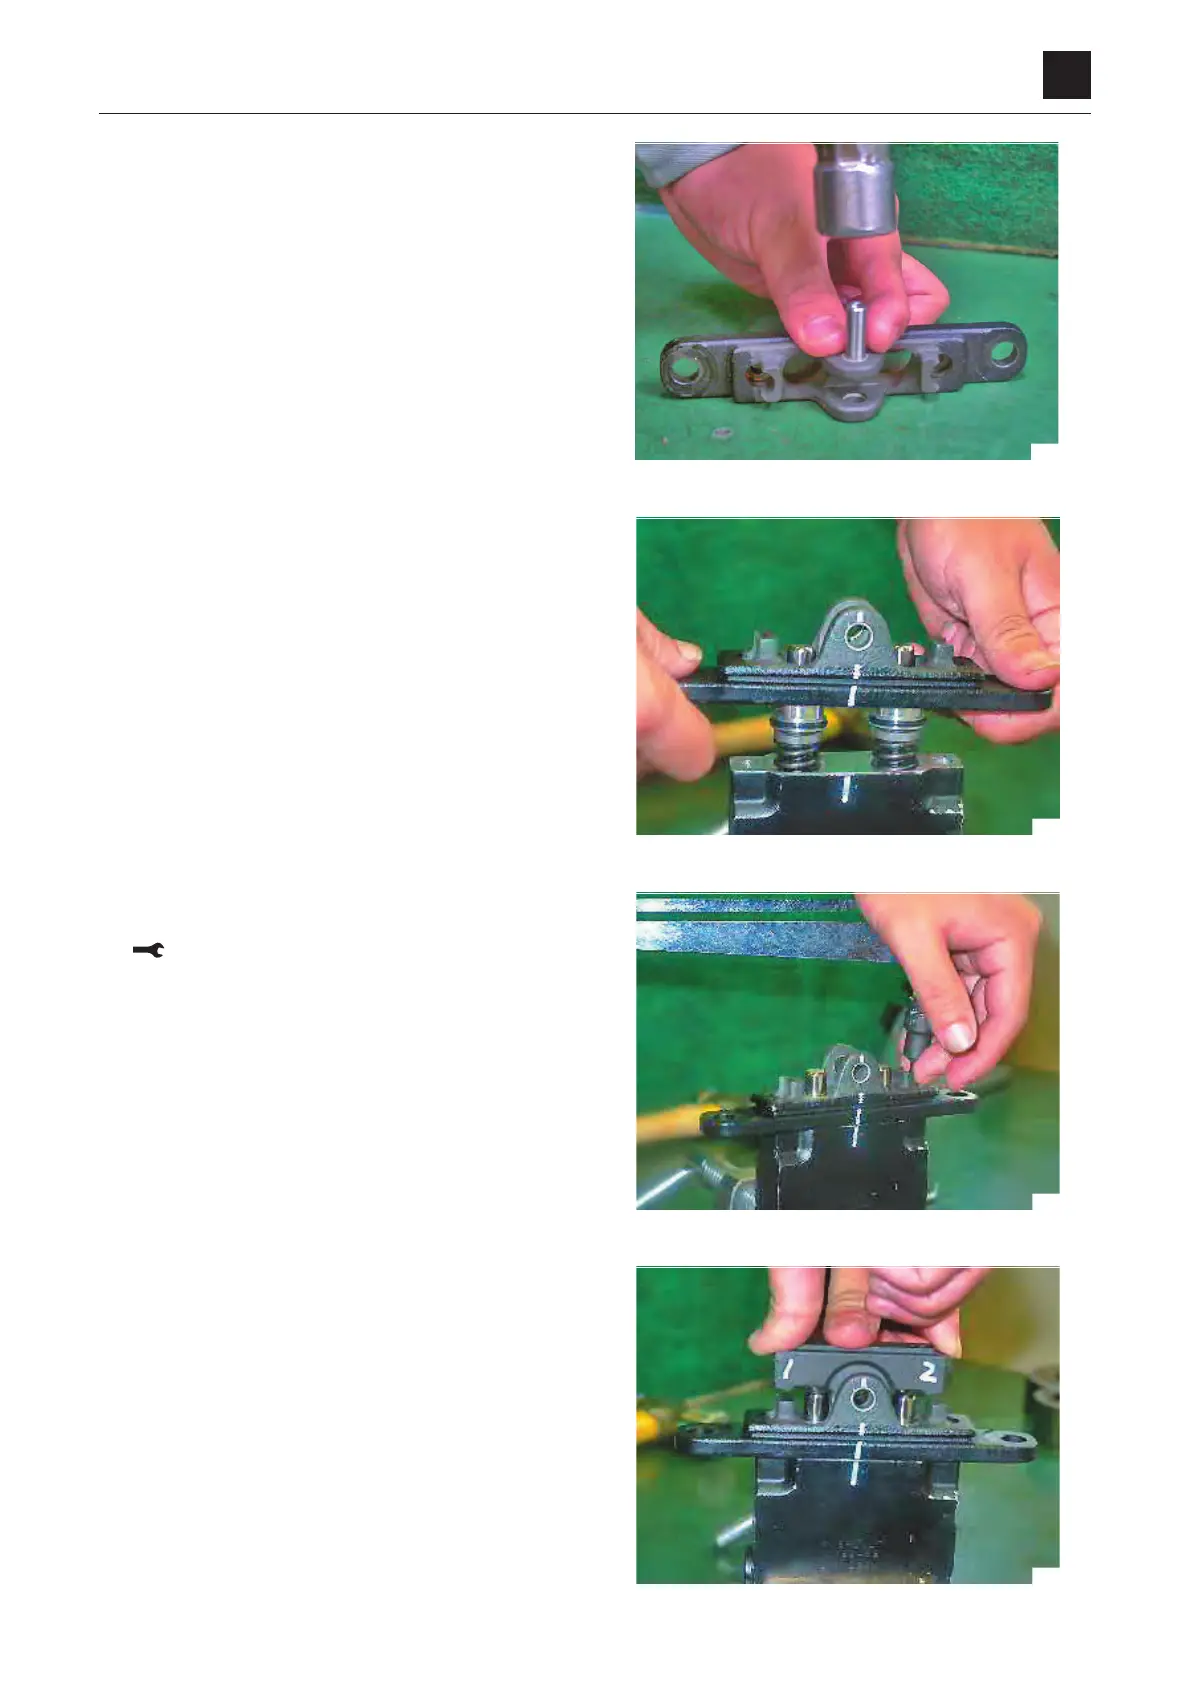
10. Install the cover in the casing.
• Install the cover in the position it was in before dis-
assembly.
• Take care that the cover is not lifted by the return
springs.
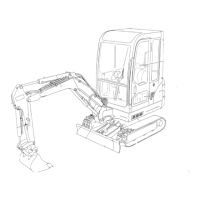
11.
Tighten the cap screws with the specified torque.
• Make sure that the cover is in a level position.
Cap screw: 8.8 ±0.1 N∙m
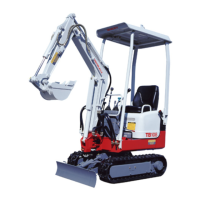
12. Install the cam in the casing.
• Install the cam in the positions they were in before
disassembly.