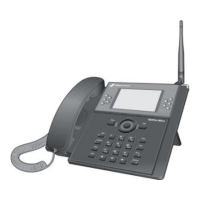
OptiCon Micro
Installation and Operation Manual
17
2.5 Hardware Installation
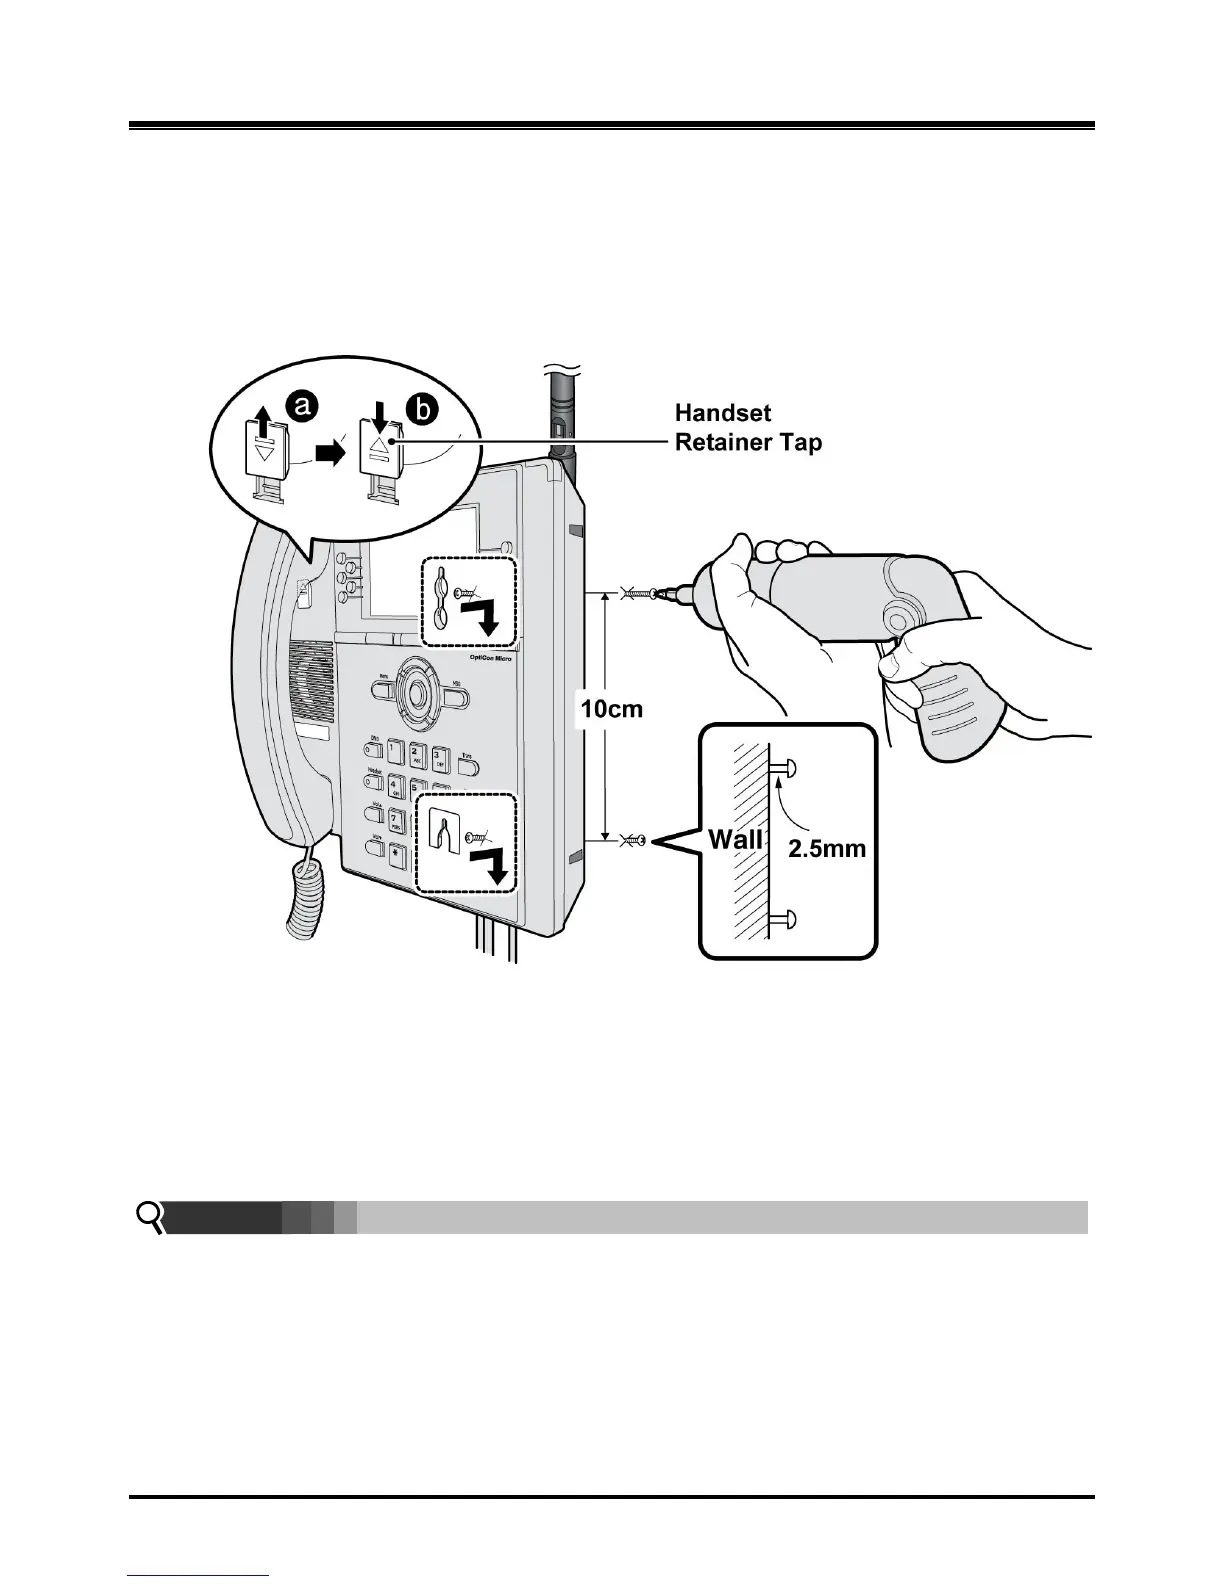
2.5.1 Wall Mounting of the LWS-BS or the LWS-WK
To wall mount the LWS-BS or LWS-WK, perform the following:
1. Remove the foot stand.
2. Make sure the handset retainer tab is positioned at „b‟ as shown below figure.
Figure 2.5.1-1 Wall Mount of LWS-BS/ LWS-WK
3. Make a small mark on the wall where you want the top keyhole slot to align and install a screw
(not provided) so that it protrudes slightly, approx. 2.5mm, from the wall (Figure shown).
4. Measure a straight line down 10cm from the mark, and install another screw (not provided).
5. Align the keyholes on the back of the phone with the screws in the wall, and then slide the phone
down on the screws to secure the phone.
Note:
Ensure all cables are properly routed and that power is installed before affixing to the wall
mount screws.