NOTES, RESOURCES, ADDITIONAL INFORMATION | 83
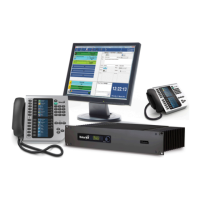
Click on the
admin virtual slide switch at the bottom left of the page and the menu will change to the one
below. You may be asked for your username and password to access this. Use ‘wwwadmin’
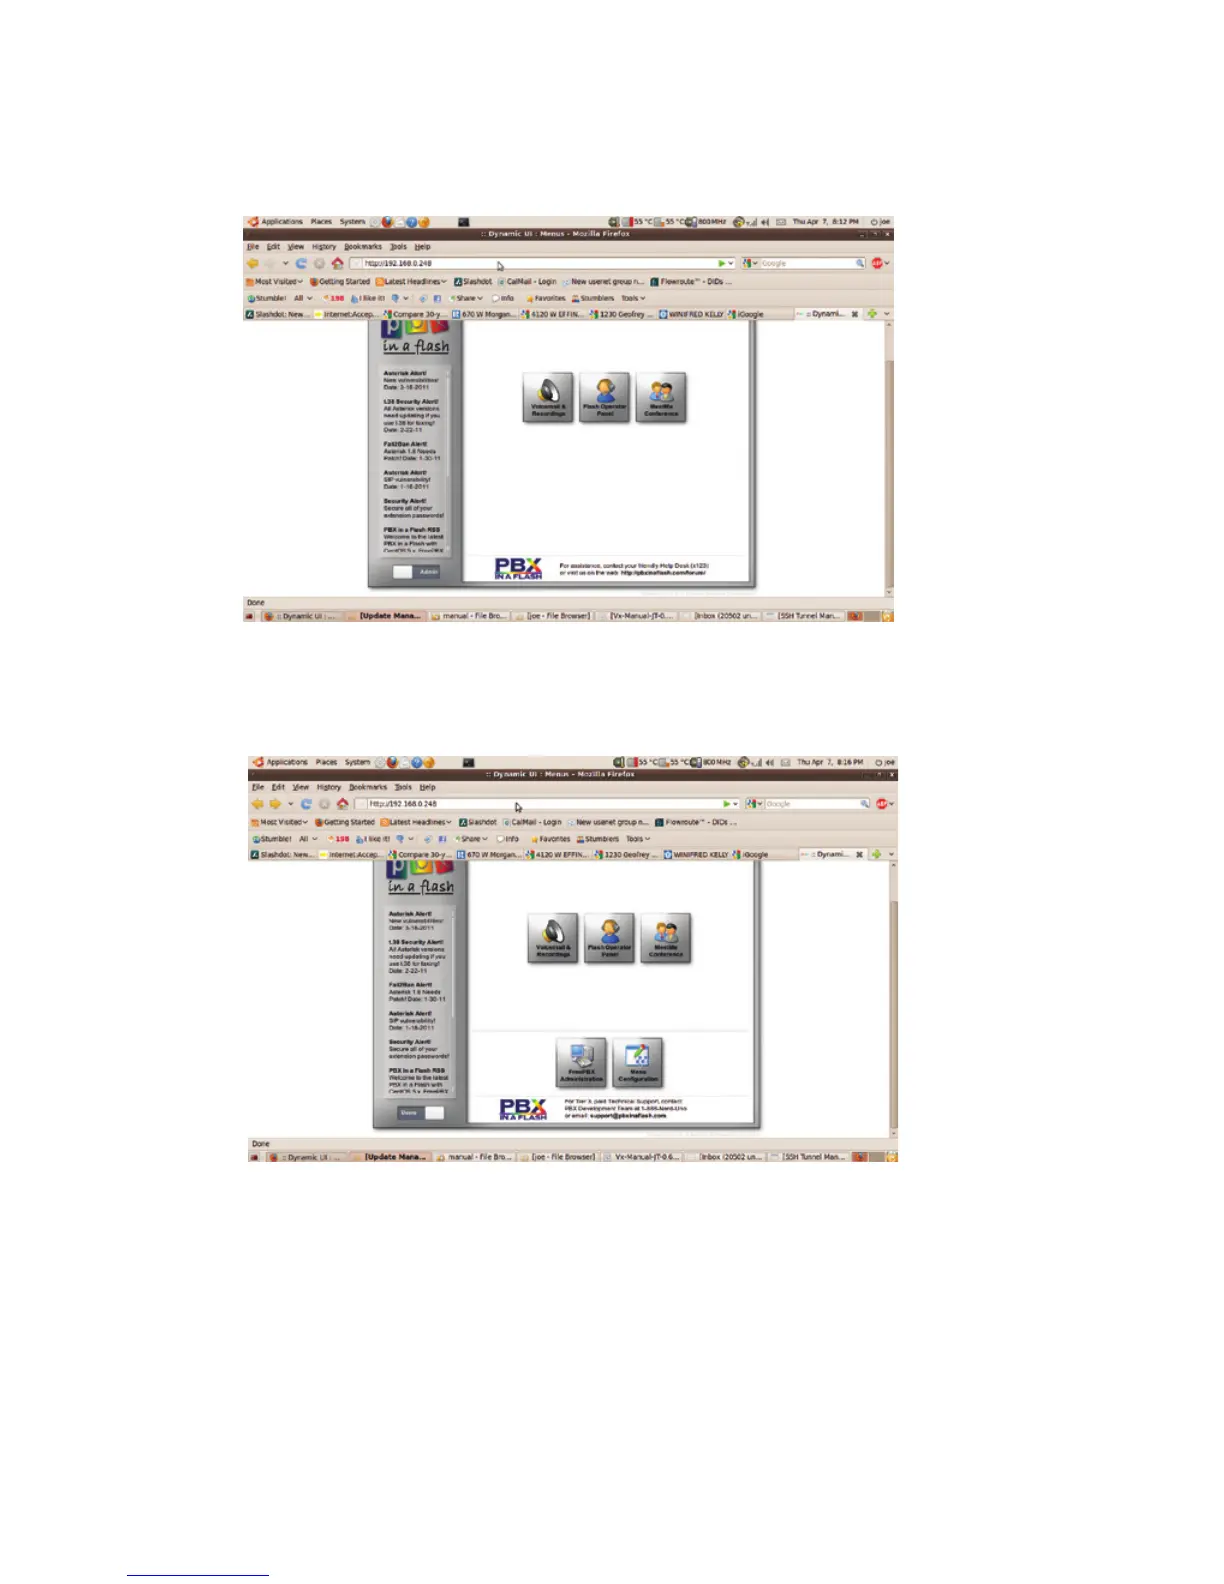
and the password that you set earlier, then click OK. You should see the screen below.
Use ‘FreePBX’ to do some administration chores
Click on FreePBX Administration and you’ll see a new menu that supports almost all of the
features you’ll regularly use in Asterisk. You’ll do most of your setup from this menu.
Here’s what we’re going to do next:
♦ Create an extension that we’ll later use with the VX.
♦ Set up a trunk to accept incoming calls and to be used to make outgoing calls.
♦ Set up an ‘inbound route’ to tell incoming calls how to get to our extension on the VX.