70
Unit ID No. Switch No. 1 Switch No. 2
1ON ON
2 OFF ON
3 ON OFF
4 OFF OFF
11.3. Talk Key Settings (Switch 4 operation)
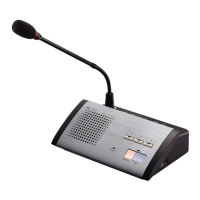
Set the operating system of the RM-200M's front-mounted Talk key.
Setting the DIP switch 4 to ON enables announcement to be broadcast while the Talk key is held down.
Releasing the Talk key terminates the broadcast. (Press-To-Talk or PTT mode)
Setting the DIP switch 4 to OFF enables a broadcast to initiate and pressing the key again terminates the
broadcast. (Lock mode)
(Default: ON)
11.4. Compression Settings (Switch 6 operation)
To perform compression settings, use the DIP switch No. 6.
Setting the DIP switch 6 to ON enables announcements to be broadcast without distortion even if excessive
input signal is applied to the microphone. (Default: ON)
Note
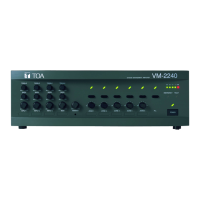
Be sure to press the VM reset switch located on the VM-3240VA's front panel to cycle the system power when
the unit ID has been changed with the system power switch turned on.
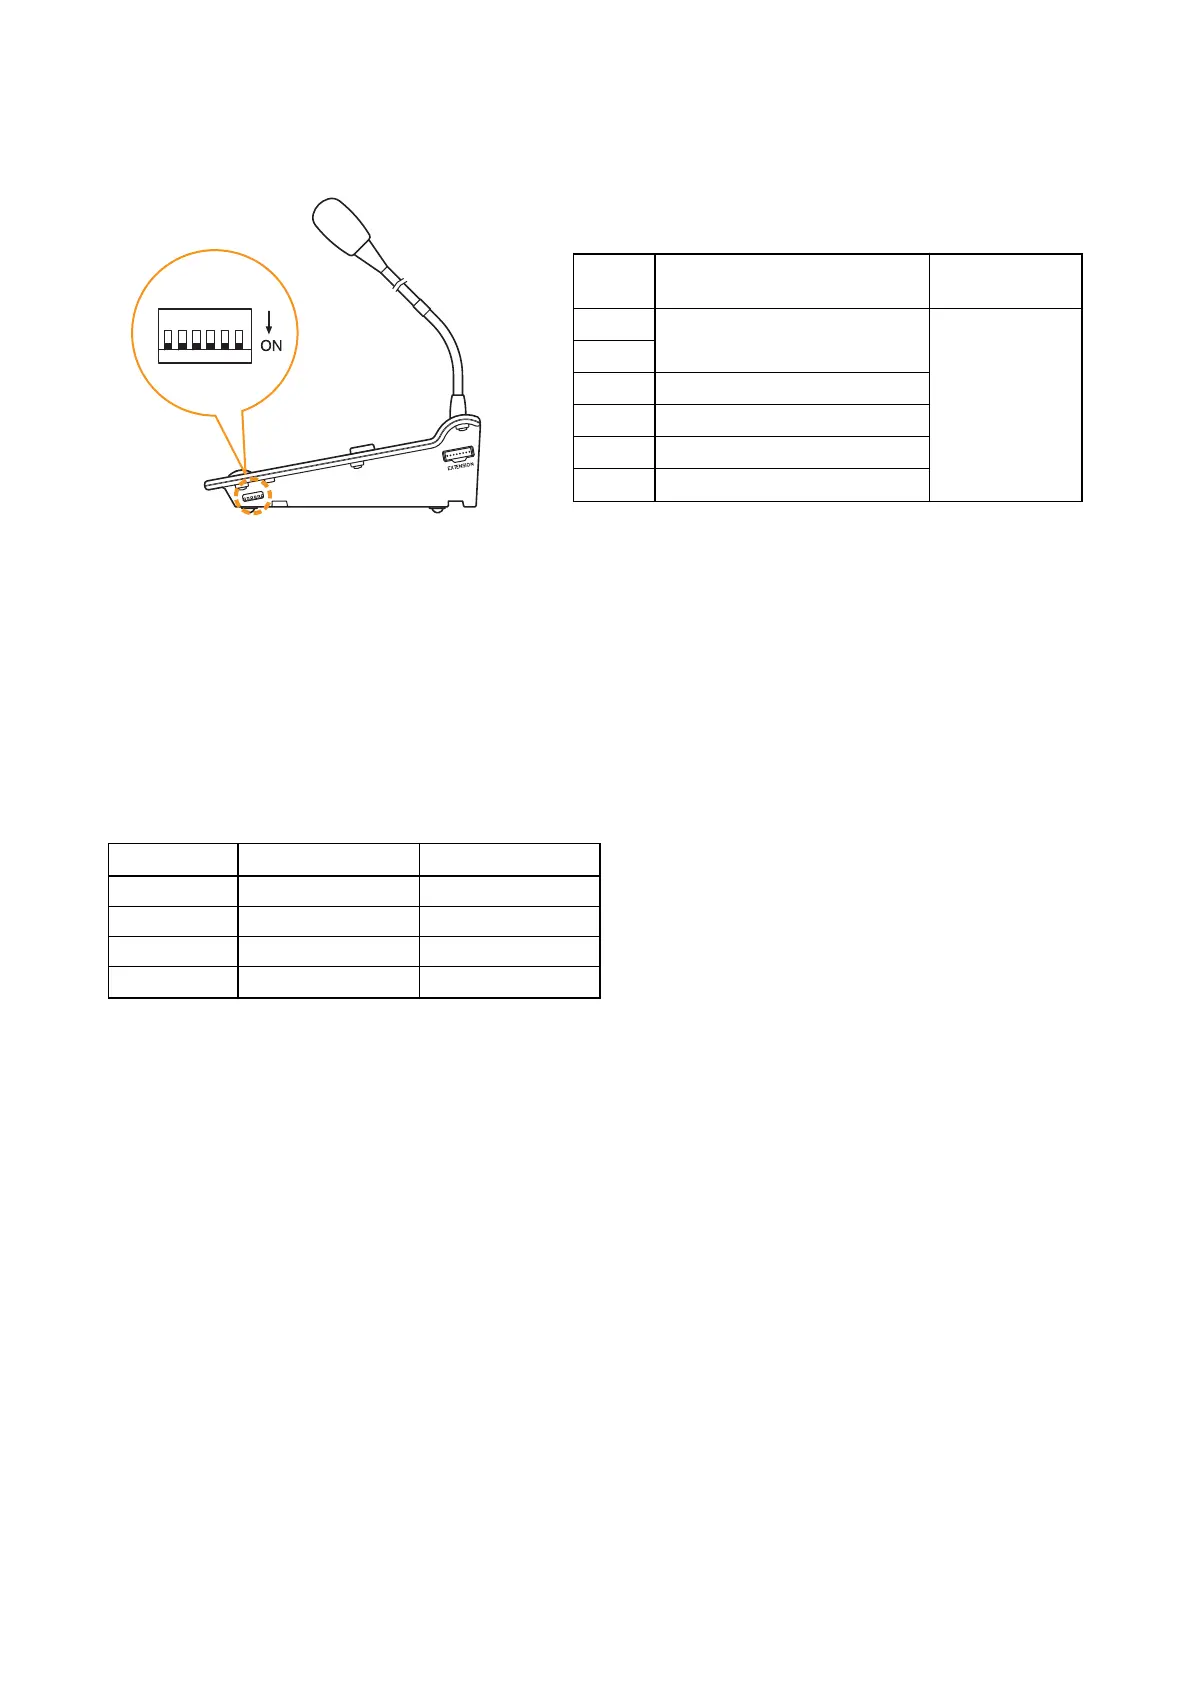
11.2. Unit ID Number Settings (Switches 1 and 2 operation)
To set the unit ID number of the RM-200M, use the DIP switches 1 and 2.
Make the Setting Software-assigned ID numbers for these units and the ID numbers set by their DIP switches
identical. (All DIP switches set to ON by default)
(For setting instructions using the Setting Software, refer to the separate Setting Software Instructions, "RM
function key settings.")