2. Measurement Operation
32
11
Place the BM-7A to be corrected at the location where the reference luminance
colorimeter is placed, then press the [ENTER] button to display the following screen.
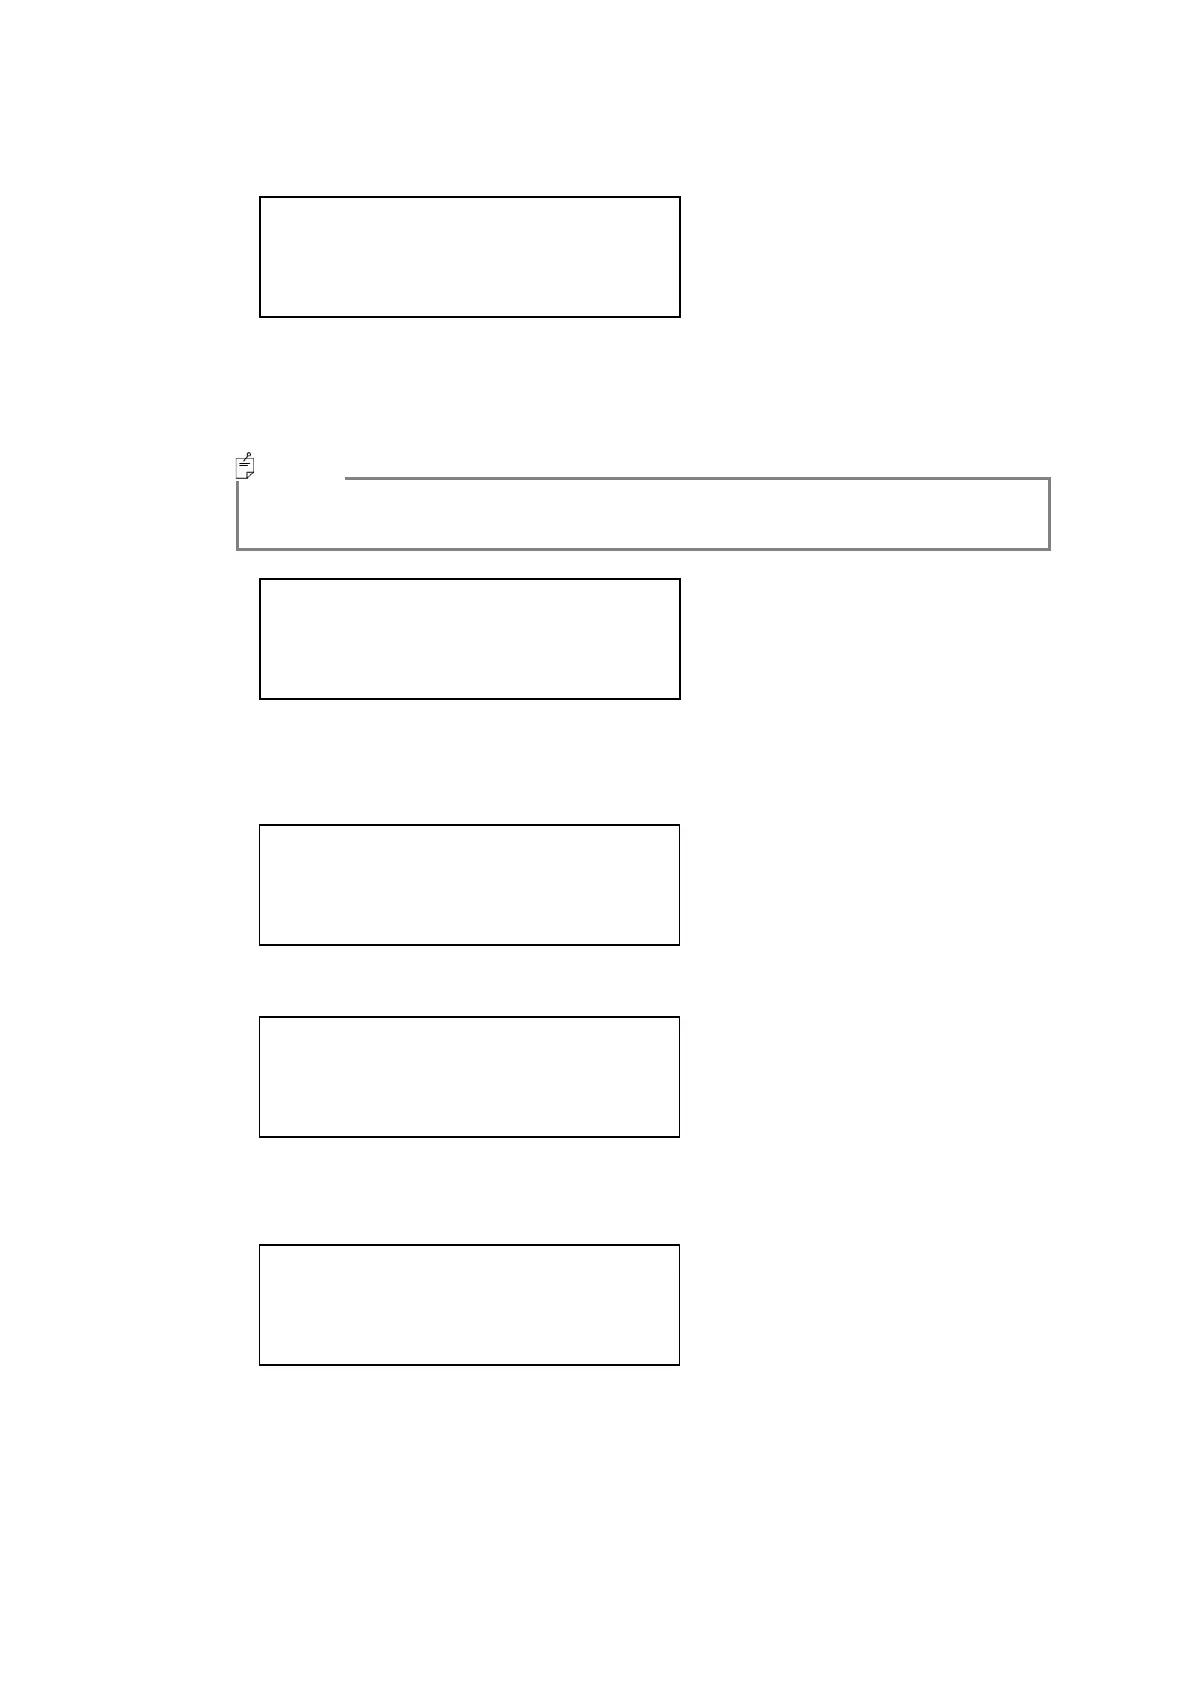
Select "Measure Factor" and press the [ENTER] button.
12
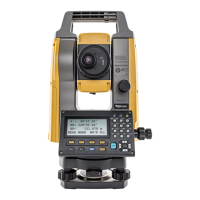
Specify a number to write the data for the BM-7A to be corrected. Select the number
where the data for the reference luminance colorimeter is written, then press the RUN/HOLD
switch to start measurement.
・ If the data of the reference luminance colorimeter is not written in "REF",
measurement is not performed.
13
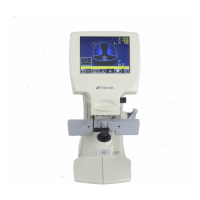
The message "Measuring" is displayed on the LCD, and the BM-7A to be corrected begins
measurement. After finish of measurement, the following screen will be displayed for about 3
seconds.
14
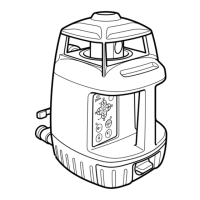
The correction factor is calculated and the following screen is displayed.
15
When "SET" is displayed on the following screen by pressing the [CHANGE] button, indicates
that the correction factor has been set.
16
After returning to the function mode, the correction factor becomes valid.
Entering to the Function Mode
☞
「3.1.1 Entering /Returning from the Function Mode」
K11
NO DATA
R=NEXT S=PAGE
Memo
SMP11 x= 0.4475
y= 0.4320
L= 2.071E+01
K11 KX= 9.343E-01
KY= 9.589E-01
KZ= 9.396E-01
C=SET R=NEXT S=PAGE
K11 KX= 9.343E-01
SET KY= 9.589E-01
KZ= 9.396E-01
C=SET R=NEXT S=PAGE
*Direct-Conn Factor*
*Measure Factor
Exit