e-STUDIO2006/2306/2506/2007/2307/2507/2303A/2303AM/2803AM/2309A/2809A
© 2013-2017 TOSHIBA TEC CORPORATION All rights reserved
DISASSEMBLY AND REPLACEMENT
4 - 34
4.6.2 Bypass feed clutch (CLT3)
(1) Take off the right cover.
P. 4-8 "4.1.13 Right cover"
(2) Remove 2 screws and take off the cover [1].
When attaching the earth, run the earth wire
around [6] as shown in the figure.
Fig. 4-84
If the ADU is attached, remove 3 screws, and
remove the cover [1].
When attaching the earth, run the earth wire
around [6] as shown in the figure.
Fig. 4-85
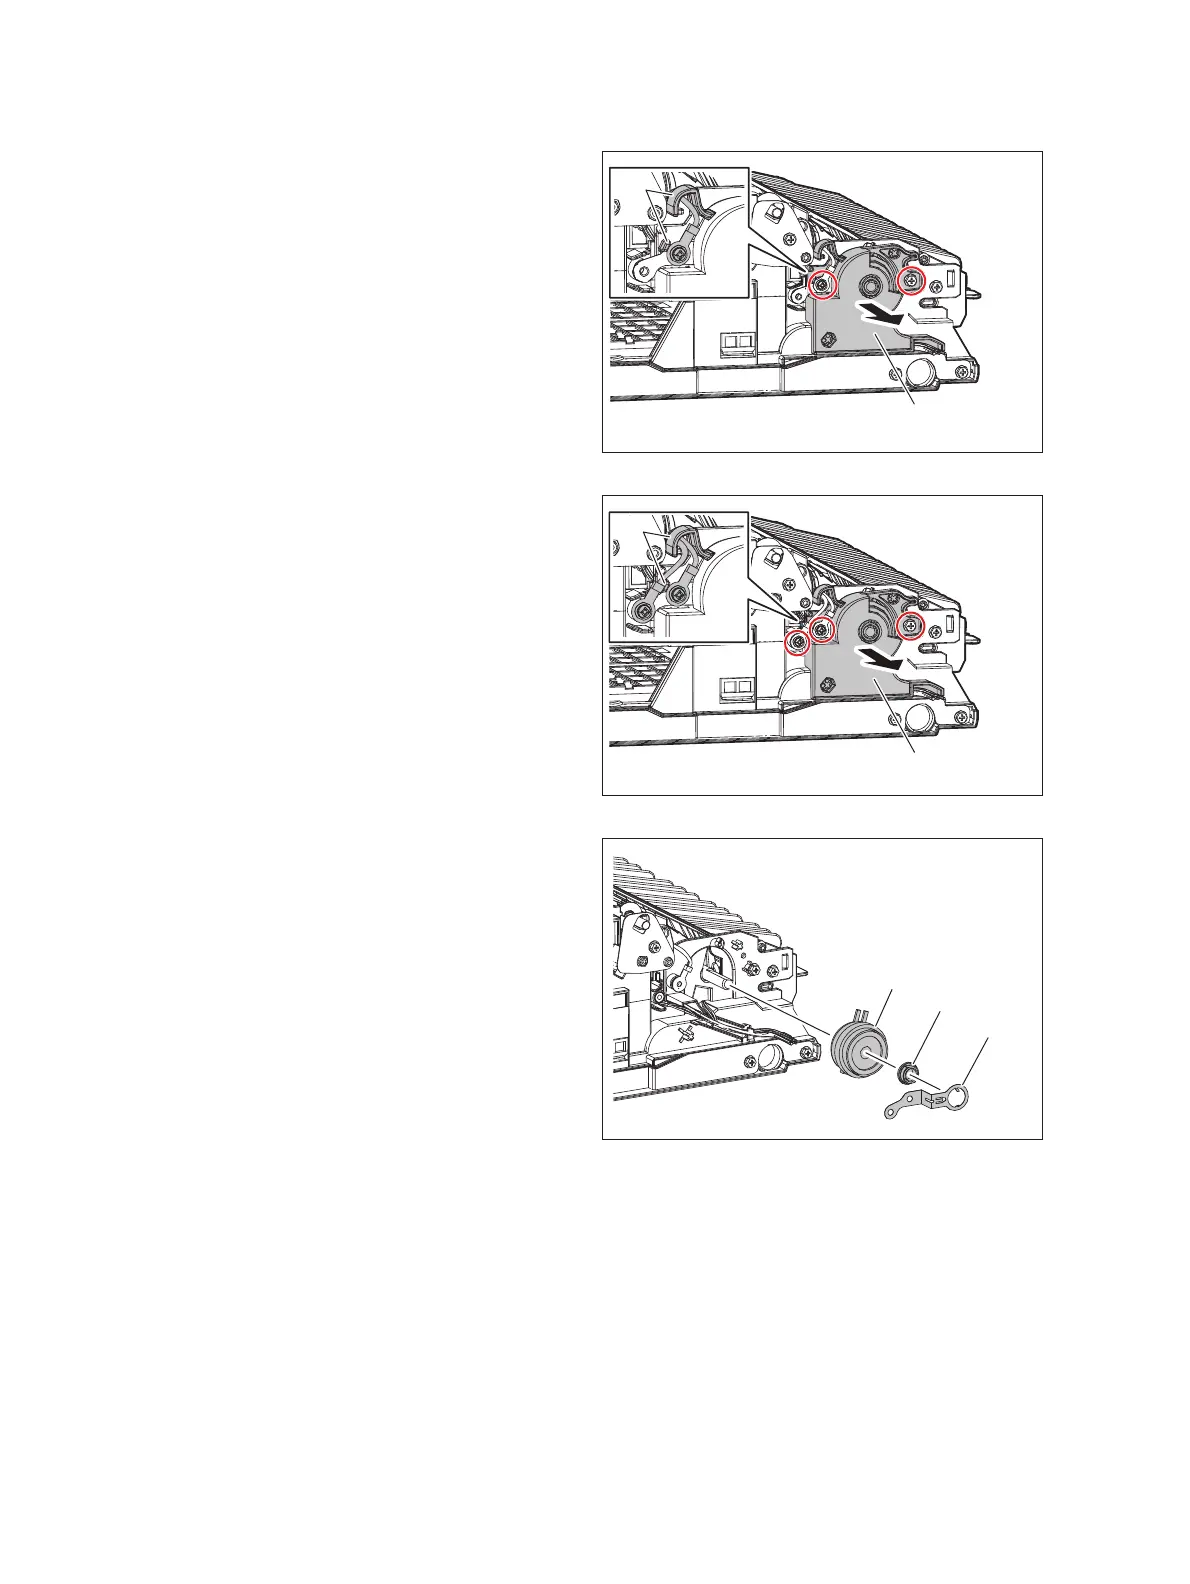
(3) Remove the plate [2], 1 bushing [3], and then
bypass feed clutch [4].
Fig. 4-86
[6]
[1]
[3]
[2]
[4]

 Loading...


