4
© 2013-2017 TOSHIBA TEC CORPORATION All rights reserved
e-STUDIO2006/2306/2506/2007/2307/2507/2303A/2303AM/2803AM/2309A/2809A
DISASSEMBLY AND REPLACEMENT
4 - 81
4.8.4 Side heater lamp (LAMP2)
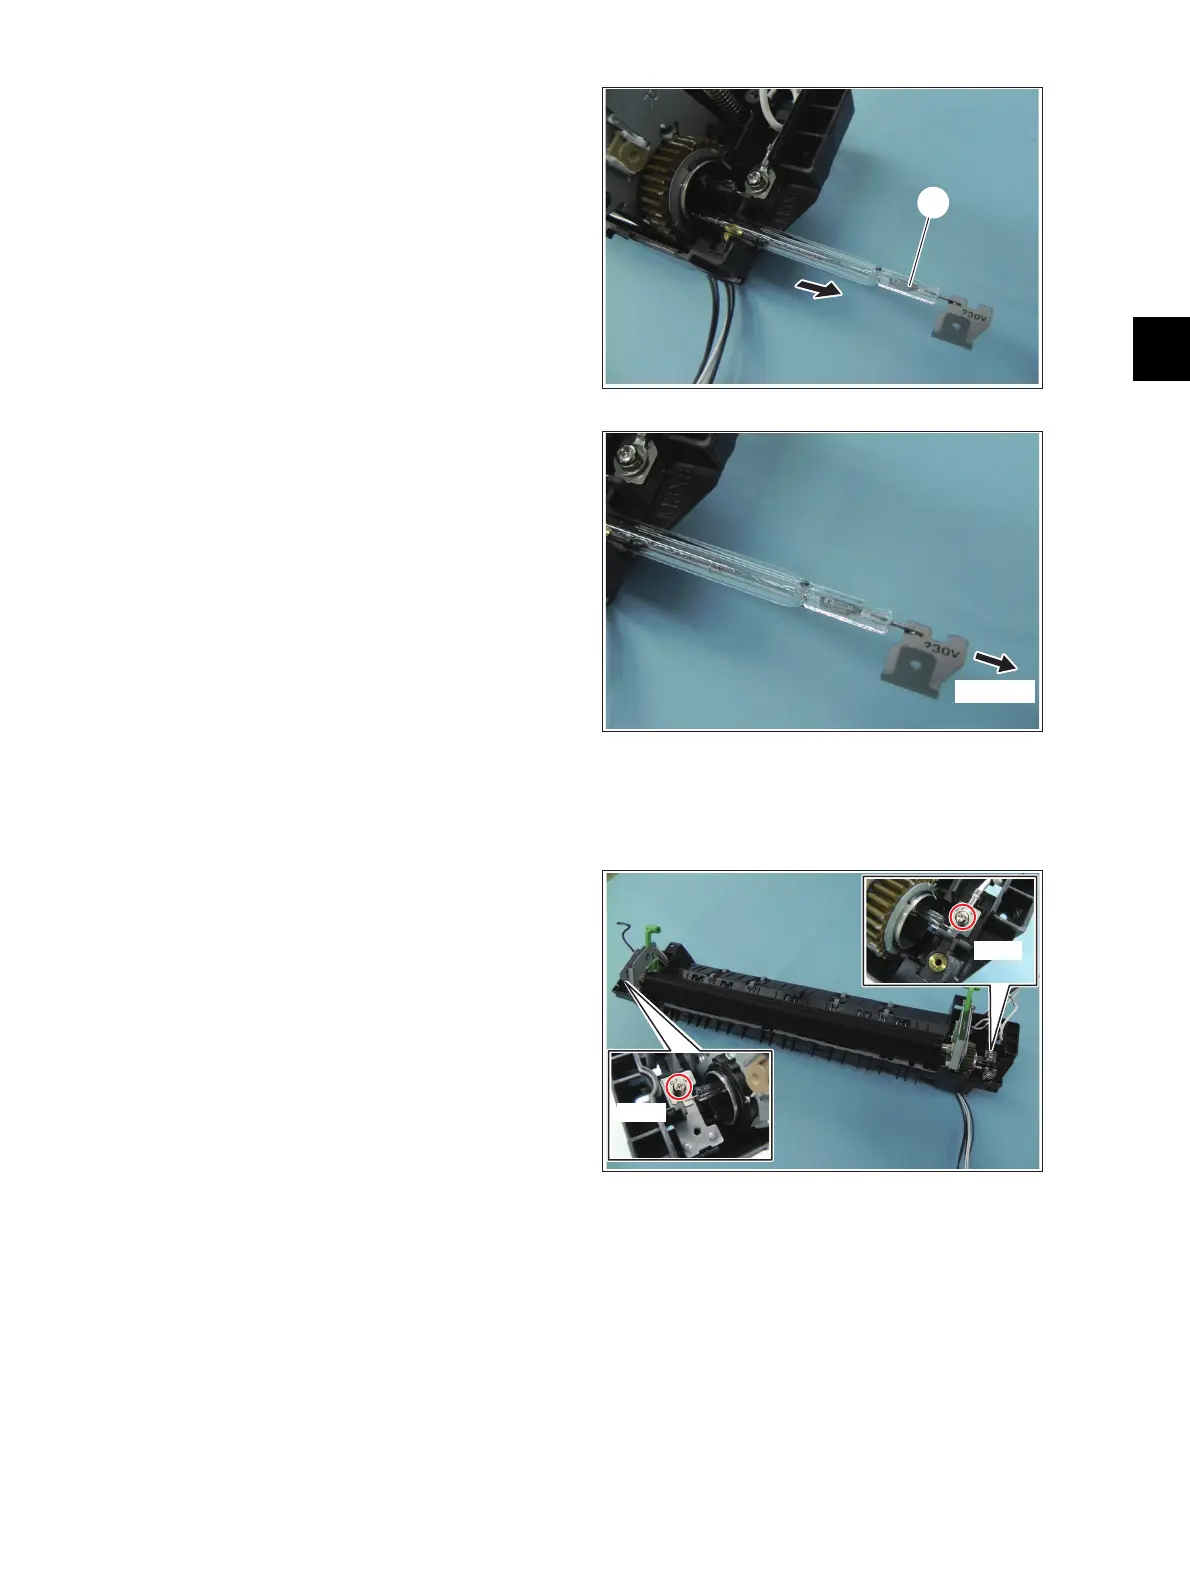
(4) Take off the Center heater lamp [2] from the
rear side.
Notes:
1. When removing the Center heater lamp,
hold the Center heater lamp terminals.
2. Take care not to contaminate the Center
heater lamp surface with fingerprints, dust
or such.
Fig. 4-214
3. When installing the Center heater lamp,
face the side with the notch on the
terminal to the rear side.
Fig. 4-215
(1) Remove the fuser cover/fuser unit guide.
P. 4-78 "4.8.2 Fuser unit cover/Fuser unit
guide"
(2) Remove 2 installation screws.
Front side: M3x5
Rear side: M3x8
Fig. 4-216
[2]
M3x5
M3x8

 Loading...


