4
© 2013-2017 TOSHIBA TEC CORPORATION All rights reserved
e-STUDIO2006/2306/2506/2007/2307/2507/2303A/2303AM/2803AM/2309A/2809A
DISASSEMBLY AND REPLACEMENT
4 - 55
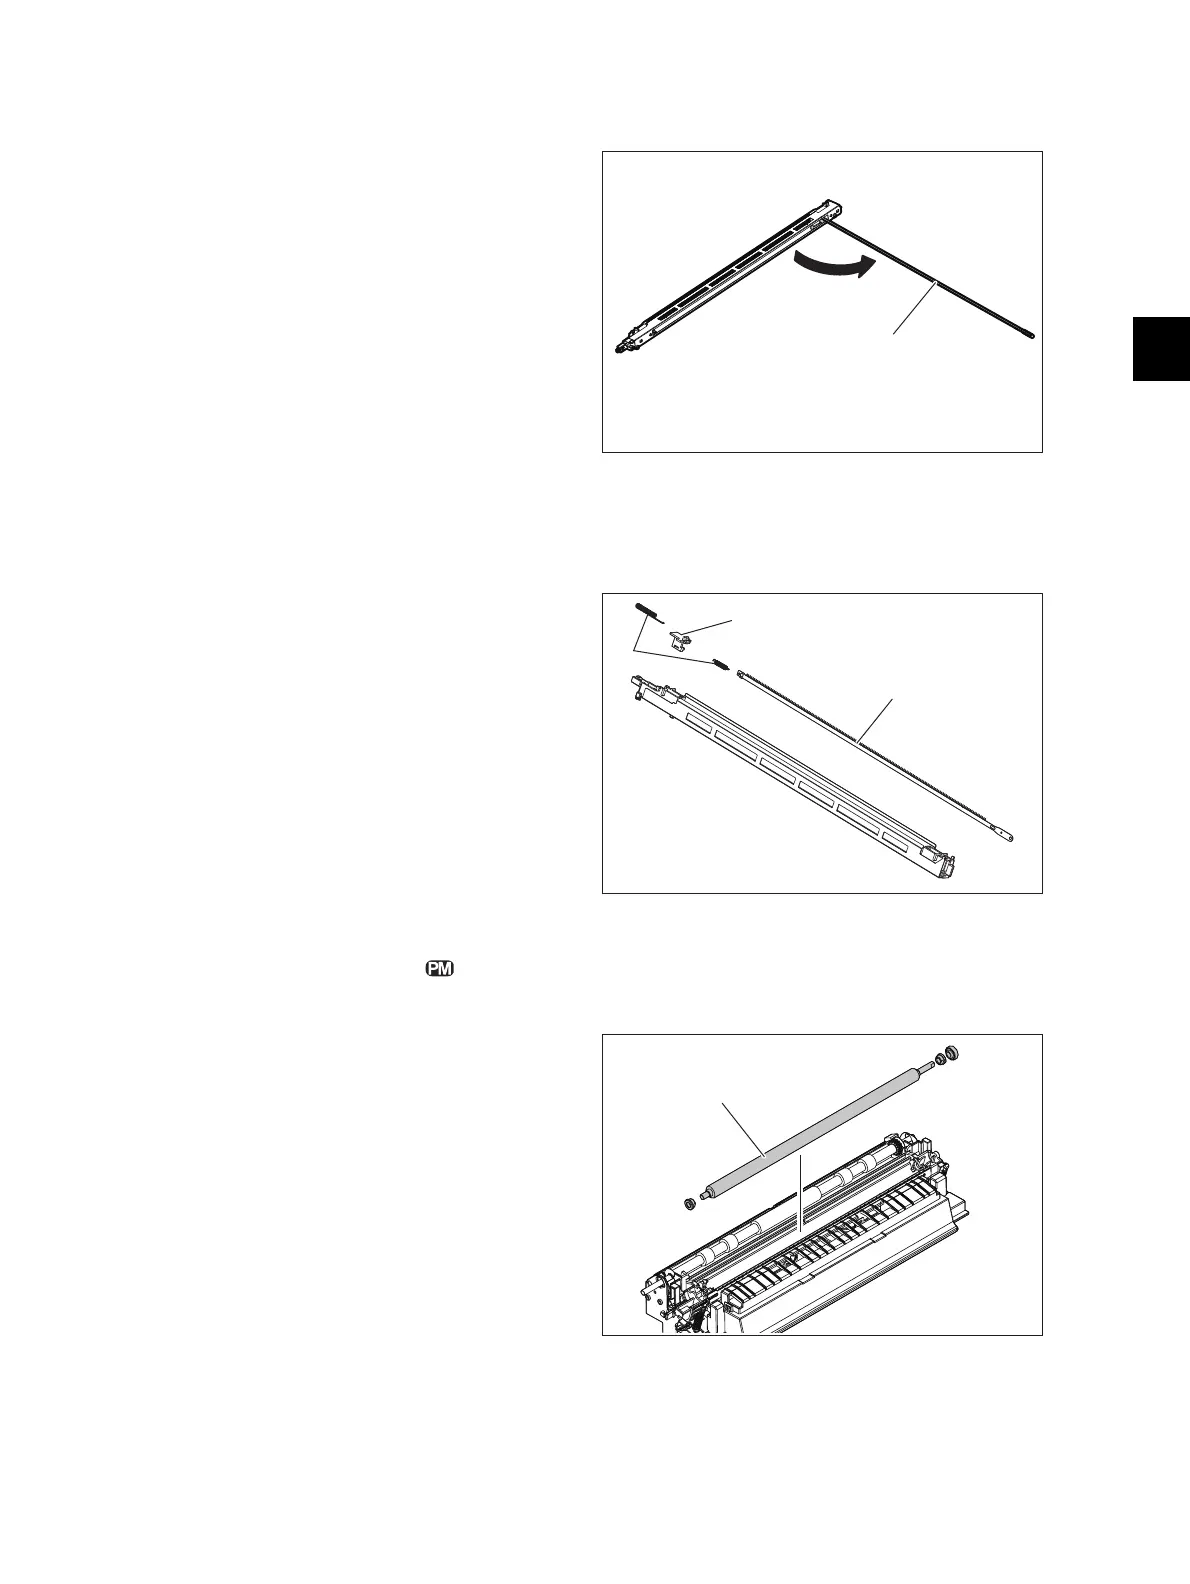
4.7.10 Main charger cleaner
4.7.11 Needle electrode
4.7.12 Transfer roller
(1) Take off the main charger.
P. 4-54 "4.7.8 Main charger"
(2) Release the latch of the cleaning shaft [1].
Then rotate the shaft at 90 degrees to take it
off.
Fig. 4-142
(1) Take off the main charger.
P. 4-54 "4.7.8 Main charger"
(2) Take off the main charger cleaner.
P. 4-55 "4.7.10 Main charger cleaner"
(3) Release the tensioner [1] and remove 2
springs [2]. Take off the needle electrode [3].
Notes:
1. Do not touch the needle electrode directly
with bare hands.
2. Make sure not to hold or bend the needle
electrode.
Fig. 4-143
(1) Open the right cover.
(2) Take off the transfer roller [1].
Fig. 4-144
[1]
[2]
[3]
[1]

 Loading...


