© 2005 - 2008 TOSHIBA TEC CORPORATION All rights reserved e-STUDIO281c/351c/451c
ADJUSTMENT
3 - 79
3
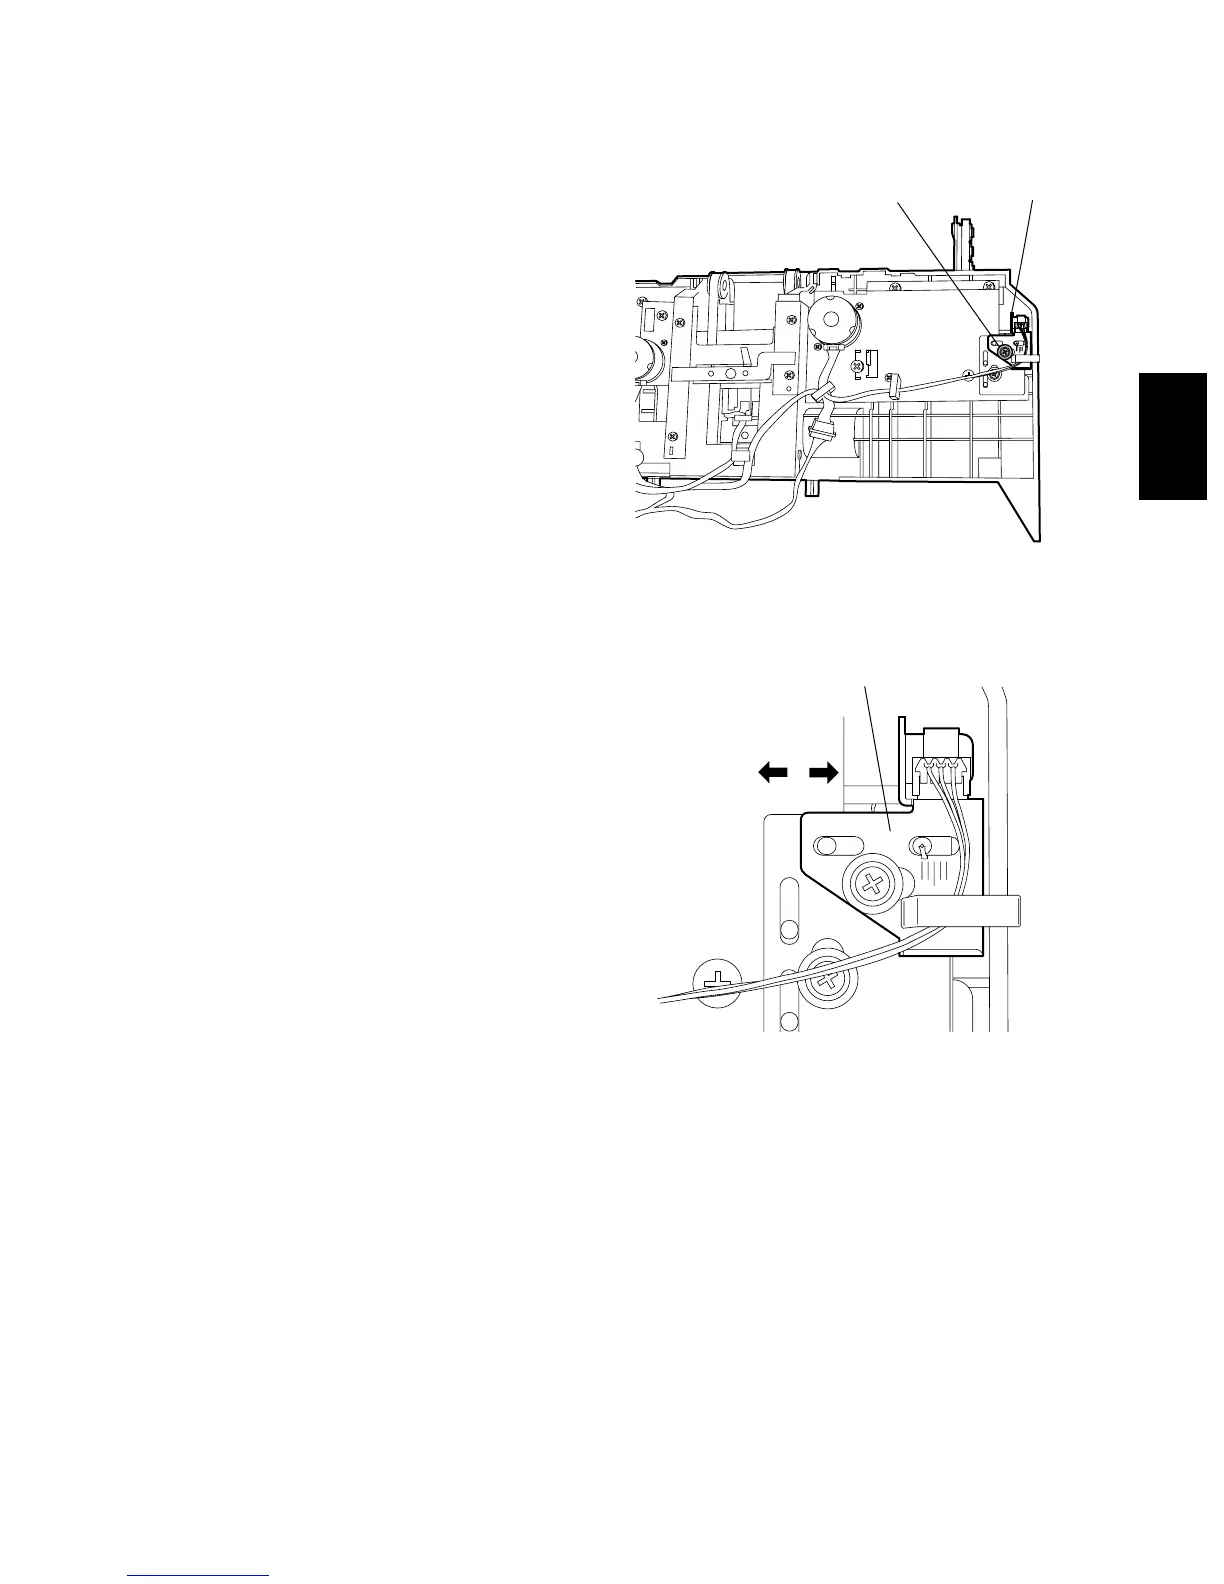
(5) Remove the processing tray.
(6) Loosen the screw on the home position sen-
sor plate at the front.
Fig. 3-69
(7) Adjust the position of the front jogging plate
home position sensor (S6) with reference to
the index.
EX. 1
If the width is 319 mm in step (2), the differ-
ence from the standard is +2 mm, it requires
relocation of the sensor [3] in the direction of
arrow A by 2 mm.
EX. 2
If the width is 316 mm in step (2), the differ-
ence from the standard is -1 mm; it requires
relocation of the sensor [3] in the direction of
arrow B by 1 mm.
Fig. 3-70
Screw
Home position
sensor plate
Sensor
AB

 Loading...


