© 2005 - 2008 TOSHIBA TEC CORPORATION All rights reserved e-STUDIO281c/351c/451c
FIRMWARE UPDATING
6 - 19
6
• Precaution when writing the data
- Consider two download jigs (PWA-DWNLD-350-JIG2) as “Download jig 0” and “Down load jig 2”
and do not mix them up when writing.
- Set the writing voltage (VID) to 3.3 V.
- When writing the data, set the address from 0 to 3FFFFF. The data may not be written correctly if
it is not set.
- The Flash ROM in which the data will be written, on the download jig is selected by switching the
rotary switch on the adapter. Be sure to switch the rotary switch on the adapter depending on the
data (file) to be written.
Important:
When an error such as "Over current detects" appears while the data are being written to the
download jig and the writing cannot be finished, set the writing voltage (VID) to 12 V and then
write them.
Note: Note:
Be sure not to confuse different ROM Versions since the file name is identical although the ROM
version is different.
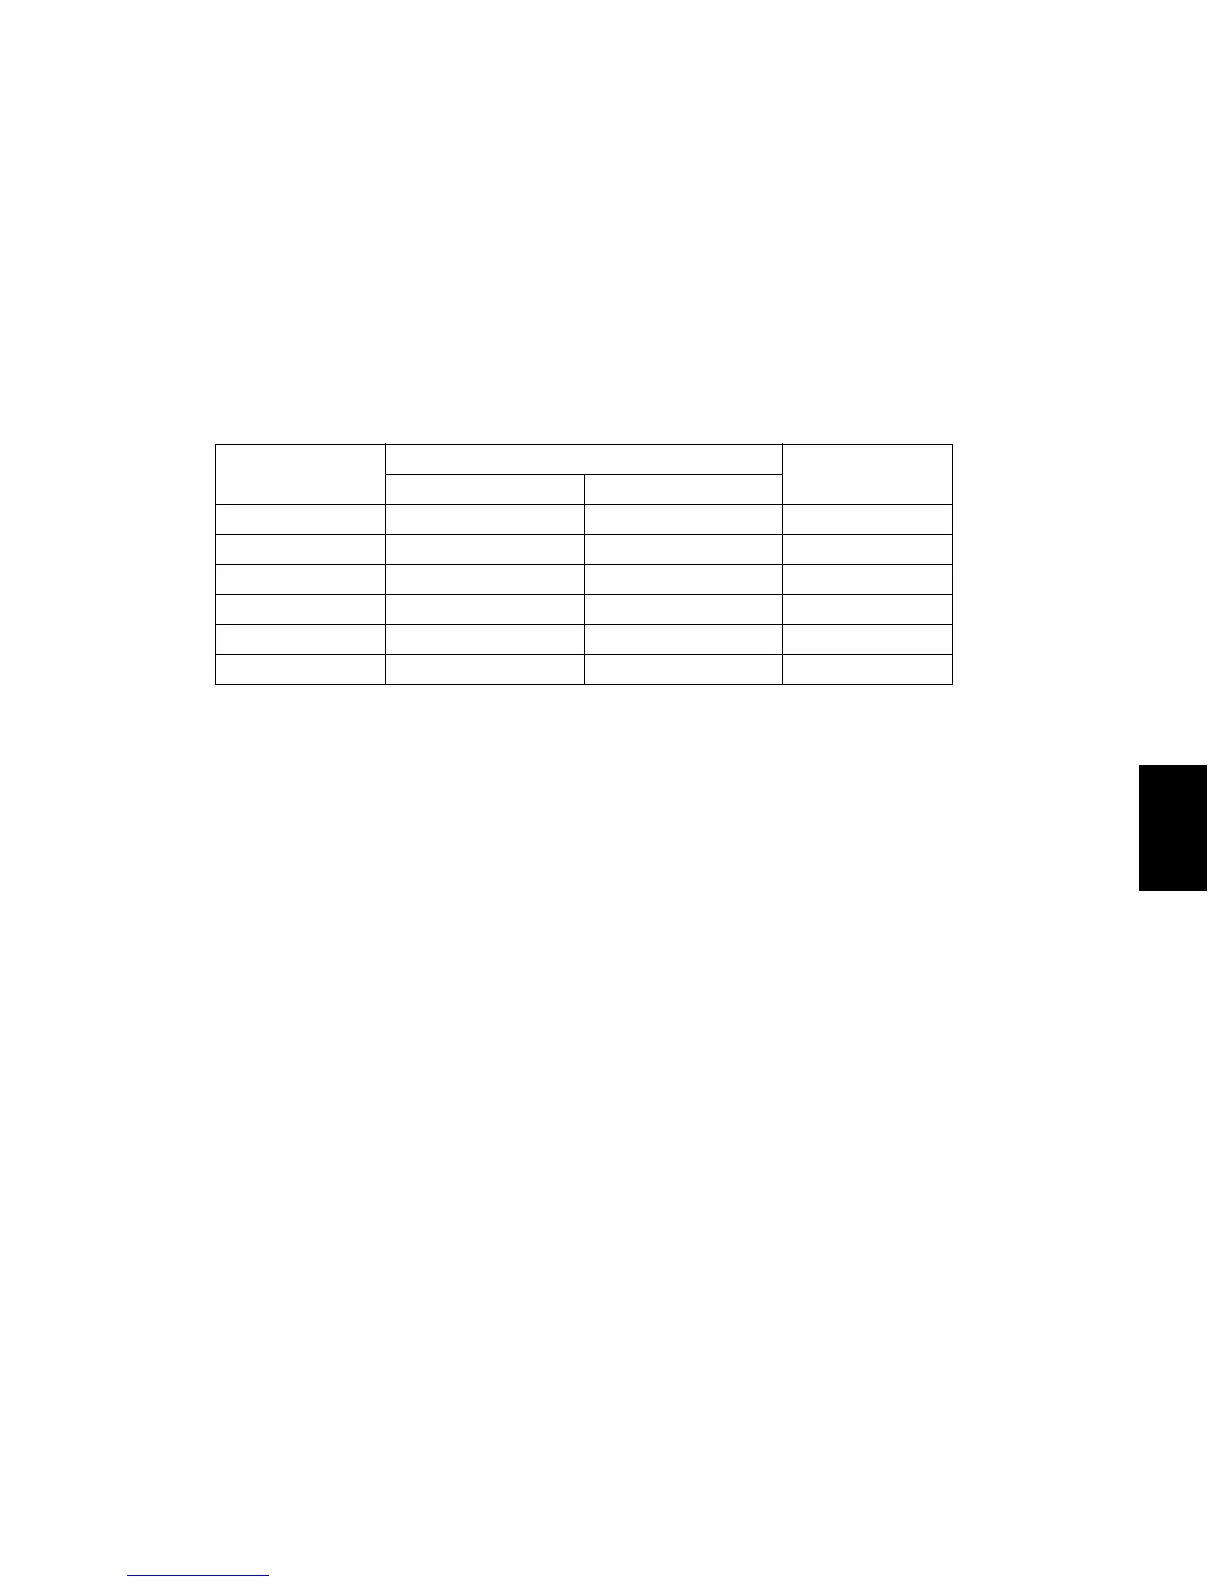
Rotary Switch
File Name
Flash ROM
Download jig 0 Download jig 1
1 jigu0-1.bin jigu0-0.bin ROM1
2 jigu1-1.bin jigu1-0.bin ROM2
3 jigu2-1.bin jigu2-0.bin ROM3
4N/A N/AROM4
5N/A N/AROM5
6N/A N/AROM6
08/04
 Loading...


