Enkapsis & EnerSure Platform Installation Guide Rev07.2
Bus2.0 CT Installation
WARNING
This installation procedure should be performed by a licensed electrician and should
be performed in accordance with all local, state, and federal regulations regarding
electrical work and safety standards.
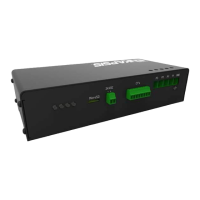
1.) Prepare the “knock-outs” on the tap box (Figure 32) to mount the Bus2.0
Cards. The Bus2.0 Cards are fitted with a 1 inch standard electrical feed-
through. A retention collar is also provided with each Bus2.0 Card. The 1”
feed-though connector requires a 1 ¼” “knock-out” to be made on the tap box.
The Bus2.0 Cards are placed onto the tap box (Figure 33) and secured with the
retention collar provided. The hinged cover to the Bus2.0 Card enclosure
should be opened to facilitate the connection of the Current Transformers by
loosening the thumb screw on the Bus2.0 Card enclosure to open the hinged
cover.
Note: The location of the Bus2.0 Cards is dependent on the end user’s desired
configuration and system layout. The Bus2.0 Cards can be mounted on the front cover,
sides, bottom, or top of the tap box. The illustrations in this guide show the Bus2.0
Cards mounted on the front cover of the tap box to minimize risk when installing the
system on live electrical circuits per the safety warning above.
Figure 32: Tap box with hole punched for Bus2.0