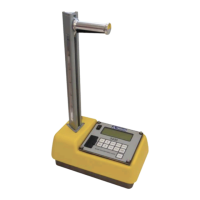
REPLACING GASKETS
The Model 3450 employs two gaskets and an o-ring to protect its
electronics from moisture, dirt, and debris. However, if the gauge
has been exposed to extremely wet weather or high humidity, or if
the gauge was used in the cold and stored in a warm building,
condensation may form inside the gauge. If this happens the top
shell should be removed and the gauge allowed to dry. Use a hair
dryer (on low heat) if necessary to remove any built-up moisture. If
moisture continues to be a problem or debris is present inside the
gauge base, the gaskets or o-ring may need replacing.
To replace the control panel gasket, loosen the four captive screws
that attach the control unit (keypad) to the top shell. Carefully lift
the control unit from the top shell and detach the ribbon cable.
Gently peel the old gasket from the panel and replace it with a new
gasket. Reconnect the ribbon cable and reinstall the control unit.
To replace the top shell/base o-ring, remove the control unit as
described above, then remove the screws that hold the top shell to
the gauge base. Lift the top shell from the gauge base. Remove the
o-ring from the gauge base. Coat the replacement o-ring with
vacuum grease. Install the new o-ring in the groove on the base.
Replace the top shell and tighten the top shell screws.
The auxiliary panel gasket should never need to be replaced. To
replace this gasket, remove the screws that hold the top shell to the
gauge base. Lift the top shell from the gauge base. Remove the
screws that secure the auxiliary gasket to the backing plate. Gently
peel the old gasket from the plate and replace it with a new gasket.
Re-assemble the top shell and gauge base.