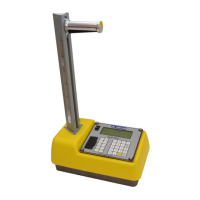
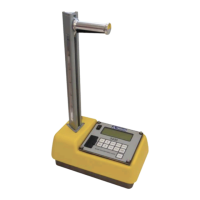
TURNING THE GAUGE ON
To turn on the gauge, press the 〈ON〉 key. The gauge will briefly
display the model number and software version. The software then
performs two tests to ensure that the gauge is working properly.
First, the software tests the display. Second, the gauge performs a
self-test. After the self-test, the gauge displays the battery status, as
shown:
The first line indicates if the charger is connected. The next two
lines show the status of the NiCad batteries and the alkaline
batteries. On these lines, the gauge will display if either set of
batteries is low or missing. To view the battery voltage, press the
〈↓〉 key. To continue, press the 〈ENTER〉 key.
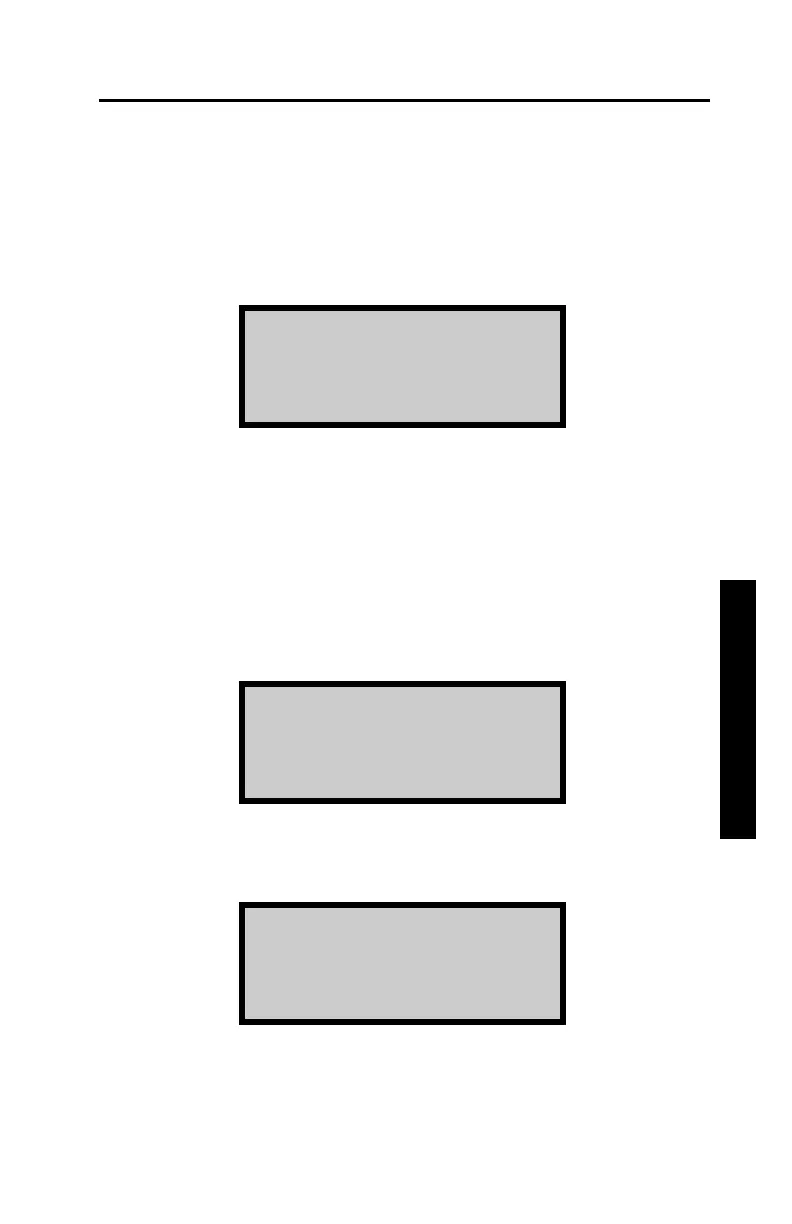
The gauge enters a warmup period. During this period, the gauge
displays:
Following the warmup period, the gauges displays the Ready
screen:
Ni-Cad
-
In
Use
Alkaline
-
Ready
Press ENTER
Gauge Warm Up
Please
wait...
Depth-STD 10:21 am
Tim-
PR#: Your Project