TAKING A STAT TEST
Choose an area free of other nuclear gauges or radioactive sources.
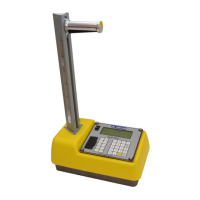
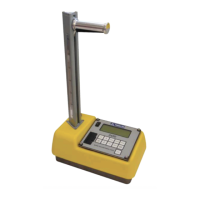
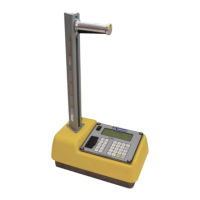
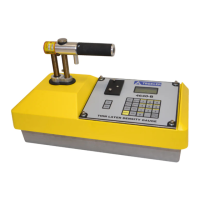
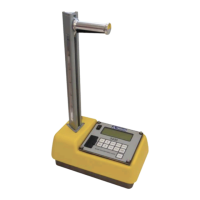
Place the gauge on the reference standard block as shown in Figure
4–1 on page 4–3.
To take a new stat test, press 〈1〉 at the Stat Test menu. The gauge
prompts the operator to place the gauge on the reference standard
block with the source rod in the SAFE (shielded) position. Ensure
that the gauge is properly positioned and press the
〈ENTER〉 key.
The gauge displays the progress of the stat test. After taking the stat
test, the gauge displays the average counts and indicates if the test
passed or failed. If the stat test fails, see page C–3. Press the
〈ENTER〉 key to return to the Stat Test menu, or press the 〈ESC〉
key to return to the Ready screen.
REVIEWING THE STAT TEST
To review the results of the last stat test, press 〈2〉 at the Stat Test
menu (see page C–
3). The gauge displays the results of the last stat
test. To scroll through the data, use the arrow keys. Press the
〈ENTER〉 key to return to the Stat Test menu, or press the 〈ESC〉
key to return to the Ready screen.
PRINTING THE STAT TEST
The operator can print or upload the results of the stat test to either a
printer or a computer. For details on setting up the printer, see page
3–13.
To print the results of the last stat test, press 〈3〉 at the Stat Test
menu (see page C–
3). The gauge prompts the operator to connect
the printer to the gauge. Connect the gauge to the printer (or
computer) as described on page 5–7. Follow the gauge prompts to
print the data.
The gauge prints or uploads the stat test data and returns to the Stat
Test menu. To return to the Ready screen, press the
〈ESC〉 key.