-
37
-
(1) Initial sewing data when purchasing
Patterns from 1 to 10have been already registered at the time of your purchase. Only the initial values of
different square types for cloth cutting length are input into the sewing data. Refer to “XI. Table of initial
value data for each shape” p.76 for initial values of square types.
Cloth cutting length (mm)
(2) Changing method of sewing data
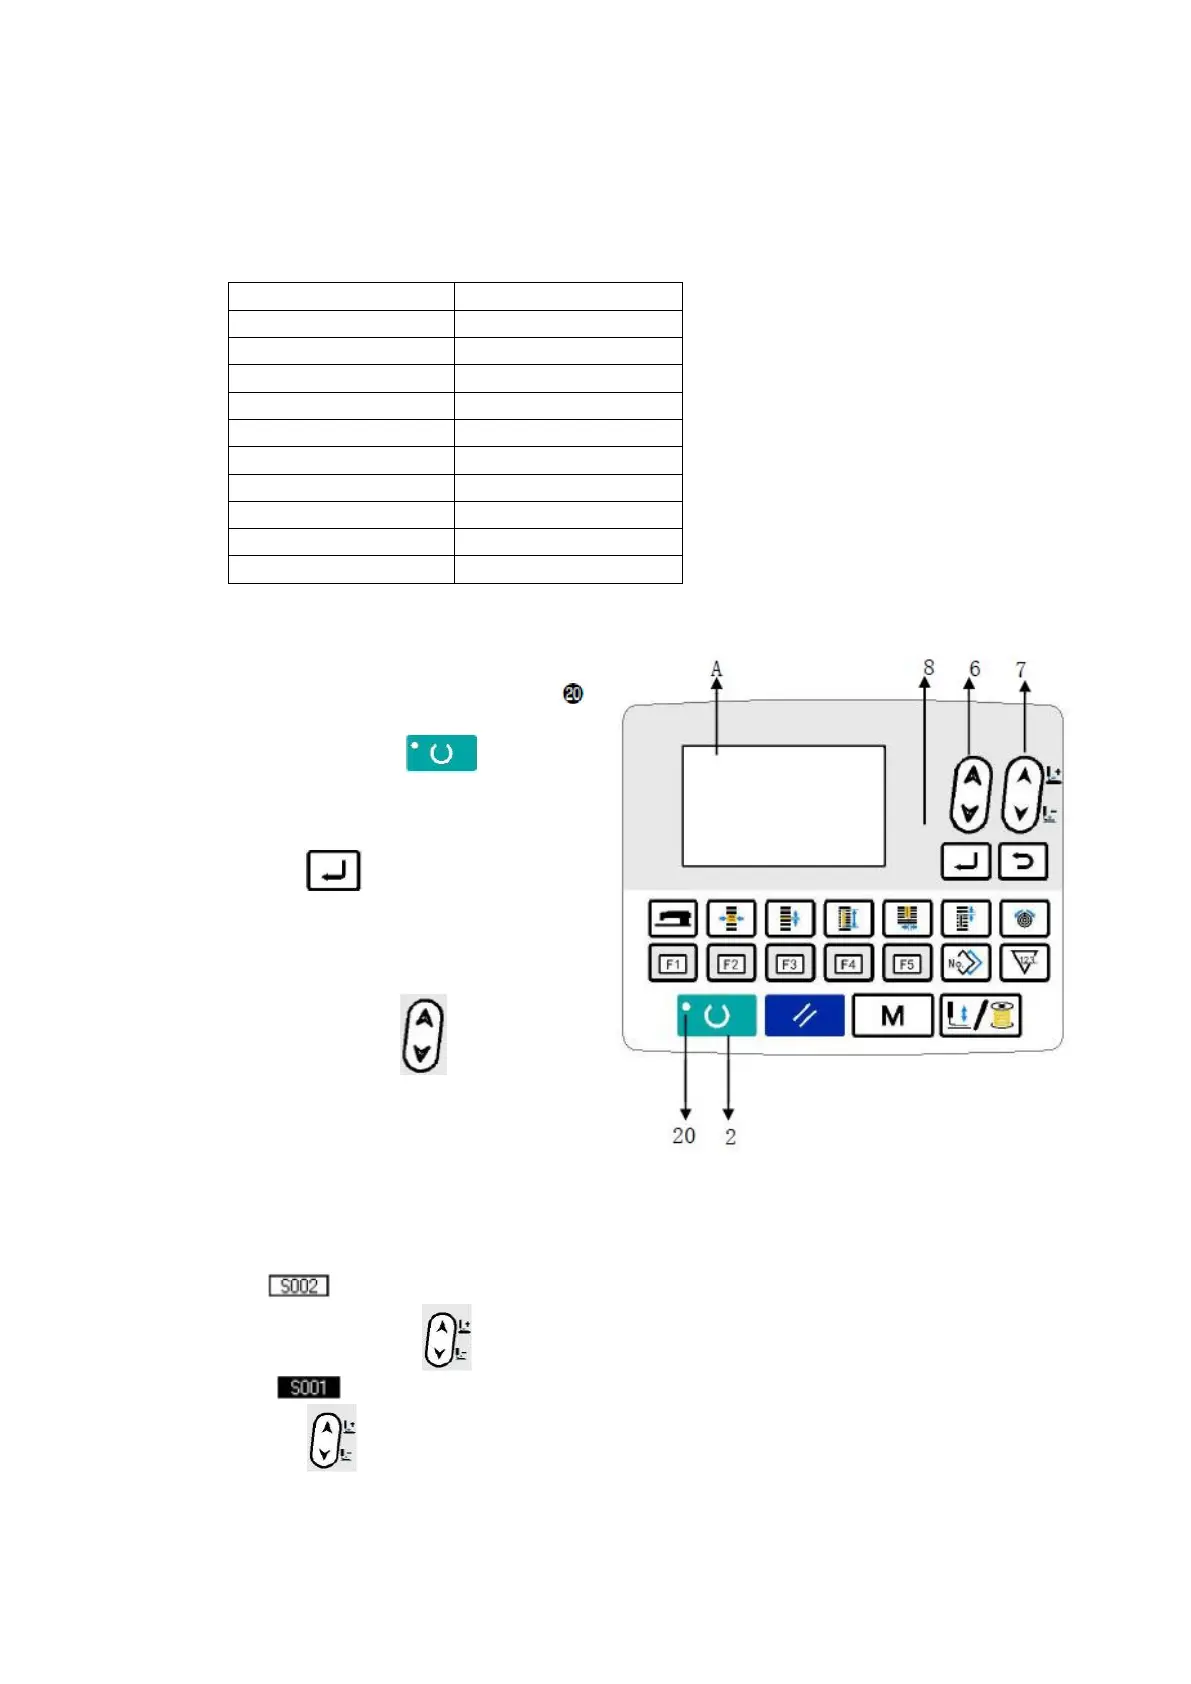
1) Set the mode to the input mode
Under the input mode where Set Ready LED
goes out, sewing data can be changed. In sewing
mode, press Ready key ❷ to change
over the mode to input mode.
2) Call sewing data editing screen
Press Edit key❽ , and the sewing data edit
screen A for the currently selected pattern No. is
displayed.
3) Select sewing data to be changed
Press Item Selection key❻ , and select the
data item to be changed. Data item which is not
used according to the shape and data item which is
set without function are skipped and not displayed.
Refer to “V-12. Method of setting sewing data
with/without edit” p.32.
For the sewing data, there are data item that changes numerical value and data item that selects the icon.
No. such as is attached to the data item which changes numerical value. Increase or decrease the set
value with Data Change key ❼ to change the value.
No. such as is attached to the data item which selects icon. Icons can be selected with DATA
CHANGE key ❼ .
For the details of sewing data, refer to “V-13. Sewing data table” p.33.