Version 1
14
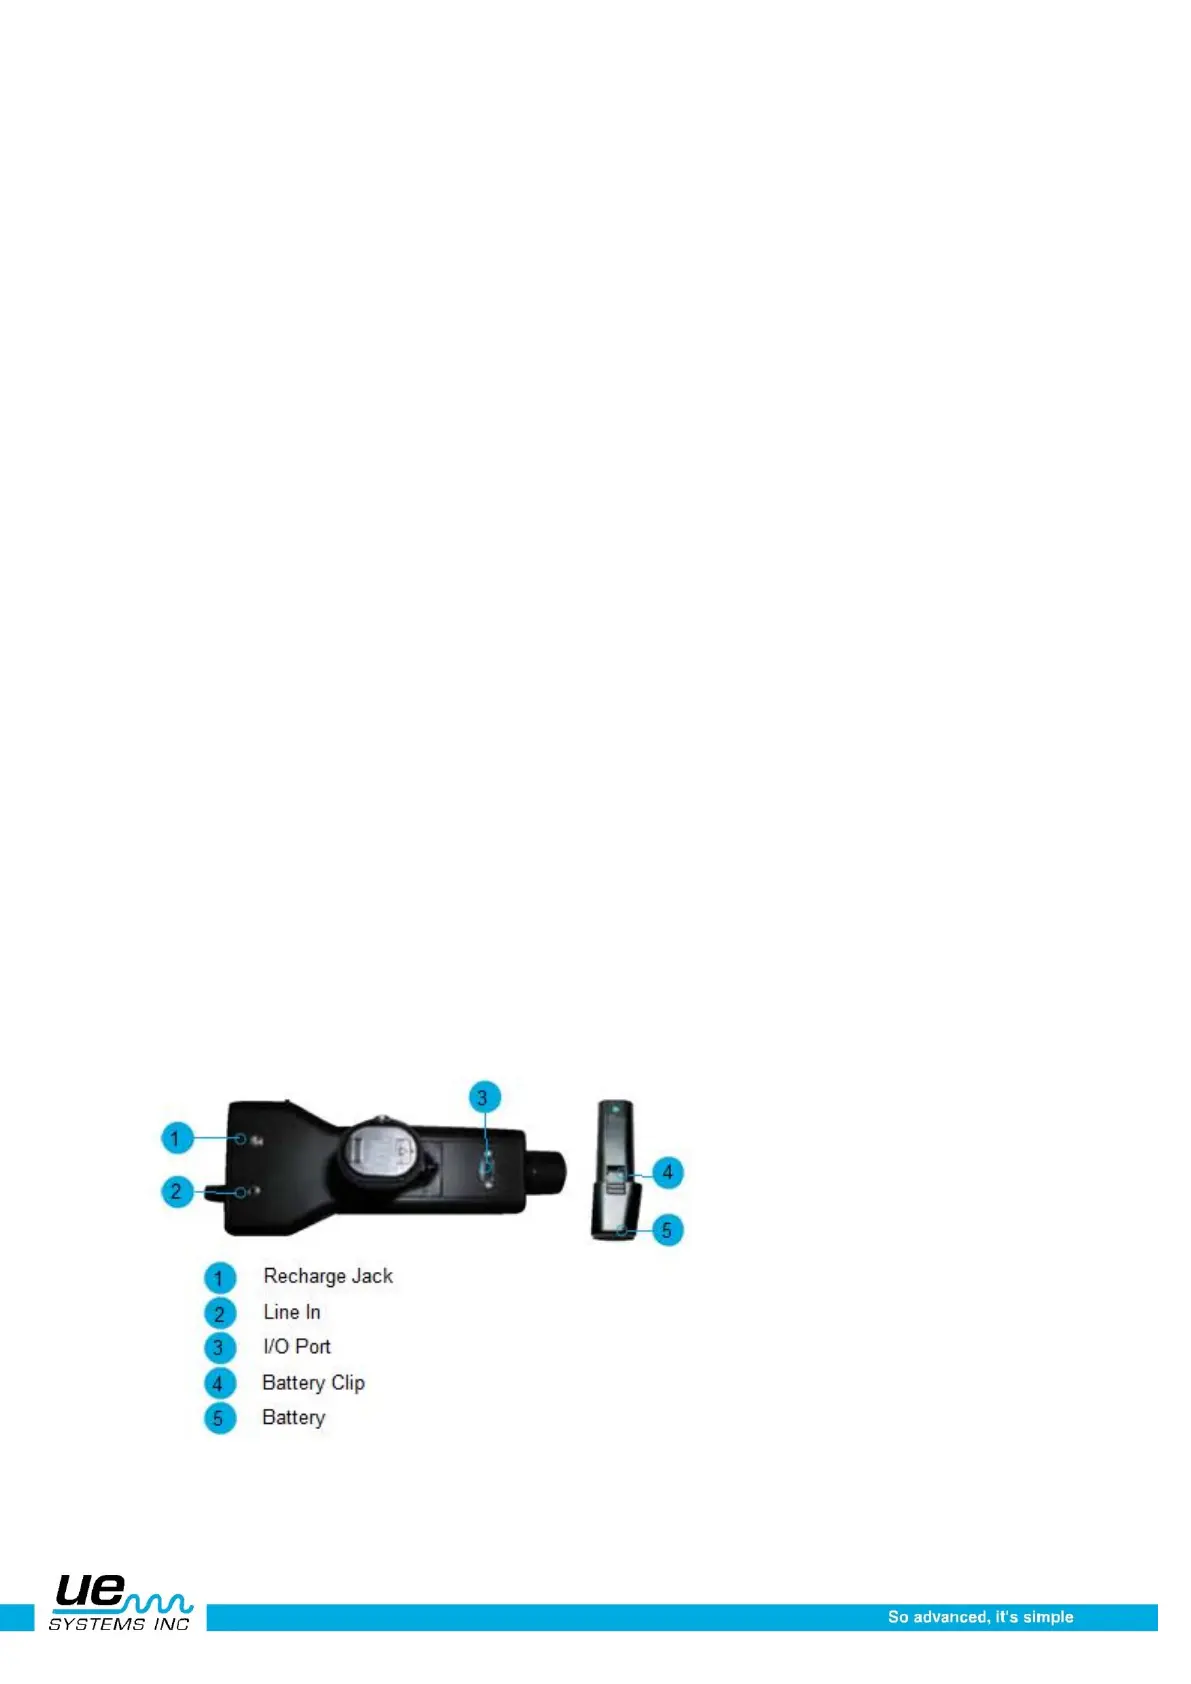
Quick change battery
To insert the battery, align the battery with the handle (arrow pointing towards the trigger) and push in
until the clips snap in place.
Battery
This Ultraprobe uses a lithium ion battery with no memory problems. A full charge will take about 4
hours, however you may charge the unit at any time for short intervals or for a longer period. If it is kept
on charge over 4 hours, there will be no harm to the battery.
NOTE: When the effective battery charge Is used up the instrument shuts down and a message to re-
charge the battery will be displayed in the display panel.
Wrist strap
To protect the instrument, against being dropped accidentally, use the wrist strap.
Sensitivity control dial
This is one of the most important controls in the unit. In the operation mode it can be used to adjust the
sensitivity. When clicked or spun, it can be used to scroll around the screen or to select operation cate-
gories or change frequency. In the Set Up Mode it moves the cursor and by clicking sets notations.
Yellow enter button
This yellow button is used to enter and exit the various operations such as set up mode, text editor, store
data or record WAV files.
Head set jack
This is where you plug in the headset. Be sure to plug it in firmly until it clicks. This can also be used as
an output for a vibration analyzer or notebook computer when used with a proper miniphone to BNC
connector.
Recharge jack
This Jack receives the plug from the recharger. The recharger is designed to plug into a standard electri-
cal receptacle.
Line input jack
This jack is provided to connect other instrument outputs to the Ultraprobe 10000.
 Loading...
