Version 1
18
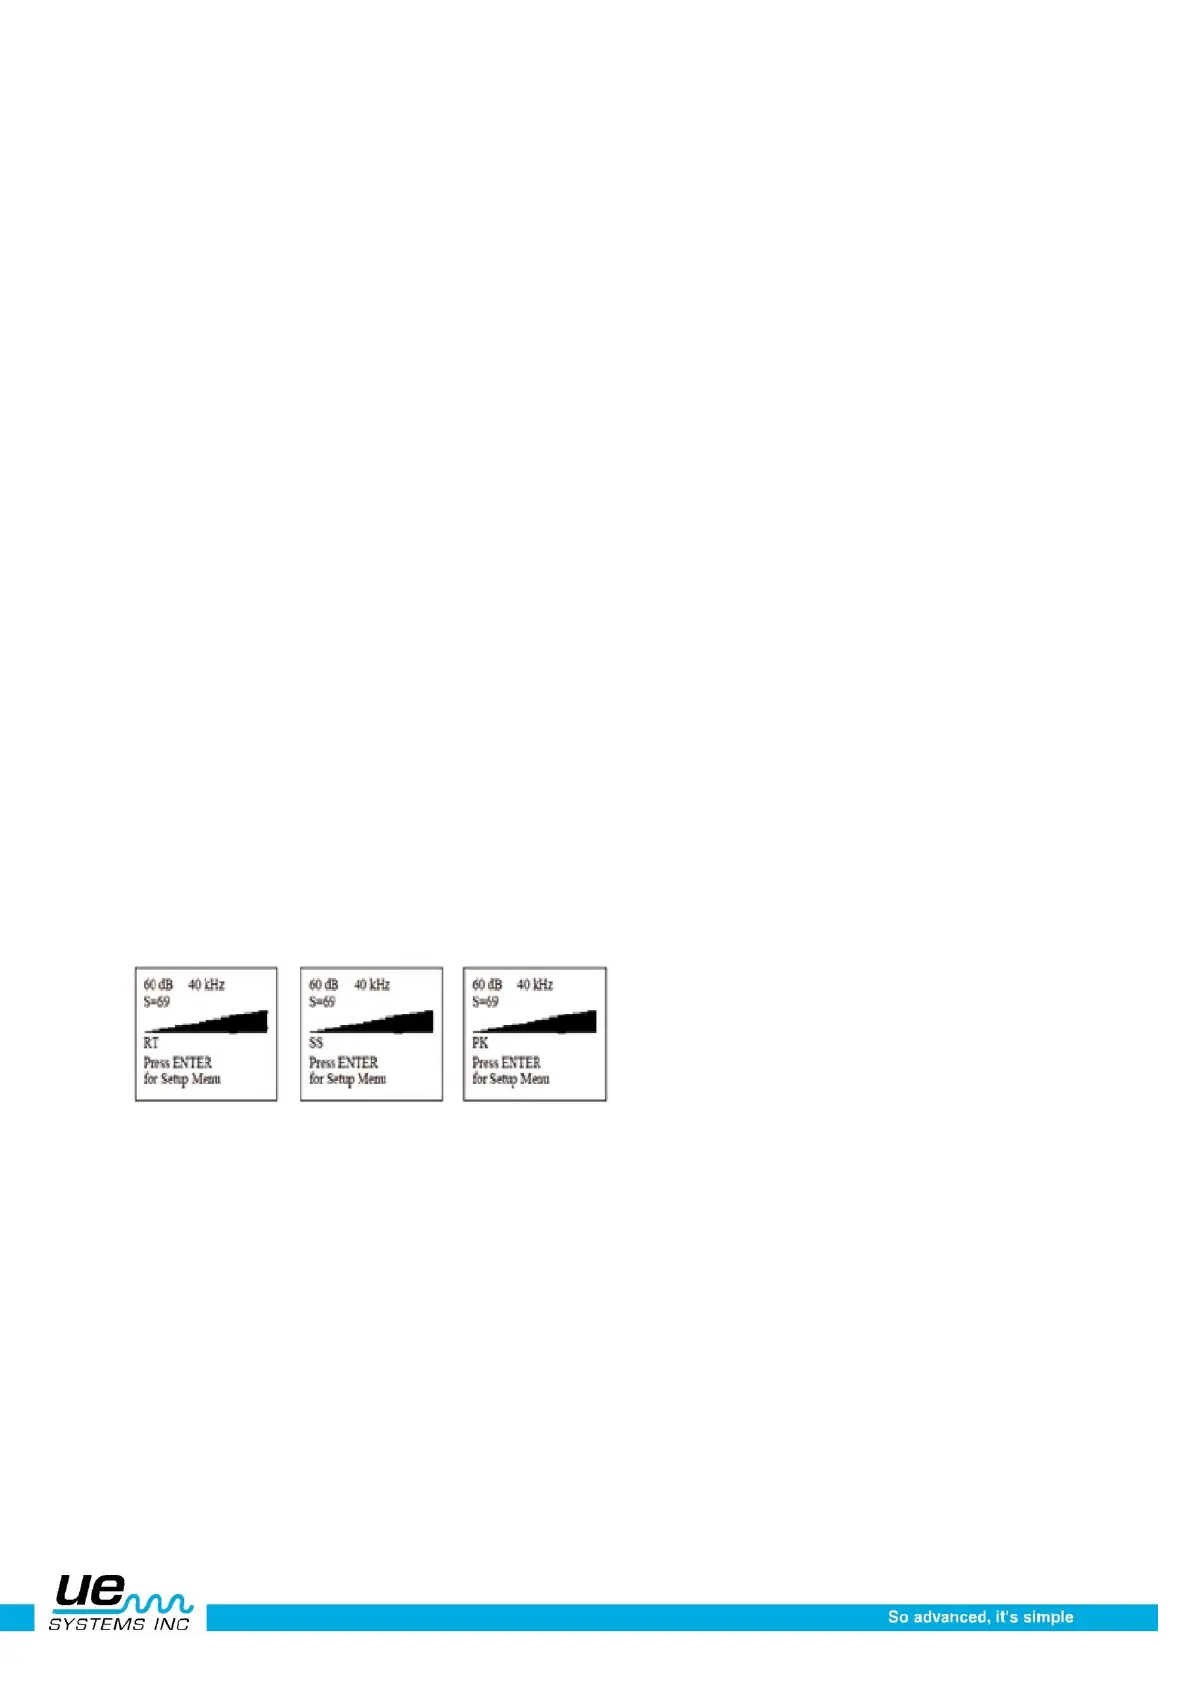
trending purposes. The letters RT, SS or PK note the current display mode. RT indicates that the instru-
ment is running in “Real Time”, SS indicates “Snap Shot” and PK indicates “Peak Hold”. Should the
instrument be set in the Offset Mode, then the letters RO, SO and PO will be displayed. Along the bot-
tom right you will see the
record number (identified as 001-399 Rec).
On the bottom line of the display panel, you will find the Function Select Indicate
“Press Enter for:”
(You can use this to select any of the following function fields.) The default function fields are:
• Click for dB
• Click for Function Options
• Click for Frequency
• 002 Rec
• Storage Location
• (Record Number)
a. Setup Menu: The various screen and operation functions can be set in this mode
b. Text Editor (ON/OFF): When on text notations can be set using up to 16 alphanumeric characters.
c. Alarm (DISABLED ENABLED): Set (enable) alarm levels in dB or turn the alarm off (disable).
d. GENERIC Info: This function provides inspection information. It can also be set to display specific
application information (for example: Leak Info, Bearing Info, Steam Info, Electric Info, Valve Info)
e. Storage Display: The display panel will split in half. The top half will show current test data while
the bottom will display stored information.
f. Record WAV: The Ultraprobe 10000 is configured to record heterodyned ultrasounds with this
function setting.
g. CF INFO (Compact Flash): Information of stored recorded WAV files and record time can be
viewed here.
h. STORE Record: Use this function to store inspection data. This is a quick way to data log if in-
spection data is to be saved without viewing previously stored data (as in Storage Display).
i. Exit: Press the Yellow ENTER Button and you will EXIT back to Operation Mode.
Bar graph display
The bar graph has 16 segments. Each segment equals 3 dB.
Sensitivity control dial
This is the main control dial. It will function as a cursor control as well as a sensitivity and frequency con-
troller.
To adjust the sensitivity/ volume
1. Look at the meter. To adjust the sensitivity, the dB (decibel) indicator must blink. The kHz (fre-
quency indicator) must be steady (not blinking).
2. 2If the frequency indicator is blinking, click in the Sensitivity Control Dial until the
frequency indicator is steady and the dB (decibel) indicator blinks. This indicates that you are now
able to adjust the sensitivity.
3. Once in the Sensitivity mode, turn the Sensitivity Control Dial clockwise to increase the sensitivi-
ty and counter clockwise to decrease the sensitivity.
4. The Sensitivity Control Dial increases/decreases the sensitivity of the instrument simultaneously
with the sound level in the headphones. When in range, it moves the bar graph up and down and
will adjust the headset volume.
 Loading...
