Version 1
59
11. Slide the Ultraprobe gently so that the front faceplate touches the Rod and that the rod is touch-
ing the face plate while touching the side of the Scanning Module. Align the Scanning
12. Module so that the center of the module is facing the center of the Tone Generator Transducer
(see below).
13. Adjust the sensitivity until the intensity bar graph is at mid-line and displays the decibel
14. level.
15. Note and record the decibel reading in the dB box of your Sensitivity Validation chart.
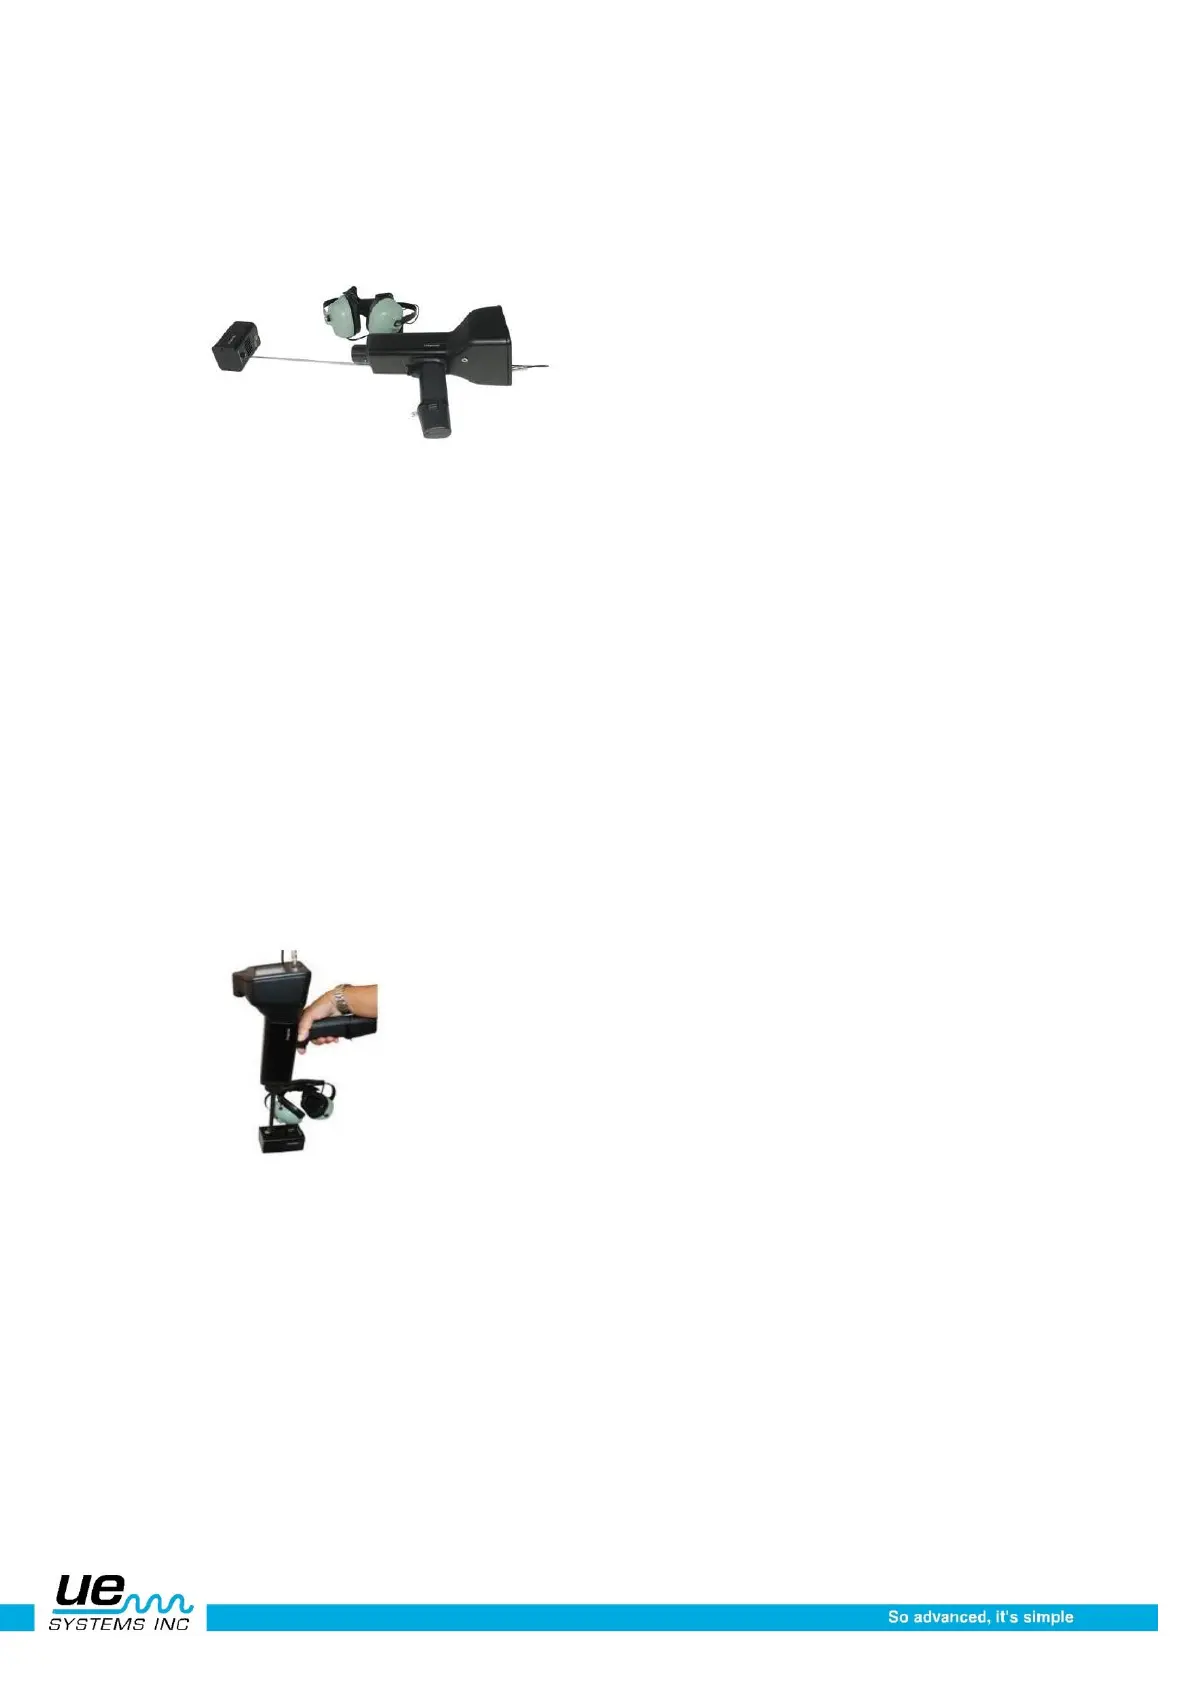
B. For the Contact (Stethoscope) Module, insert the Module into the Front End of the Instrument:
1. Select 40 kHz as the test frequency and note “40” in the Frequency box forthe Contact Module in
the Sensitivity Validation Chart
2. Plug in the Headphones and adjust the ear pieces so that they are opened up and place them on
the test table
3. Place the Warble Tone Generator flat facing up with the recharge jack facing you at 90º.
4. Select a volume level on the Warble Tone Generator (High or Low).
5. Note the level (H or L) in the TG box of the Sensitivity Validation chart.
6. With the handle facing you, align the tip of the contact probe with the recharge jack and allow the
probe to rest on the jack. DO NOT PRESS DOWN! (NOTE: NEVER USE THE ALUMINUM EX-
TENSION PROBE RODS THEY WILL SHORT OUT THEBATTERY OF THE WTG)
7. Adjust the sensitivity until intensity bar graph is at mid-line
8. Note and record the decibel in the dB box of your Sensitivity Validation chart.
For all tests:
Whenever you perform a Sensitivity Validation Test, review the data in the Sensitivity Validation chart
and repeat the test using the same rod/module, frequency, and Warble Tone Generator volume setting.
Look for a change in the decibel reading. A change of greater than 6 dB will indicate a problem.
 Loading...
