Fitting / replacement procedures
When replacing a CPU you should:
- If possible save the machine settings on the machine USB dongle (Maintenance data transfer
settings export
- Replace the faulty CPU by a new one
- Perform an update of the CPU with a USB+ dongle
- Import the CIM configuration from the machine USB dongle (Maintenance data transfer CIM
import ) or reconfigure the machine using CIM creator
- Import the machine configuration (Maintenance data transfer settings import)
Mother board replacement (CPU)
- Switch off the machine and disconnect the supply plug
- Remove the fixing Allen screw on the left side of the machine, at the back above the cup warmer
- Slide the side panel towards the back to release it from the chassis, and remove it
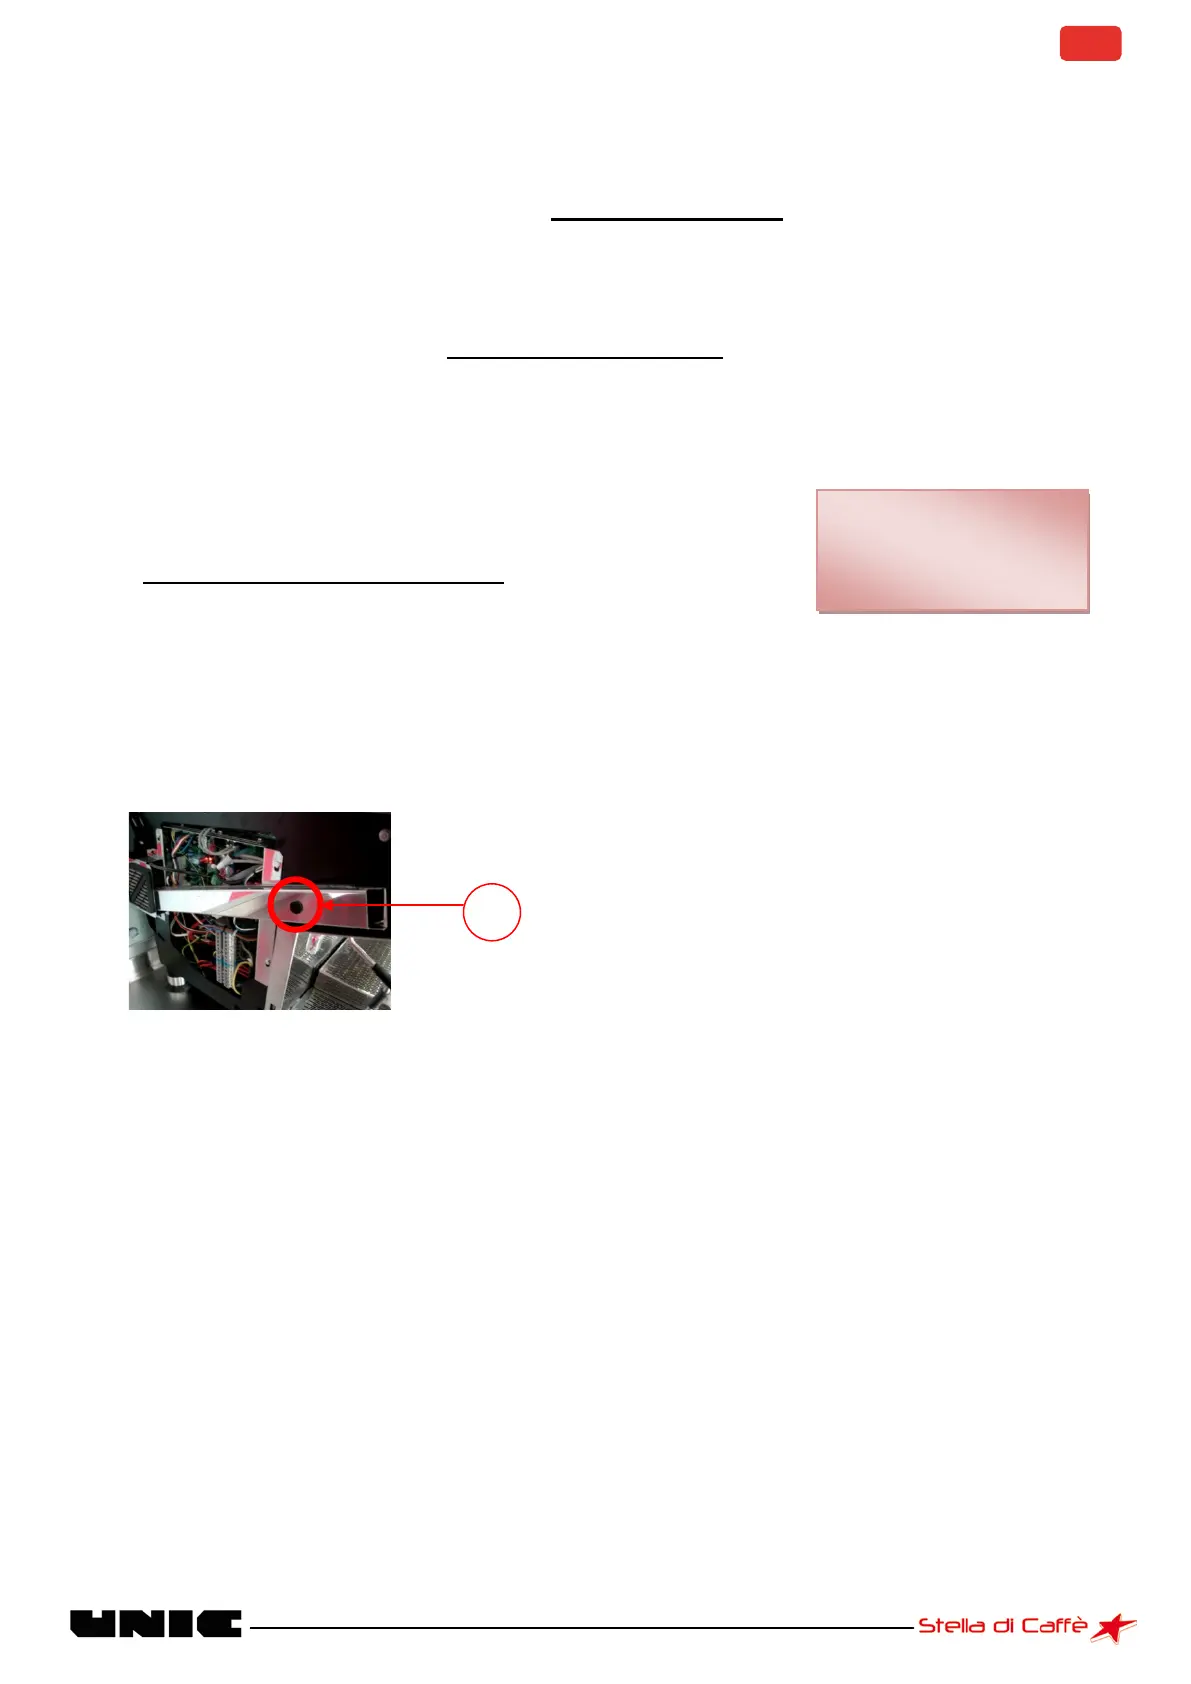
- Remove the black cover over the fan raceway (A) using a flat screwdriver
- Loosen the screw holding the raceway slightly to allow the raceway to slide towards the front of the
machine
- Remove the caps
- Unscrew the four nuts holding the CPU (B)
- Disconnect all the connectors from the board, marking their positions for refitting
- Pull the board towards you, keeping it horizontal
- Position the new CPU
- Tighten the four screws
- Reconnect the connectors (see appendix and photograph)
- Refit the caps
- Tighten the screw and clip on the cover
- Refit the side panel with its fixing screw
- Flat screwdriver
- 7 mm tube wrench
- 4 mm Allen key

 Loading...