1. Select a required date format from the Date Format drop-down list.
2. Click drop-down list next to 24 Hour to disable the 24-hour system. Then the 12-
hour system is enabled. If 24 Hour is set on, the 24-hour system is used and is
enabled by default.
3. Click next to NTP Sync to disable time synchronization. Time
synchronization is enabled by default. Time is synchronized with the PC time.
4. When NTP Sync is disabled, you can set the system time manually.
5. Click Date and scroll the mouse scroll wheel to select the year, month, and date.
6. Click Time and scroll the mouse scroll wheel to select the hour, minute, and
second.
7. Click Modify Time to save the time settings.
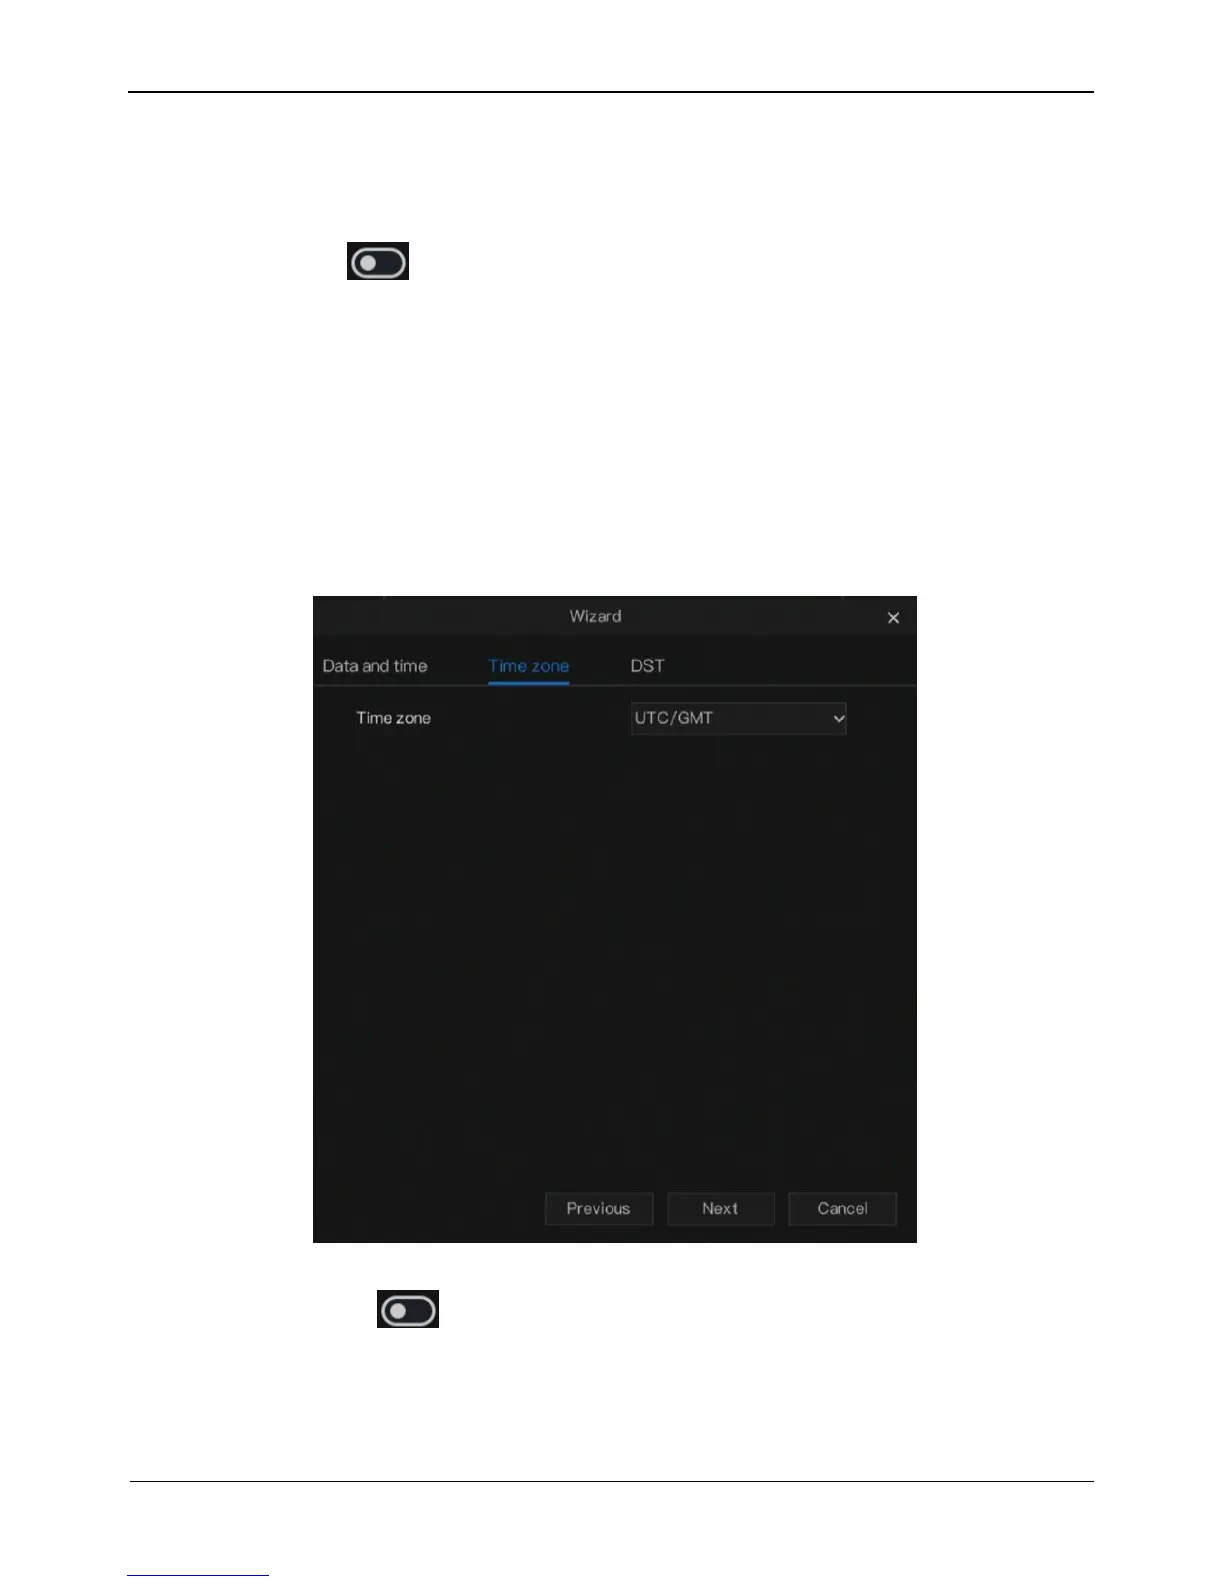
Step 3 Go time zone page, select a required time zone from the Time zone drop-down
list, as shown in Figure 3-3.
Figure 3-3 Time zone wizard
Step 4 Click next to DST to enable DST. And select start time, end time,
offset time from the drop-down list respectively, as shown in Figure 3-4.