44
PEM-X1
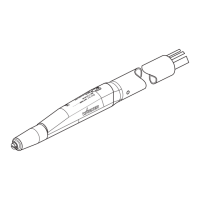
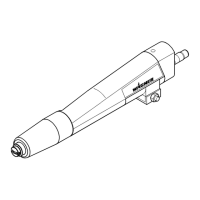
1.
4.
2.
3.
P_01679
OPERATING MANUAL
VERSION 09/2012 ORDER NUMBER DOC 2326020
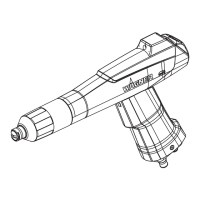
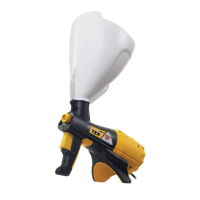
The standard Corona spray gun is delivered with a at spray nozzle. The nozzle can be
changed easily, as described below.
The X1 R electrode holder is necessary to perform the change.
8.8 CHANGING FROM FLAT SPRAY NOZZLE TO ROUND SPRAY NOZZLE
Procedure:
1. Unscrew cap nut from the gun housing.
2. Take cap nut with nozzle system o gun body. The nozzle
system remains inserted in the cap nut.
Note:
If the nozzle system doesn't remain inserted in the cap nut, the
nozzle system and cap nut must be replaced.
3. The parts can be separated by gently pressing the sliding
ring on the at spray nozzle.
4. Attach de ector cone sleeve to X1 R electrode holder.
Electrode tip!
Risk of injury.
Take care when tting the X1 R electrode holder.
CAUTION

 Loading...