DTV 720 USER’S MANUAL
800043-01 Rev. C 40 www.wegener.com
8. Connect the computer directly to your DTV 720 using a LAN crossover cable.
NOTE: Do not connect over a network.
9. Power up the DTV 720 and you should see on the front-panel LCD the message, Hit
any key to stop boot.
10. Press the ss arrow key immediately to interrupt the Boot Loader and enter the Upgrade
Mode.
NOTE: This screen is set to time-out after two seconds. You must act quickly.
11. Two options will appear on the LCD: Press ENT to upgrade and Press ESC to quit.
Press ENT. The upgrade transfer will start and lasts only about three seconds.
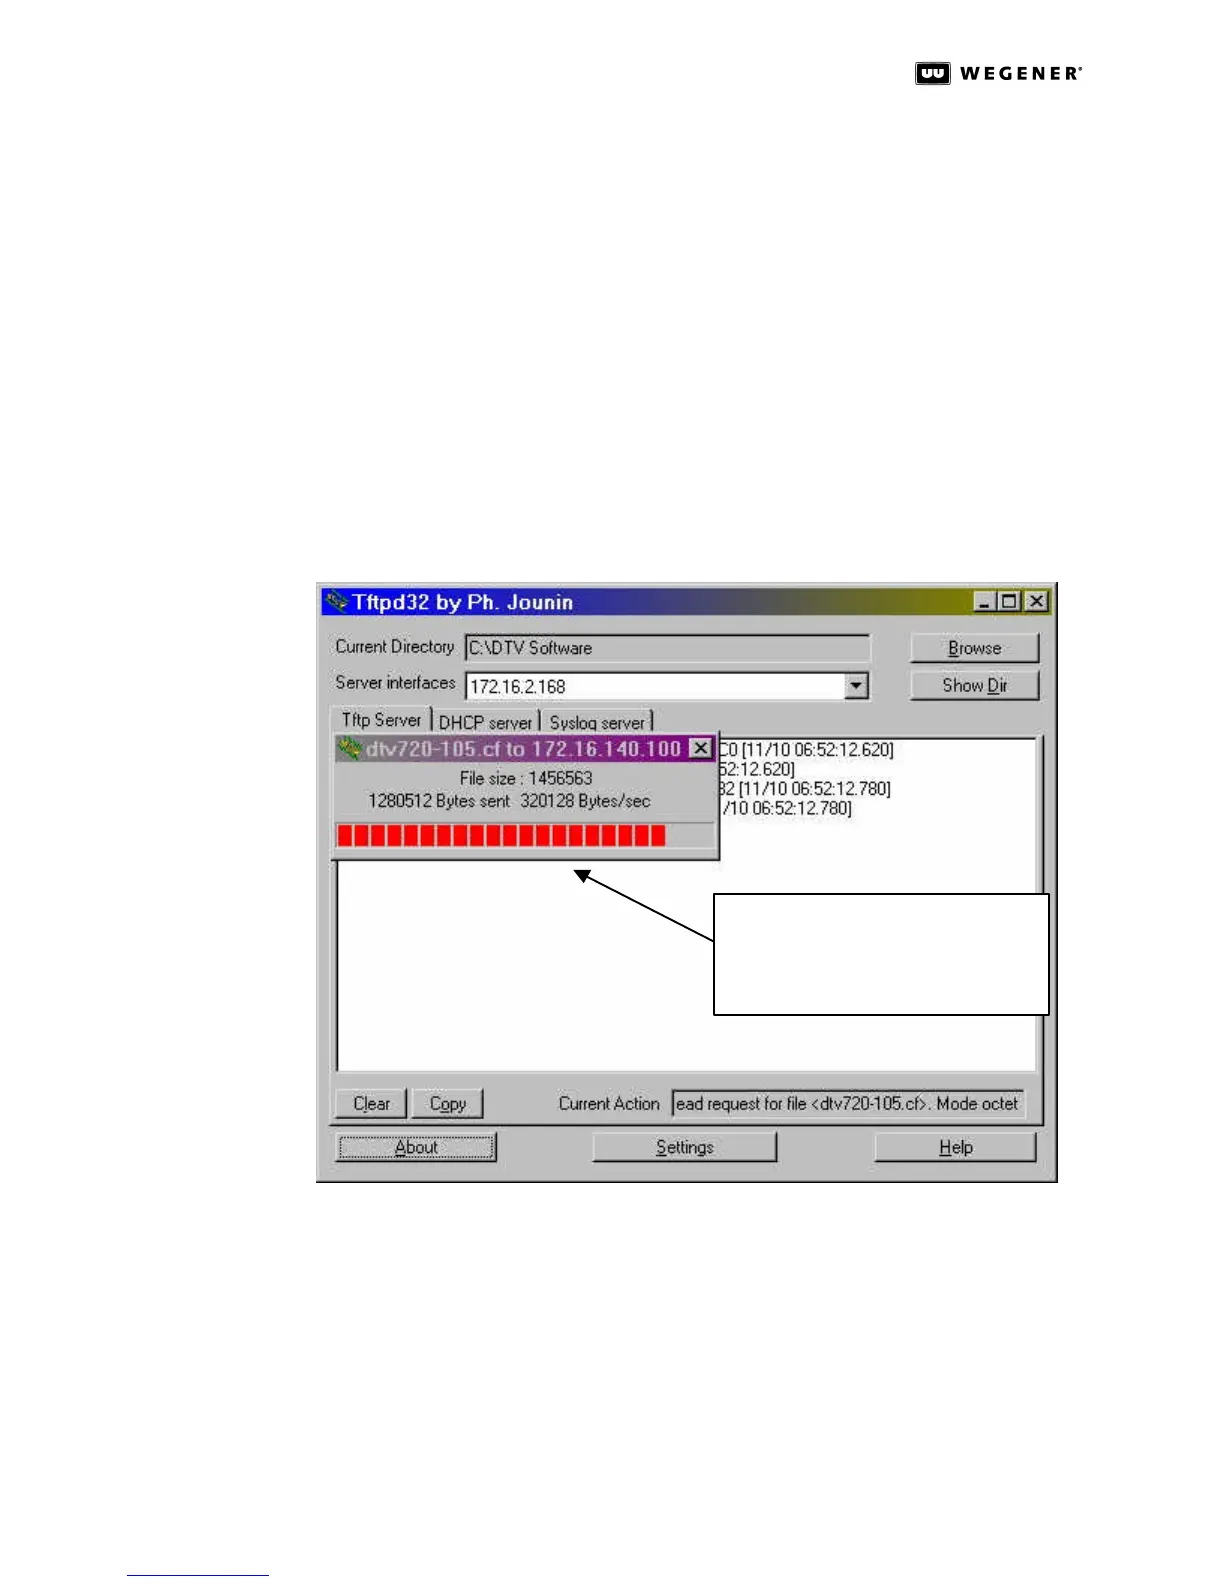
12. Watch the progress of the file transfer by selecting the Tftp server tab on the TFTPD32
main screen. A Progress bar showing the status of the ongoing transfer pops up as
shown in Figure3.25 below.
Figure 3.25: TFTPD32 Server Tab with File Transfer Progress Bar
13. When the file transfer is complete, the progress bar disappears, and the file transfer
log can be read on the Tftp Server tab, as shown in Figure3.26 below.
14. The DTV 720 will automatically restart when the transfer is completed and written to
flash.
15. After the unit resets, verify that the correct code has been loaded by pressing ENT and
checking that the version number matches the xxx in the DTV 720-xxx.cf file.
16. After all units have been upgraded, Wegener recommends that you delete all the files
and folders used in this upgrade from your hard drive.
Progress bar showing file transfer.
Note, it will only be on the screen
for about 3 seconds.