43243637000/00/02.17
Maintenance
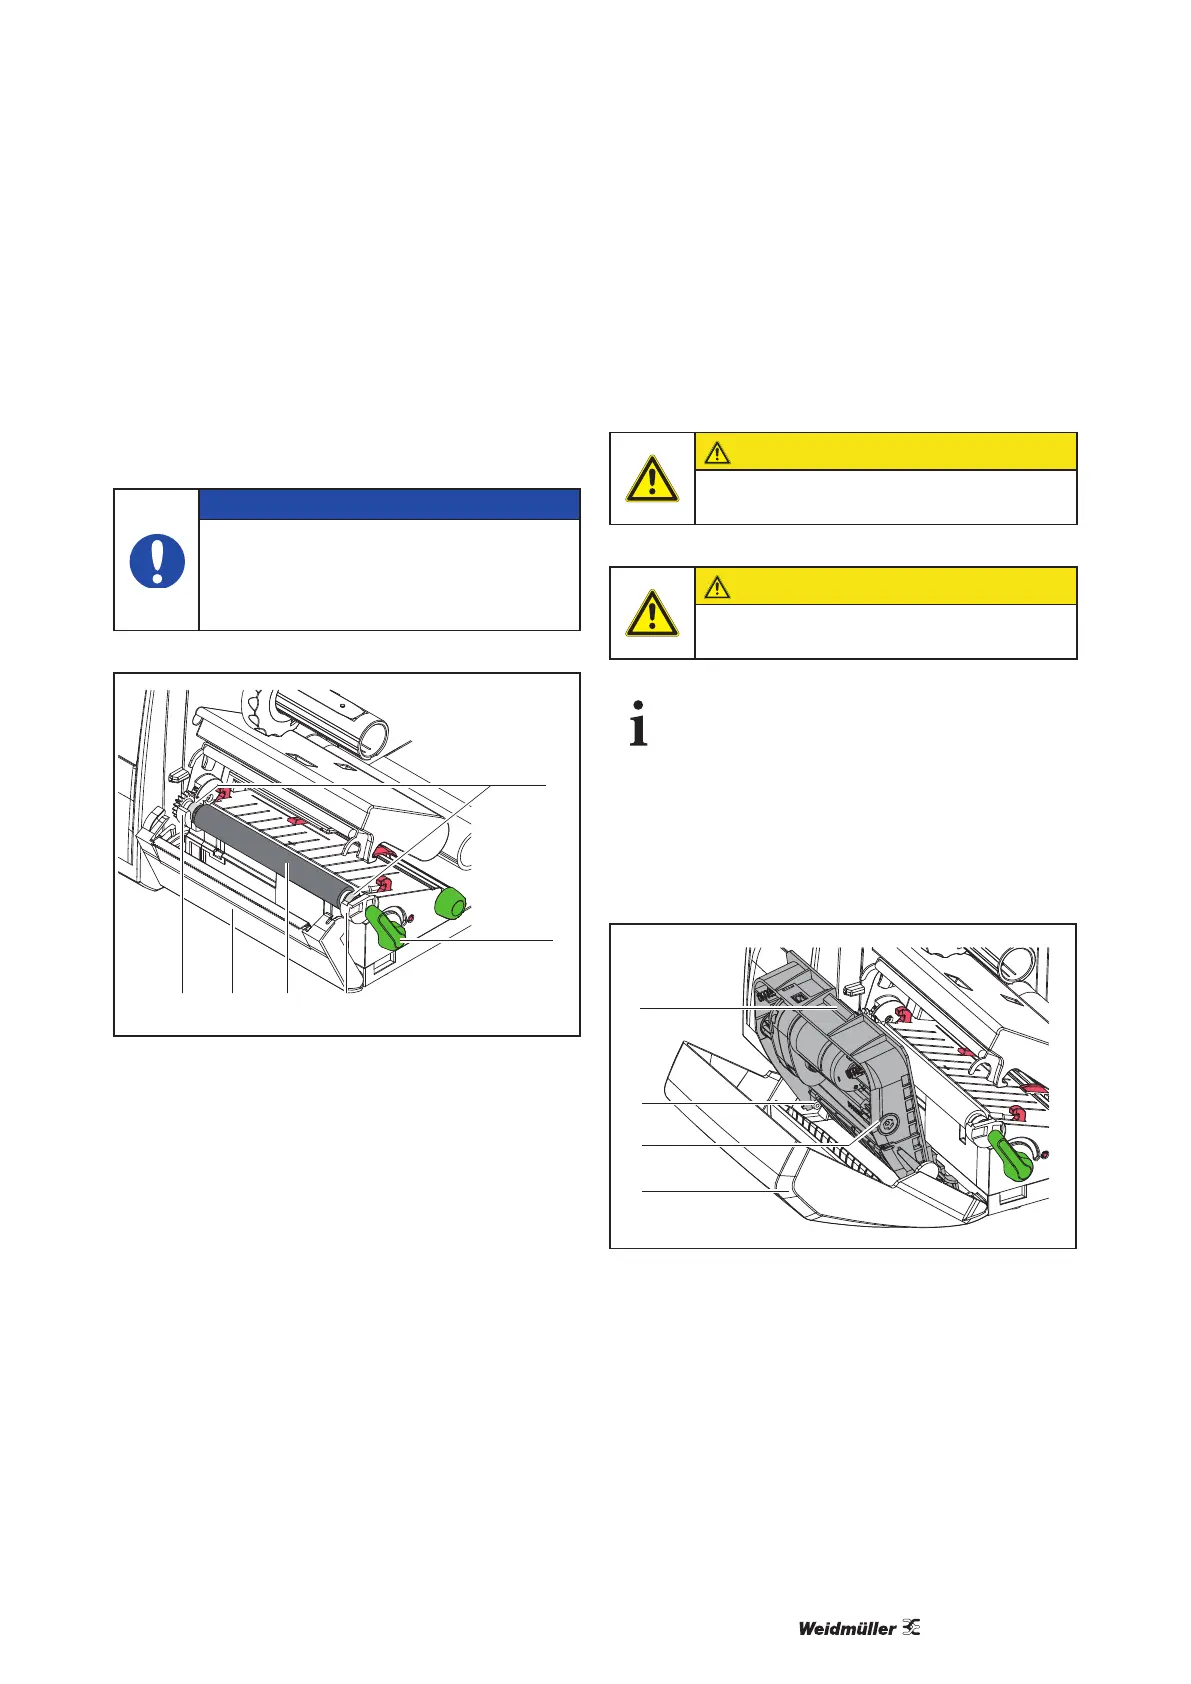
7.3 Cleaning or Replacing the
Print Roller
Accumulations of dirt on the print roller may impair
the media transport and the print quality.
NOTE
Damage of the print roller.
Do not use sharp objects (knives,
screwdrivers, etc.) to clean the print-
head.
43 35
1
Fig. 15 Print Roller
1 Turn lever (2) counterclockwise to open print-
head.
2 Remove material and transfer ribbon from the
printer.
3
perforation cutter.
4 Lift print roller (4) from its retainers (3).
5 Remove deposits with roller cleaner and a soft
cloth, or replace it if the roller appears damaged.
6 Push roller with bearings (1) into the retainer (3)
until they click into place.
7 -
foration cutter.
7.4 Cleaning Cutter/Perforation
Cutter
CAUTION
Disconnect printer from electrical outlet
to prevent accidental blade movement.
CAUTION
Risk of injury! The cutter blades are
sharp!
When cutting through the label material in-
stead of the label gap remains of adhesive
may accumulate on the blades. If operating
in backfeed mode, such remains of adhe-
sive may be deposited on the drive roller
as well.
Clean the drive roller and the cutter
blades often.
1
2
3
4
Fig. 16 Dismount Cutter
1 Fold down cutter.
2 Push release push button (1) and lift blade unit
(3) from the cover (4).
3
clean them with a soft cloth.
 Loading...