.
.
1.07
.
.
1.07
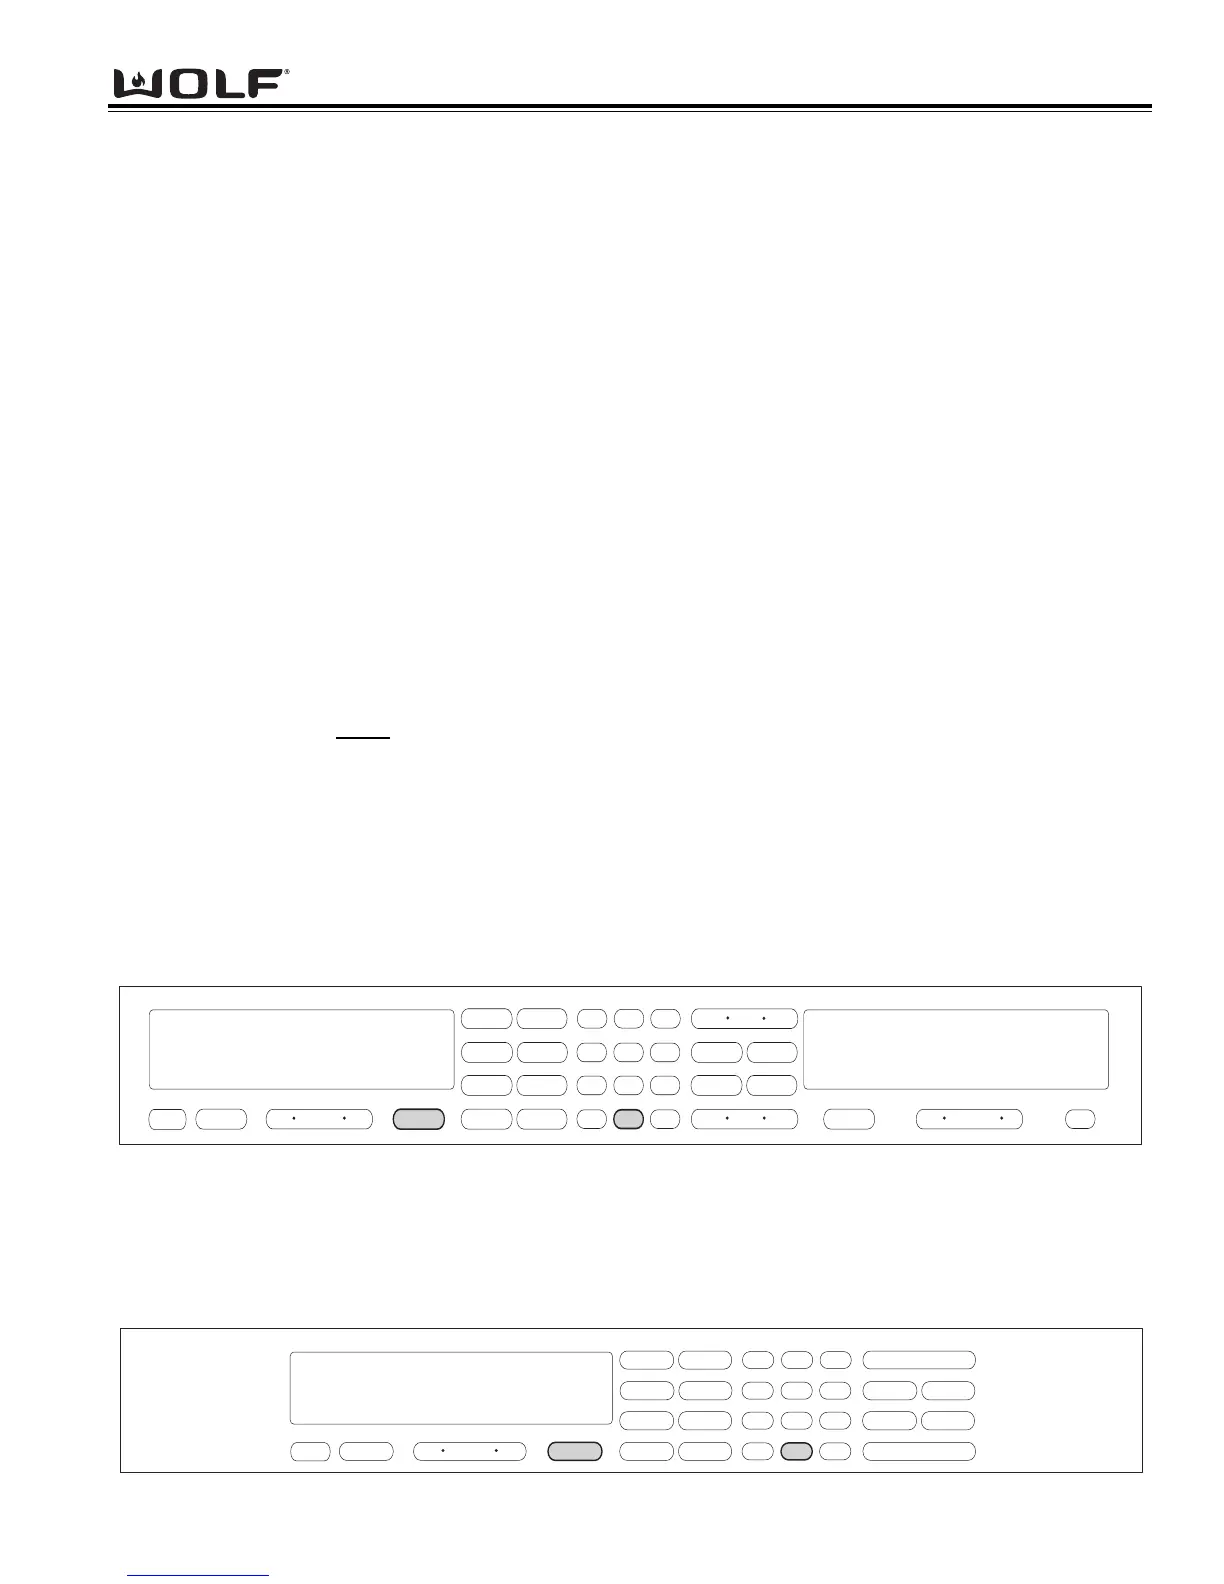
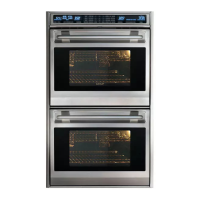
Figure 3-55. Double Wall Oven Keyboard
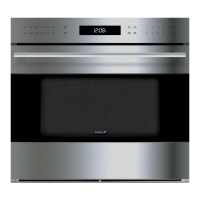
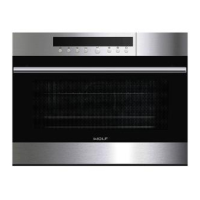
Figure 3-56. Single Wall Oven Keyboard
DIAGNOSTIC MODE
Diagnostic Mode allows the Service Technician to inspect the functionality of the Oven Controller and Relay boards.
Entering a key combination on the oven touch pad will allow the Service Technician to enter Diagnostic Mode. In
Diagnostic Mode the last seven
errors that have occurred to the oven controlling all the relays on the relay board and
controller feedback of temperature and switches will be displayed.
NOTE: The Double Oven stores a total of fourteen errors. Seven errors for the Upper Oven and seven errors for
the Lower Oven.
NOTE: Diagnostic Mode will end two minutes after last key stroke or by pressing the CLEAR key.
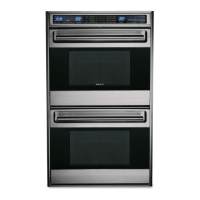
Double Wall Oven Keyboard:
The Double Wall Oven controls consist of 1 double oven controller, 2 relay boards, 1 upper oven display, 1 lower oven
display, 1 double wall oven keyboard, 1 stepper motor control board, 1 MRCP Drive Plate.
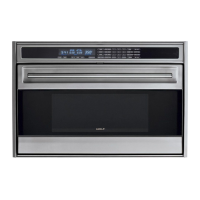
Single Wall Oven Keyboard:
The Single Wall Oven controls consist of 1 single oven controller, 1 relay board, 1 upper oven display, 1 single wall
oven keyboard, 1 stepper motor control board, 1 MRCP Drive Plate.
Panel Lock
When the electronic control panel is visible, the oven is operational. When initiating the panel lock feature all modes
and key pads will be non functional except oven OFF touch pad and PANEL LOCK touch pad. This keeps it child
safe and prevents oven from accidentally being turned on.
Setting Panel Lock:
• Press and hold Panel Lock touch pad for 3 seconds. Two beeps will be heard and oven display will show
PANEL LOCKED for 5 seconds.
• To exit Panel Lock, press and hold Panel Lock touch pad for 3 seconds. A beep will be heard and oven display
will read PANEL UNLOCKED for 5 seconds.
Time of Day Clock
Immediately after the oven is powered up, set the 12-hour clock to the current time of day. It must be reset after a
power failure. The clock is visible on the panel during all modes. If the timer is set, the clock will not be visible in
the display window.
Setting the time of day:
• Touch Clock pad.
• Touch Number pads to set current time of day.
• Touch Clock or Enter to start clock.