Component Access and Removal
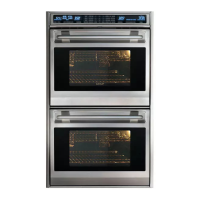
WWaallll OOvveennss
4-7
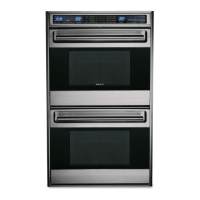
Relay Board Removal
Extract the screw located at the front of the relay board.
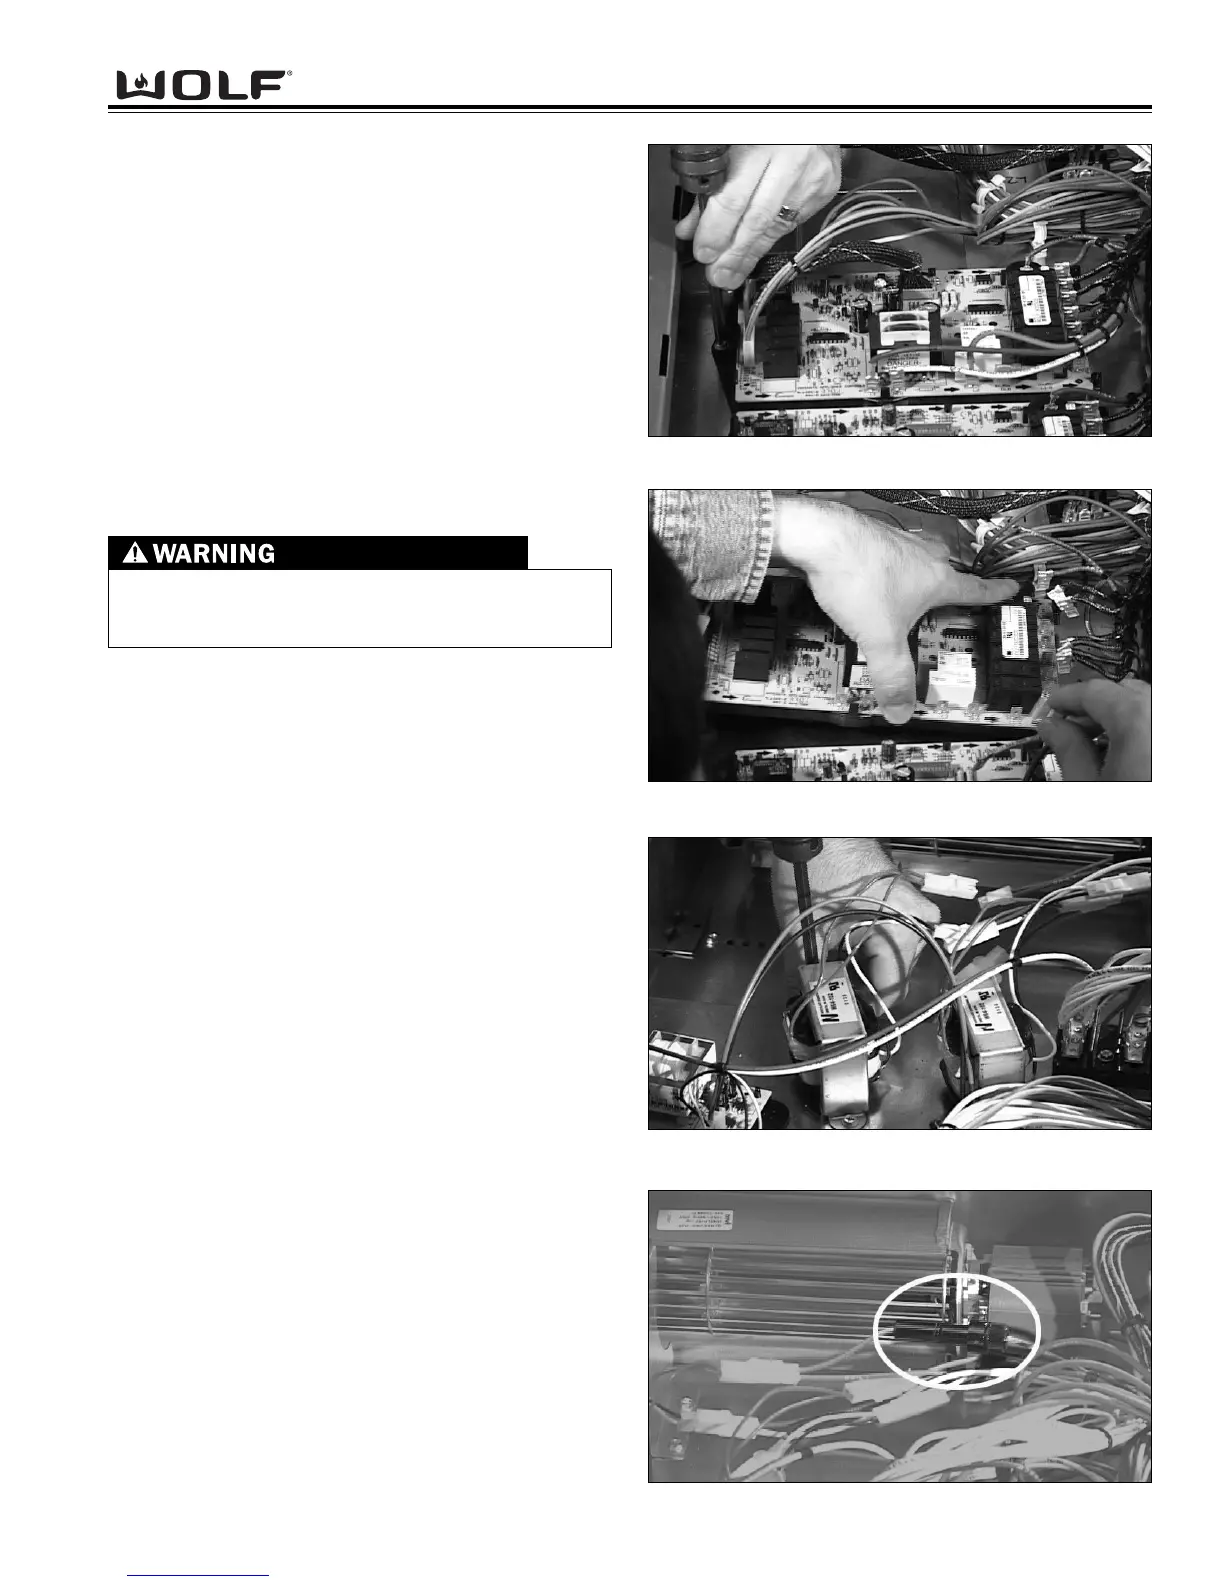
(See Figure 4-16). Then, lift the front of the relay board
up slightly and slide the relay board towards the front of
the unit. This will disengage the tabs of the relay mount-
ing bracket from the mounting plate. (See Figure 4-17).
NOTE: If working on a double oven, you may have to
remove both relay boards to have enough room to dis-
connect the wiring.
Now, disconnect the wiring from the relay board and
remove.
NOTE: The rear top oven panel will also need to be
removed for access to the following components.
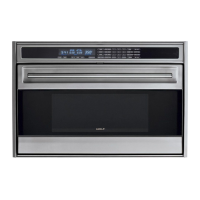
Light Transformer Removal
Disconnect the wiring for the transformer at the molex
connectors. Now, extract the two screws that secure
the transformer to the mounting plate and lift out from
unit. (See Figure 4-18).
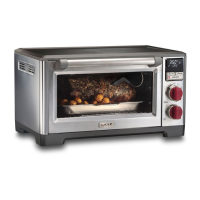
Light Fuse Removal
The light fuse is located just behind the molex connec-
tor for the light transformer. To remove, push and turn
the fuse holder together and separate the two halves of
the fuse holder. Now, remove the fuse from the fuse
holder. (See Figure 4-19).
IN ORDER TO REMOVE THE FOLLOWING COMPO-
NENTS, THE ENTIRE OVEN WILL HAVE TO BE
REMOVED FROM ITS INSTALLATION.
Figure 4-16. Relay Board Removal.
Figure 4-17. Relay Board Removal.
Figure 4-18. Light Transformer Removal.
Figure 4-19. Light Fuse Removal.