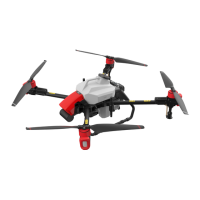
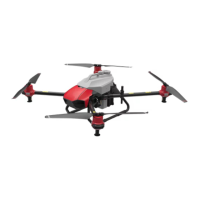
XAG AUSTRALIA
38
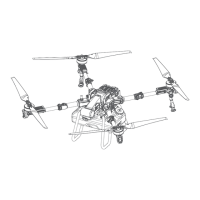
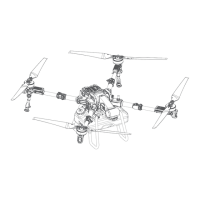
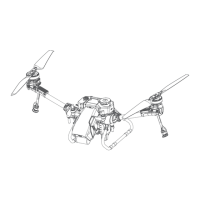
01. Start by detaching the Liquid Tube from the Spray bar that is connected to the Airframe arm.
Handle with care to prevent any damage.
02. Next, locate the screws that secure the spray bar junction cover and unscrew them. Once the
cover is loosened, proceed to carefully disconnect the Nozzle Cable. After safely removing this
cable, reinstall the spray bar junction cover by retightening the screws.
03. Find the spray bar knob and slowly rotate this knob in a counterclockwise direction until it's fully
unlocked. Then, with caution, remove the spray bar assembly.
04. Arrange the wire harness receptacle so that it points downwards. Line up this receptacle with
the base of the spray bar for installation. After proper alignment, tighten the spray bar knob to
fasten it securely in place. To conclude the installation, gently insert the spray head signal wire
into the wire harness receptacle.
📖
INSTRUCTION
 Loading...