45
3. Set the correct time zone and system time. You may also click Sync with Computer Time to
synchronize the time settings of your camera with that of your PC.
4. Click Save.
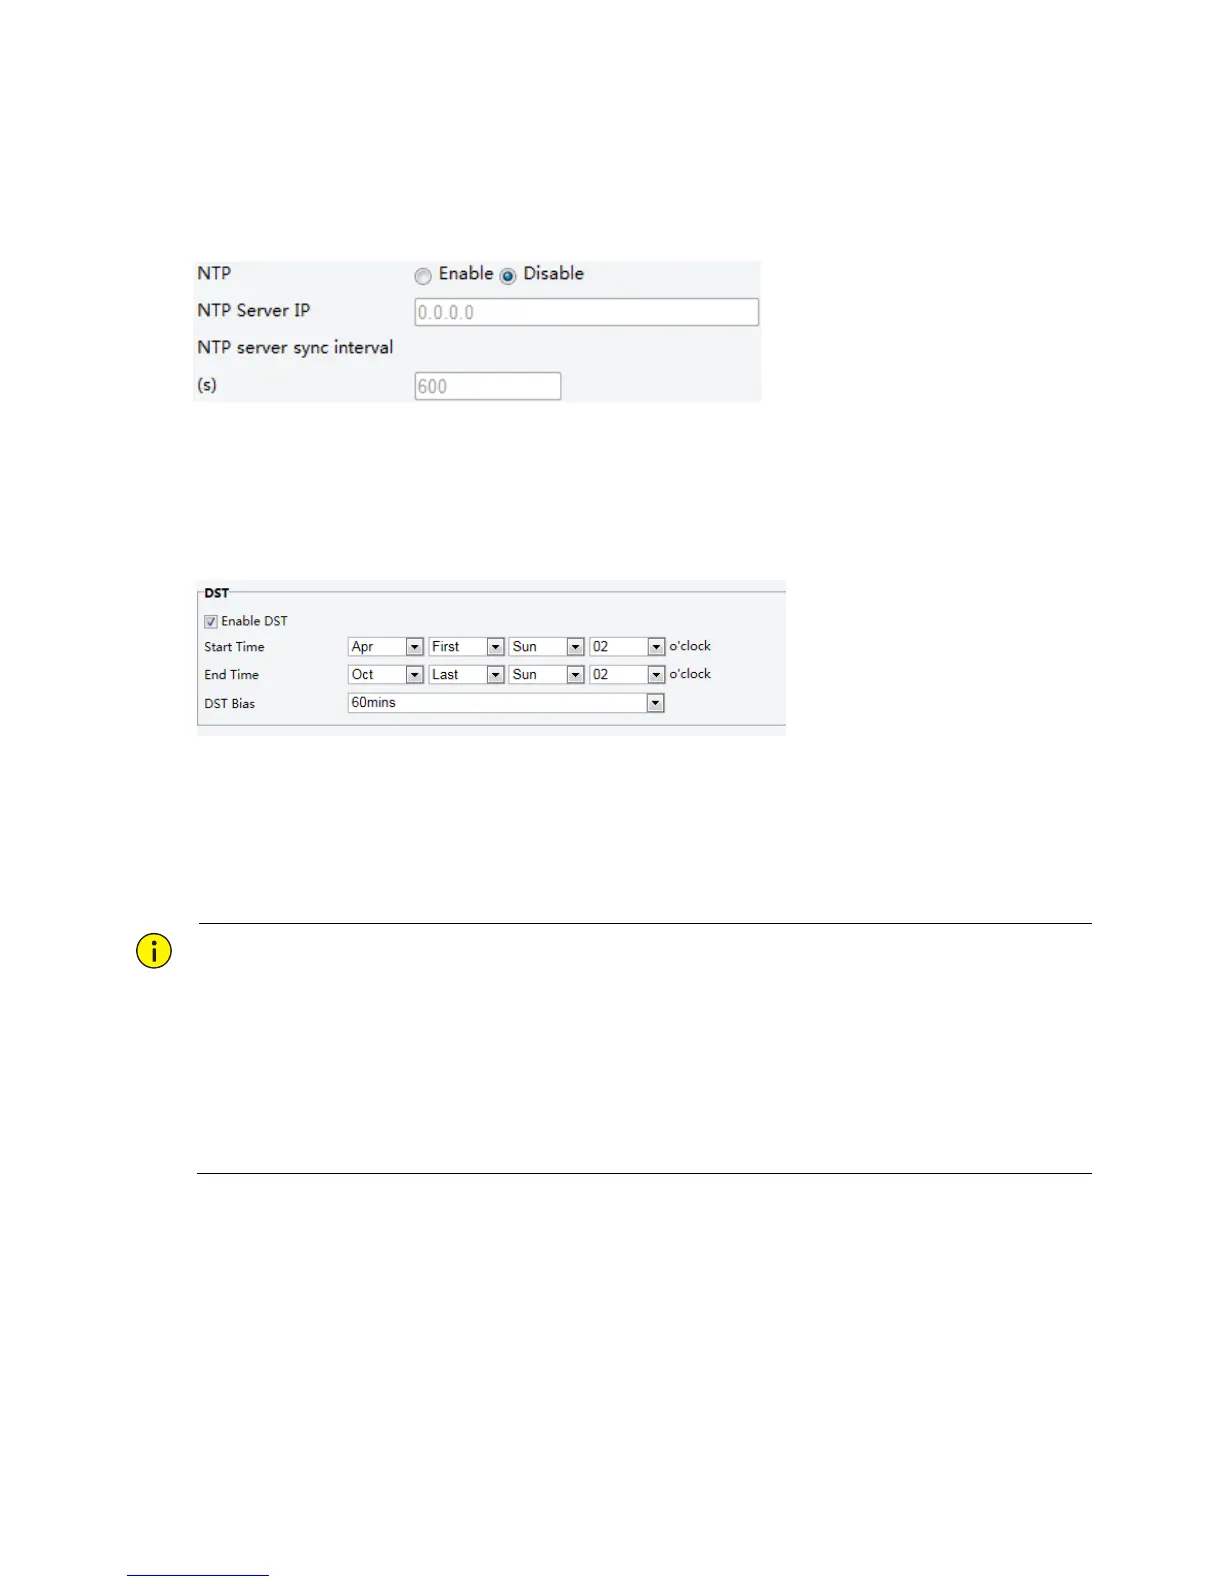
Synchronizing with the NTP Server
1. Click Setup > Common > Time, and then click the Time tab.
2. Select Enable for NTP, and then enter the IP address of the NTP server and the camera's sync interval
with the NTP server.
3. Click Save. The camera will periodically synchronize time with the NTP server.
Setting the DST
1. Click Setup > Common > Time, and then click the DST tab.
2. Select Enable DST, set the start time, end time, and DST bias.
3. Click Save.
Setting Servers
If the camera is managed by a central server, you need to configure the server related parameters.
CAUTION!
This function is not supported by some models, please see the actual model for details.
If the device ID, protocol or server IP is changed, the camera will restart, and the login password for admin
and the system time will be updated as the settings on the central management server. In addition, all
settings, except the following, will be restored to factory defaults: network interface card, server, image,
OSD, privacy mask, custom information, and ROI.
Registration will fail if the device ID is different from that stored on the central management server. You
need to restart the camera in order for the registration to succeed.
If the camera operates independently, select None for Protocol.
Connect via the IMOS protocol
1. Click Setup > Common > Server, and then click the Management Server tab.