Chapter 32 Configuration: Management
GS1900 Series User’s Guide
218
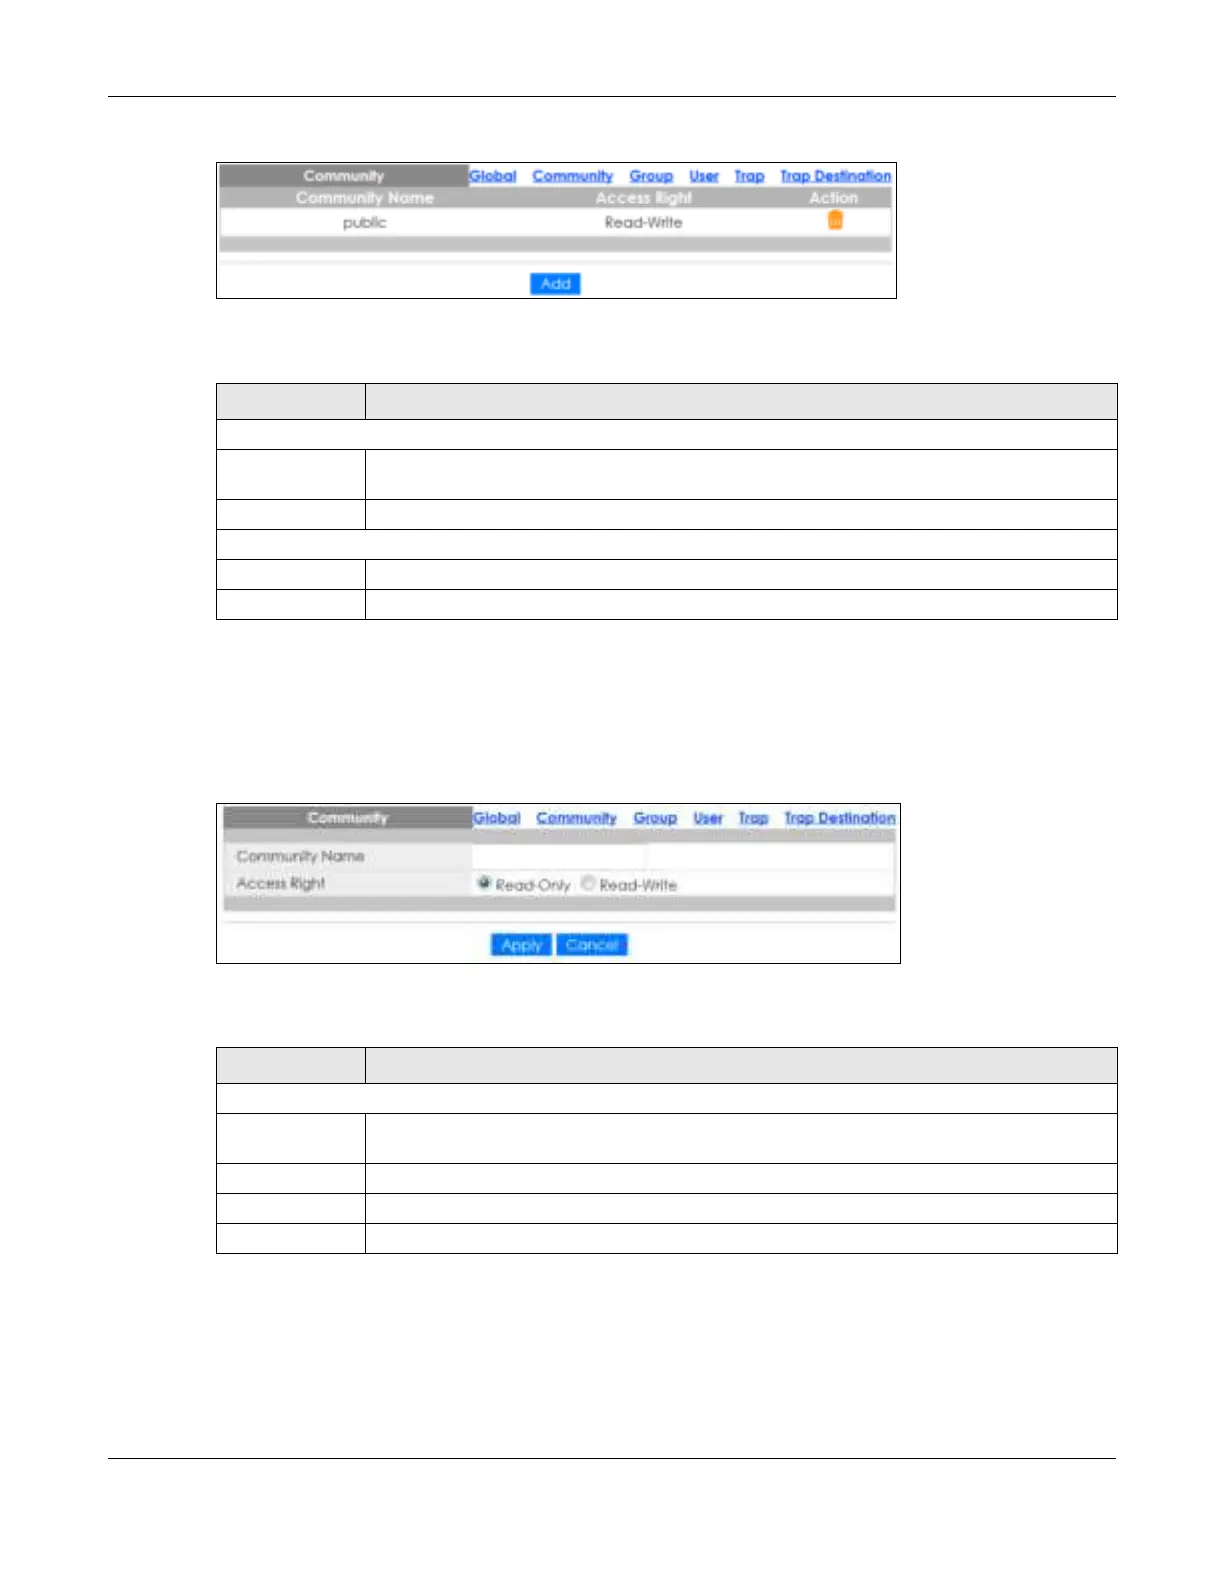
Fig ure 220 Configuration > Management > SNMP > Community
The following table describes the labels in this screen.
32.3.3 The C o mm unity Add Sc re e n
Use this screen to configure the C o mmunity settings. Click C o nfig ura tion > Ma na g e m e nt > SNMP >
C o mmunity > Add to open this screen.
Fig ure 221 Configuration > Management > SNMP > Community > Add
The following table describes the labels in this screen.
32.3.4 The G ro up Sc re e n
Use this screen to view the G ro up settings. Click Config ura tion > Ma na g e m e nt > SNMP > G ro up to open
this screen.
Table 168 Configuration > Management > SNMP > Community
LABEL DESCRIPTIO N
Community
Community
Name
Displays a string identifying the community name that this entry should belong to. The allowed
string length is 1 to 20, and the allowed content is ASCII characters from 33 to 126.
Access Right Displays the access mode for this entry. The possible values are Re a d - O nly and Re a d- Write .
Action
Delete Click De le te to remove the entry.
Add Click Add to create a new SNMP C o m munity entry.
Table 169 Configuration > Management > SNMP > Community > Add
LABEL DESCRIPTIO N
Community
Community
Name
Enter a string identifying the community name that this entry should belong to. The allowed
string length is 1 to 20, and the allowed content is ASCII characters from 33 to 126.
Access Right Select the access mode for this entry. The possible values are Re a d- O nly and Re a d- Write .
Apply Click A pp ly to save the changes.
Cancel Click C a nc e l to discard the changes.

 Loading...


