Installation Guide for the 2GIG EDGE Security Panel
30
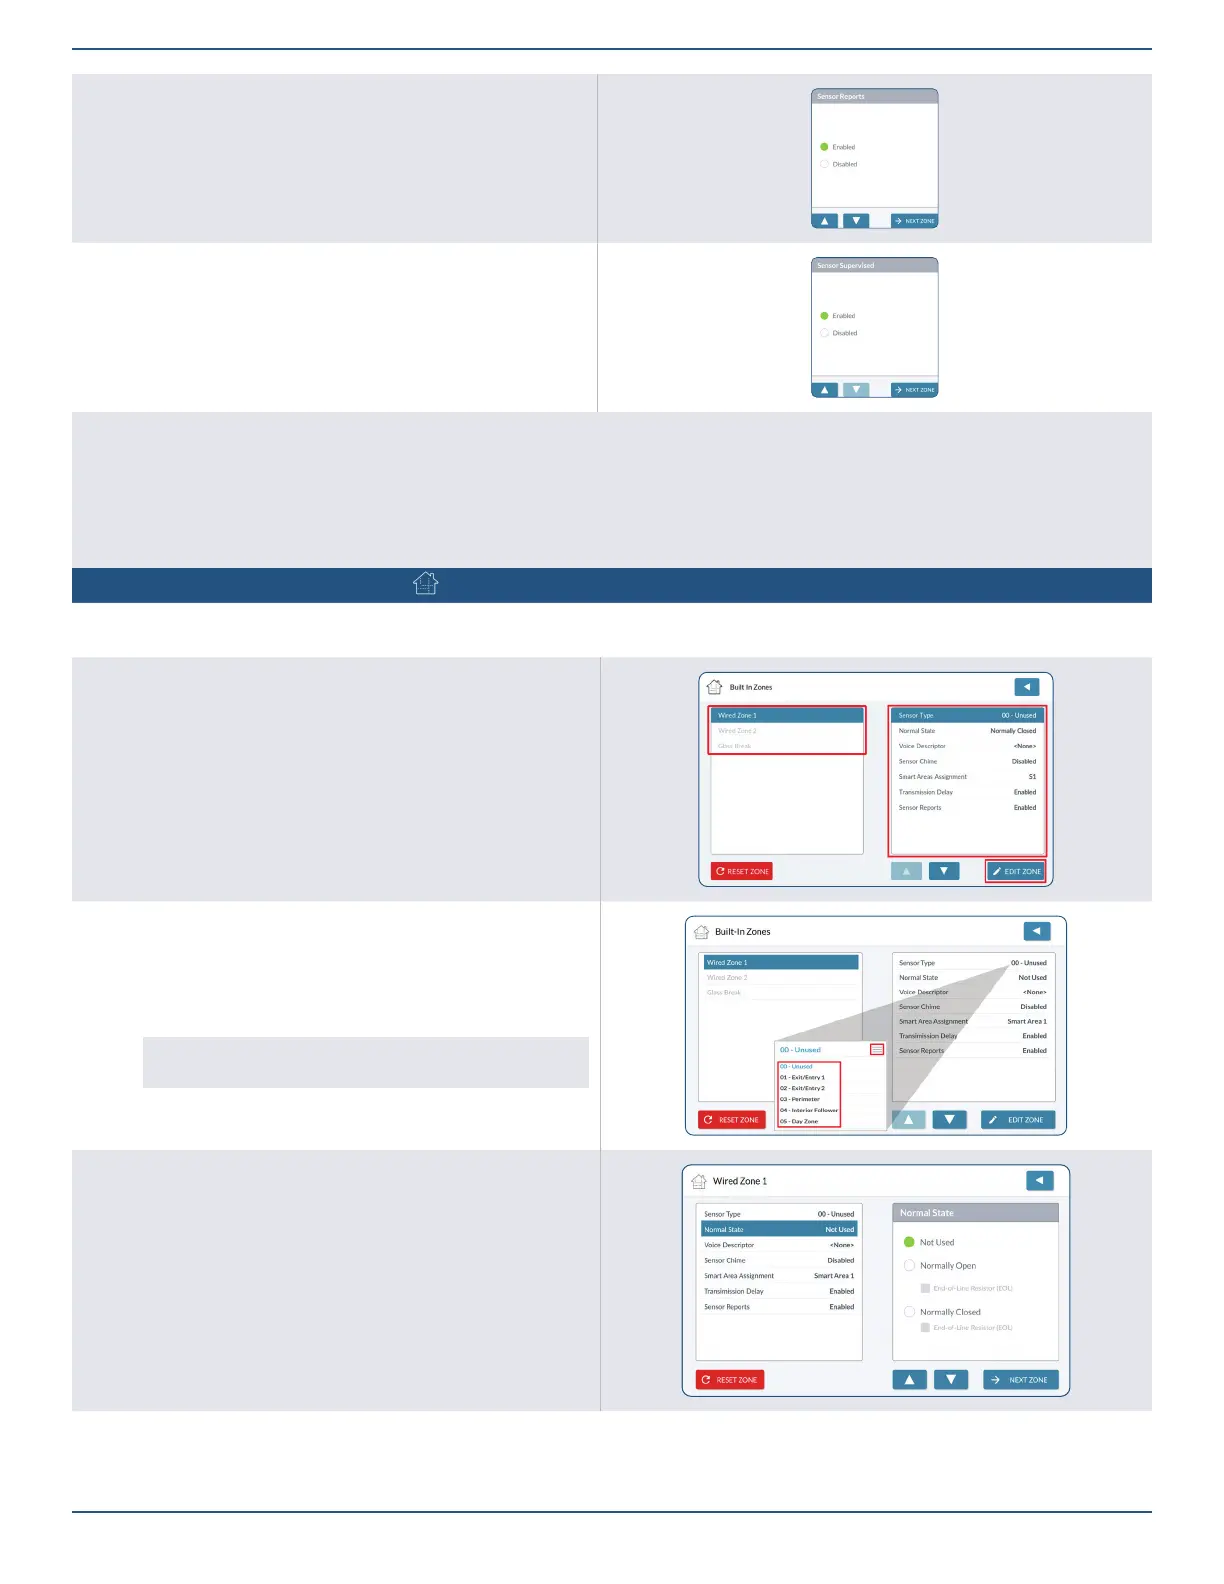
Sensor Reports
1. Highlight Sensor Reports.
2. Choose Enabled or Disabled.
3. Tap to move to the next option.
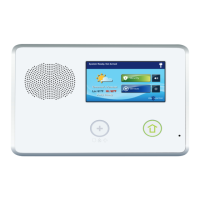
Sensor Supervised
1. Highlight Sensor Supervised.
2. Under Sensor Supervised, choose Enabled or Disabled.
3. Tap to move to the next option.
Next Steps
The wireless zone is now programmed. Next, choose one of these options:
¾ To program the next wireless zone, tap Next Zone. Then, repeat the programming steps for the next zone.
¾ To erase all of the programmed settings for the wireless zone, tap Reset Zone.
¾ To go to the list of wireless zones, tap Back to Zones.
¾ Changes are saved instantly, so simply exit the toolbox to start using the new sensor/device.
Panel Programming – Built-in Zones
You can program up to three (3) Built-In Zones per system (two Hard-wired zones and the Panel Glassbreak detector). To get started, navigate to
the Installer Toolbox. Tap Panel Programming, then tap the Built-In Zones option.
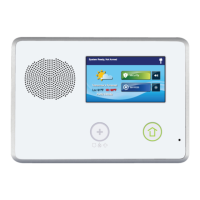
Selecting a Wired Built-In Zone
1. On the left side of the Built-In Zone screen, review the list of zones.
2. Tap one of the available zones to highlight it. A zone is available when it
appears in gray text.
3. Tap EDIT ZONE.
Sensor Type
1. Highlight Sensor Type.
2. Tap
≡
to expand the list.
3. Select the appropriate sensor type from the list.
For example: for a Door/Window Contact for a Patio Door,
perhaps select 03-Perimeter.
4. Tap to move to the next option.
Normal State
1. Highlight Normal State.
2. Choose one of these options:
¾ Normally Open (NO): Sends alert signal to the security system
when the sensor’s circuit is no longer in the NO state.
¾ Normally Closed (NC): Sends alert signal to the security system
when the sensor’s circuit is no longer in the NC state.
End-of-Line Resistor (EOL): Choose when an end- of-line (EOL)
resistor is present.