4 Repair
4.4.4. Replacement of complete lower arm
2933HAC022033-001 Revision: K
© Copyright 2004-2011 ABB. All rights reserved.
Refitting, lower arm
The procedure below details how to refit the lower arm to the robot.
21. Remove the sealing from the lower arm. Shown in the figure Attachment points,
lower arm on page 288.
On reassembly a new sealing must be
used!
Action Note
Action Note
1.
DANGER!
Turn off all electric power, hydraulic and
pneumatic pressure supplies to the robot!
Turn off all electric power and hydraulic but not
the air pressure to the gearboxes, motors and
SMB.
2. Fit a new VK-cover on new lower arm or replace
existing if damaged.
Spare part no. is specified in Required
equipment on page 289.
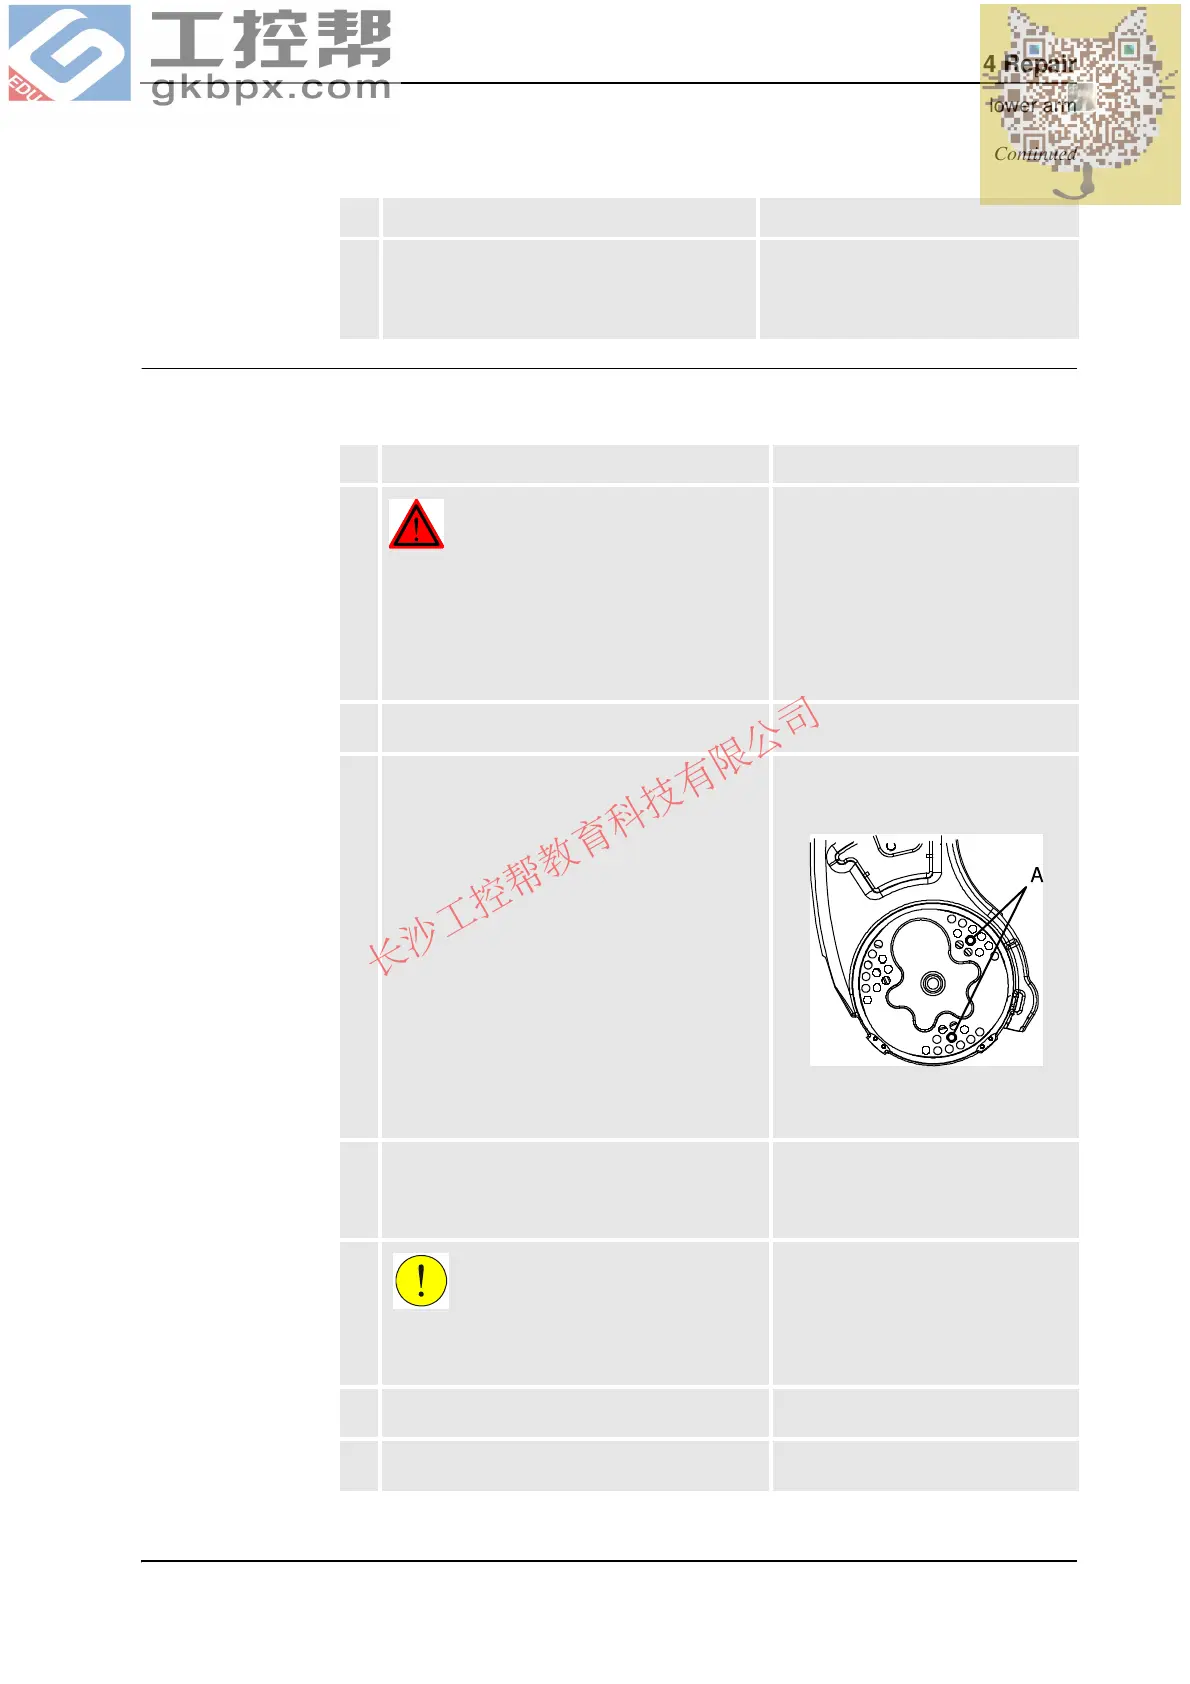
3. Fit the two guidings in the attachment holes of
the lower arm.
Included in the lifting tool, lower arm,
art. no. is specified in Required
equipment on page 289.
xx0200000262
A. Attachment holes for the two
guidings.
4. Fit the new sealing, axis 2/3 on the guidings. Always use a new sealing when reas-
sembling!
Art. no. is specified in Required
equipment on page 289.
5.
CAUTION!
The lower arm weighs 225 kg! All lifting
equipment used must be sized accordingly!
6. Apply the lifting tool to the lower arm. Art. no. is specified in Required
equipment on page 289.
7. Lift the lower arm and move it to its mounting
position.
Continued
Continues on next page