3.2 Installation activities
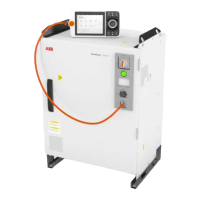
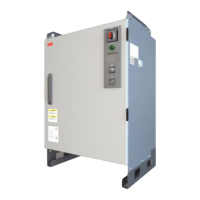
Main steps for installing the controller
Use the following main steps to install and connect the controller.
Described inAction
Unpacking the controller on page 49.Unpack the controller.1
On-site installation on page 51.Place the controller in position and bolt it
to the ground.
2
Connecting the manipulator to the control-
ler on page 71.
Connect the manipulator to the controller.3
Attaching the FlexPendant on page 78Attach the FlexPendant to the controller.4
Connecting power supply to and grounding
the controller on page 73.
Install an external circuit breaker or fuse.5
Connecting power supply to and grounding
the controller on page 73.
Connect the cabinet to protective earth.6
Connecting power supply to and grounding
the controller on page 73.
Install a residual current device (RCD).7
Connecting power supply to and grounding
the controller on page 73.
Connect incoming mains to the controller.8
Customer safety interface - X9 on page 86.Connect safeguards to the controller.9
How to connect industrial networks, for
example PROFINET, is described in the
respective application manual.
Connect, for example, Ethernet, PC, and
other connections.
10
How to connect to a network and a PC is
described in section Ethernet networks on
OmniCore on page 79. See also Operating
manual - RobotStudio.
See also Descriptions for connectors on
page 85.
Installing add-on devices on page 102.Install options and add-ons (optional).11
Initial test before commissioning on
page 104.
Initial test before commissioning.12
48 Product manual - OmniCore E10
3HAC079399-001 Revision: C
© Copyright 2019-2022 ABB. All rights reserved.
3 Installation and commissioning
3.2 Installation activities
 Loading...

