Setting Up the SSO Functionality
This section explains how to setup the SSO functionality by setting up the SSO Server first, followed by the SSO Client.
For more information, see Single Sign On (SSO) Settings.
An SSO server must be configured with a static IP address. If the SSO server IP address changes, you will have to reconfigure all SSO
clients with the new IP address. See Ethernet.
SSO functionality is only available in HTTPS mode. See Web Server Access for more information on enabling HTTPS.
Setting up the SSO Server
1. Open a web browser.
2. Enter the IP address of the controller that will become the Server (e.g., 192.168.0.10). The ECLYPSE login page is dis-
played.
3. Enter your credentials to log in. The ECLYPSE home page is displayed.
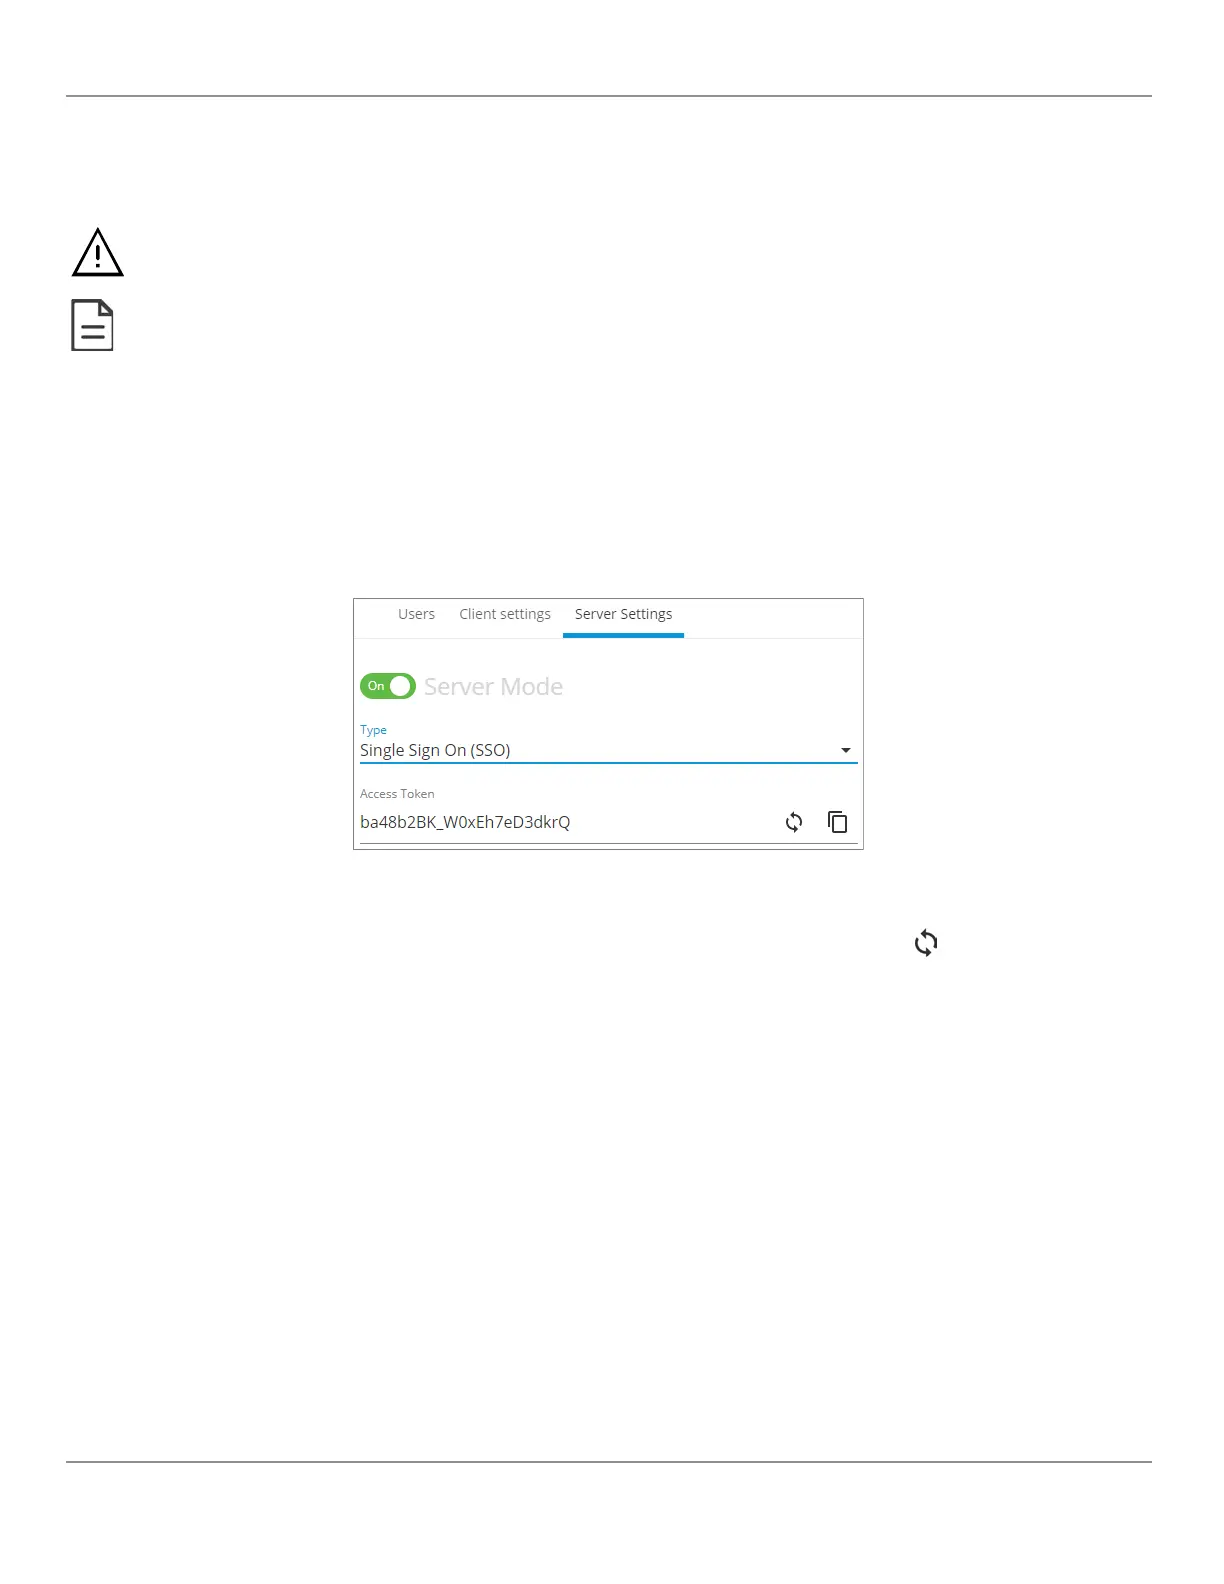
4. In the Users menu, select the Server Settings tab and make sure the Server Mode is set to On.
Figure56: SSO Server Settings
5. In Type, select Single Sign On (SSO).
6. In Access Token, an access token is displayed by default. If required, you can generate
a new access token or
manually enter a custom access token. This exact access token will be needed to setup the Client server (see next pro-
cedure Setting Up the SSO Client).
7. Click Apply.
Setting Up the SSO Client
1. Open a web browser or a new tab in the current Web browser.
2. Enter the IP address of the controller that will become the Client (e.g., 192.168.0.22). The ECLYPSE login page is dis-
played.
3. Enter your credentials to log in. The ECLYPSE home page is displayed.
4. In the Users menu, select the Server Settings tab and make sure the Server Mode is set to Off. If not, set the Server
Mode to Off and click Apply before proceeding.
ECLYPSE Web Interface
62
nLight ECLYPSE