Doc : AM220-001E Release: 1.5 updated : October 2014
#-------------------------
#-------------------------
##------------------------
##------------------------
###-----------------------
###-----------------------
Network parameters
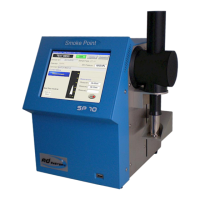
Make sure that the Ethernet cable is connected to the RJ45 socket on the rear of the SP10 instrument.
Use the “Ethernet settings” button to verify or set the proper IP parameters. We highly recommend the
use “obtain IP address automatically” option.
Caution!
It takes a few seconds for the system to get an IP address.
It is normal that the systems hangs-up for a few seconds after you press the OK button.
If it is too long, contact your Network Administrator.
When the SP 10 is properly connected to local network, it will be visible by the network server under the
name “SP10NUMxxx”; where xxx is serial number of the instrument. The Network Administrator can add
SP10NUMxxx user to the network users list, create a shared folder for storage of the SP 10 result files and
define the SP10NUMxxx user rights to access to this specified shared folder.
Caution!
The SP 10 network management software is not able to manage different domain names.
The folder where the SP 10 will save results, should be always located in the WORKGROUP domain
other domains will be not accessible.
The instrument is delivered with pre-programmed factory default settings.