6. Screen Brightness and Auto-dim:
• Touch the on/off control / to enable/disable the Auto Brightness
feature.
– When the Auto Brightness feature is disabled , you may adjust
Brightness by touching and/or touching and dragging the adjustment
slider right/left to increase/decrease the Brightness value. Or, you may
press the [-] and [+] controls for precise adjustments of 10% by step.
– When the Auto Brightness feature is enabled , you may adjust
several parameters: Auto-dim, Brightness, and Timer control. Make
adjustments using sliders for dimmer, for brightness or controls for all.
– Touch Zzz button, then touch [+] or [-] to adjust auto-dimmed display
brightness.
– Touch Sun button, then touch [+] or [-] to adjust normal display
brightness.
• Press Done to save changes and return to the General Settings screen.
Touch Left/Right Arrows to display General Settings Screen # 2.
7. Auto Off Timer: Touch to display a sub-screen and select Auto Off option:
5 min, 15 min, Never.
8. Remote Control: Enable/disable results download and software update
via Wi-Fi.
9. Launch Quality Check: Touch the on/off control / to enable/disable
check of the OTDR connection quality at start of each OTDR test.
10. Received Image: Touch to display a sub-screen and select an option for
displaying inspection results transferred from the FOCIS Flex probe:
• Display received FOCIS Flex results in popup window
• Save received FOCIS Flex results in background and show notication in
tray.
11. Screenshot Mode: Touch to enable/disable capture. When enabled, press
Home to capture current screen as .bmp le in \SCREENSHOTS folder in
internal memory.
12. Switch Mode: Touch to congure MPO switch settings.
• MPO Switch control is available only when MPO Switch is enabled and
connected to FlexScan via USB cable.
– When MPO Switch connected, up to 12 bers may be tested in a single
SmartAuto or Expert mode test.
11
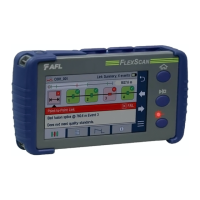
General Settings, Screen 1 of 3
General Settings, Screen 2 of 3
7
8
11
9
10
12
6